by abduzeedo
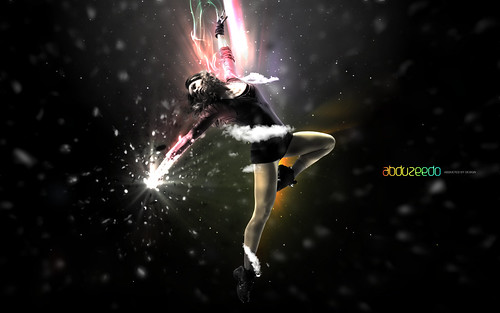
In this tutorial I will show you how I created the Girl in Tempo Image. Tempo in this case is the new version of Pixelmator, which I've been beta testing for a few weeks. The design is a mix of some photos and filters that can be easily and quickly done in Pixelmator.
Also we have another copy of Pixelmator to Giveaway, as usual drop us a comment, and remember, we will only choose Abduzeedo members, so if you are not, click here and create your account. But before we start the tutorial let me announce the winners of the 2 Pixelmator copies from the last giveaway:
- mani
- styletime
Step 1
Create a new document in Pixelmator, I used 1920x1200 pixels. Then fill the background layer with black.

Step 2
For this image I bought a photo from iStockphoto, http://www.istockphoto.com/file_closeup.php?id=6178363. Then with the new Magic Want Tool(W), cut the girl from the background. The coolest thing of the new Magic Wand is that you have a live preview of the selection while you are dragging the tool.

Step 3
Place the image in the document and create a new layer, beneath the girl's layer. With the Gradient Tool (G) create a rounded gradient, from grey to black. Right like the image below.

Step 4
Create a new layer and fill it with a gradient again, this time change the Blending to Screen and make it bigger than the other, right in the center of the document, like the image below.

Step 5
Let's add another gradient, this time from Blue to Black.

Step 6
Once again, add another layer and fill it with gradient, from grey to black again, and starting from the girl's hand.

Step 7
Duplicate the girl layer and create a new layer behind the girl. Fill the empty layer with black and select the girl and the black layer. Click with right button of the mouse and select Merge Layers. After that go to Filter>Blur>Gaussian Blur. Use 1 for the Radius. Also change the Blending to Color Dodge.

Step 8
Go to Filter>Distortion>Circle Splash. Use 140 for the Radius and move the controller like the image below.

Step 9
Repeat the Step 7 again and then go to Filter>Blur>Zoom Blur. Use 34 for the amount. Move the controller to change the effect, try different positions or just folow the image below.

Step 10
Select the girl layer and duplicate it again. After go Image>Desaturate. Then go to Image>Brightness and Contrast. Increase the Brightness and Contrast. I used 11 and 10.

Step 11
Select and duplicate the girl's layer again, put this new one in front of the black and white girl layer and change the Blending to Overlay. Then go to Filter>Blur>Gaussian Blur. Use 10 for the Radius.

Step 12
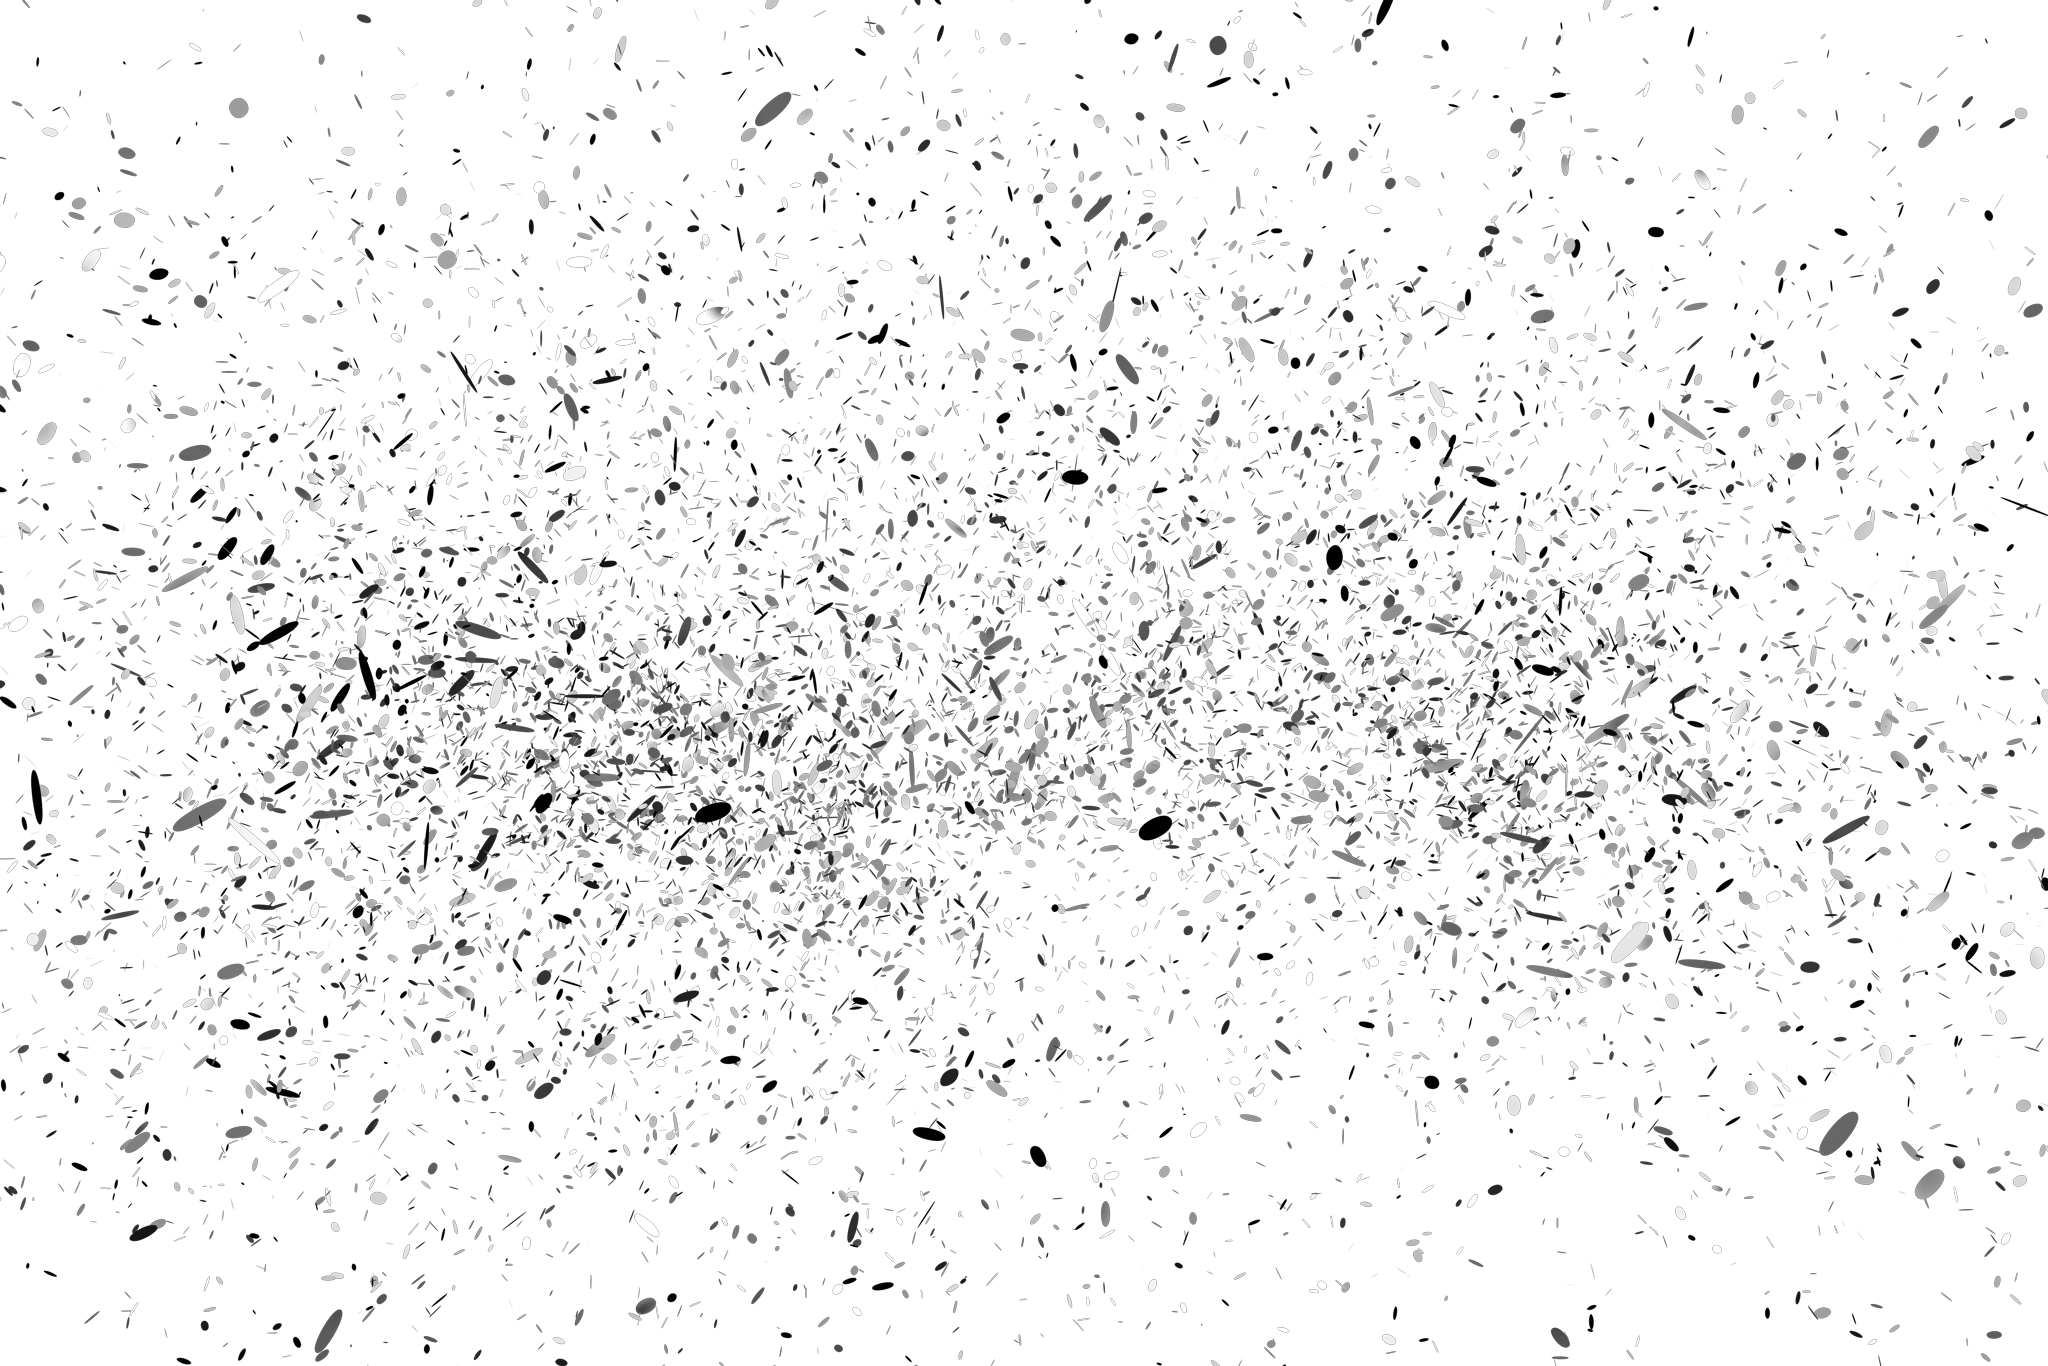
Now let's add some elements to the design. I took some photos of clouds to use in some designs, you can download them here. Open the cloud's image. and first go to Image>Desaturate, then go to Image>Brightness and Contrast . Reduce the Brightness and increase the Contrast until you get a full black background.

Step 13
Place the clouds' image in the document and change the Blending to Screen. Make the clouds much smaller.

Step 14
Add more clouds repeating the steps 12 and 13. Create some clouds behind the girl as well.

Step 15
Create a new layer on top of the others and fill it with black. Then change the Blendings to Color Dodge and go to Filter>Generator>Sunbeams. Move the controller to the hand of the woman and use the values of the image below. Right after that go to Filter>Blur>Gaussian Blur. To make the rays a bit shiner, go to Image>Levels, then increase the White to 173.

Step 16
Select the Brush Tool (B) and white for the color. Pick a very soft brush and paint the layer right in the hand. That will create a nice light effect.

Step 17
Go to Filter>Blur>Gaussian Blur and use 3 for the Radius. That's just to make the lights a bit smoohter.

Step 18
Lets keep adding more elements, for the stars I used an image I found online, you can check it out at http://www.aavso.org/observing/programs/hen/archive/050410-dss-finder.jpg. Then just place the image in the document and change the Blending to Color Dodge. That will make the stars glow ;) also if you want to you can add a bit of Gaussian Blur.

Step 19
Here let's use an image I created in Cinema 4D. It's like an explosion and you can download the image here. Then place it in the document and with the Elliptical Marquee Tool (Y), create an elliptical selection. Then go to Edit>Inverse and then go to Edit>Refine Selection. Use 200 for the Feather. After that go to Filter>Blur>Gaussian Blur. Use 7 for the Radius. That will create a sort of Depth of Field effect.

Step 20
Change the Blending to Hard Light then go to Filter>Blur>Zoom Blur. Use 7 for the Ammount.

Step 21
The last step is just add another image to the composition. I used a smoke image that I got online at http://www.sensitivelight.com/coloured_smoke0D0T9227.jpg. But you can use other images. So I just placed it in front of the other layers and changed the Blending to Color Dodge. Also resize and rotate a the layer, use the image below for reference.

Conclusion
In this tutorial we used some of the cool new features in Pixelmator like the new Magic Want Tool. Also we used the color adjustment features and of course some really good and useful filters. I think Pixelmator is evolving and has a great potential. You can create all sorts of images and it's easy to learn. Besides, if you are a Mac user and your budget is limited, Pixelmator will be the best tool for you.

Click on the image for Full Preview.
Different Versions
You can try different colors as well, below I did 2 variations of the same design, one inspired by the new depthCore chapter called NOIR, all in black and white.

Download the Pixelmator File
Click here to download the Pixelmator file used for this tutorial.


")


