by abduzeedo
I know it's been a while but here we go, a new Photoshop tutorial. I will be honest, I watched one or two episodes of Black Mirror and it was nice but I didn’t exactly love it. Then there was the interactive movie, which I watched and again, I thought it was an awesome idea, but not something that truly blew me away. On the other hand, one thing I do love very much is their logo. It’s a super simple mix of text effect with a little blur and glow mixed with the shattered glass effect. I'm imagining it was done in 3D but felt compelled to execute a little Photoshop to celebrate this fantastic marriage of mediums.
Photoshop Tutorial
Step 1
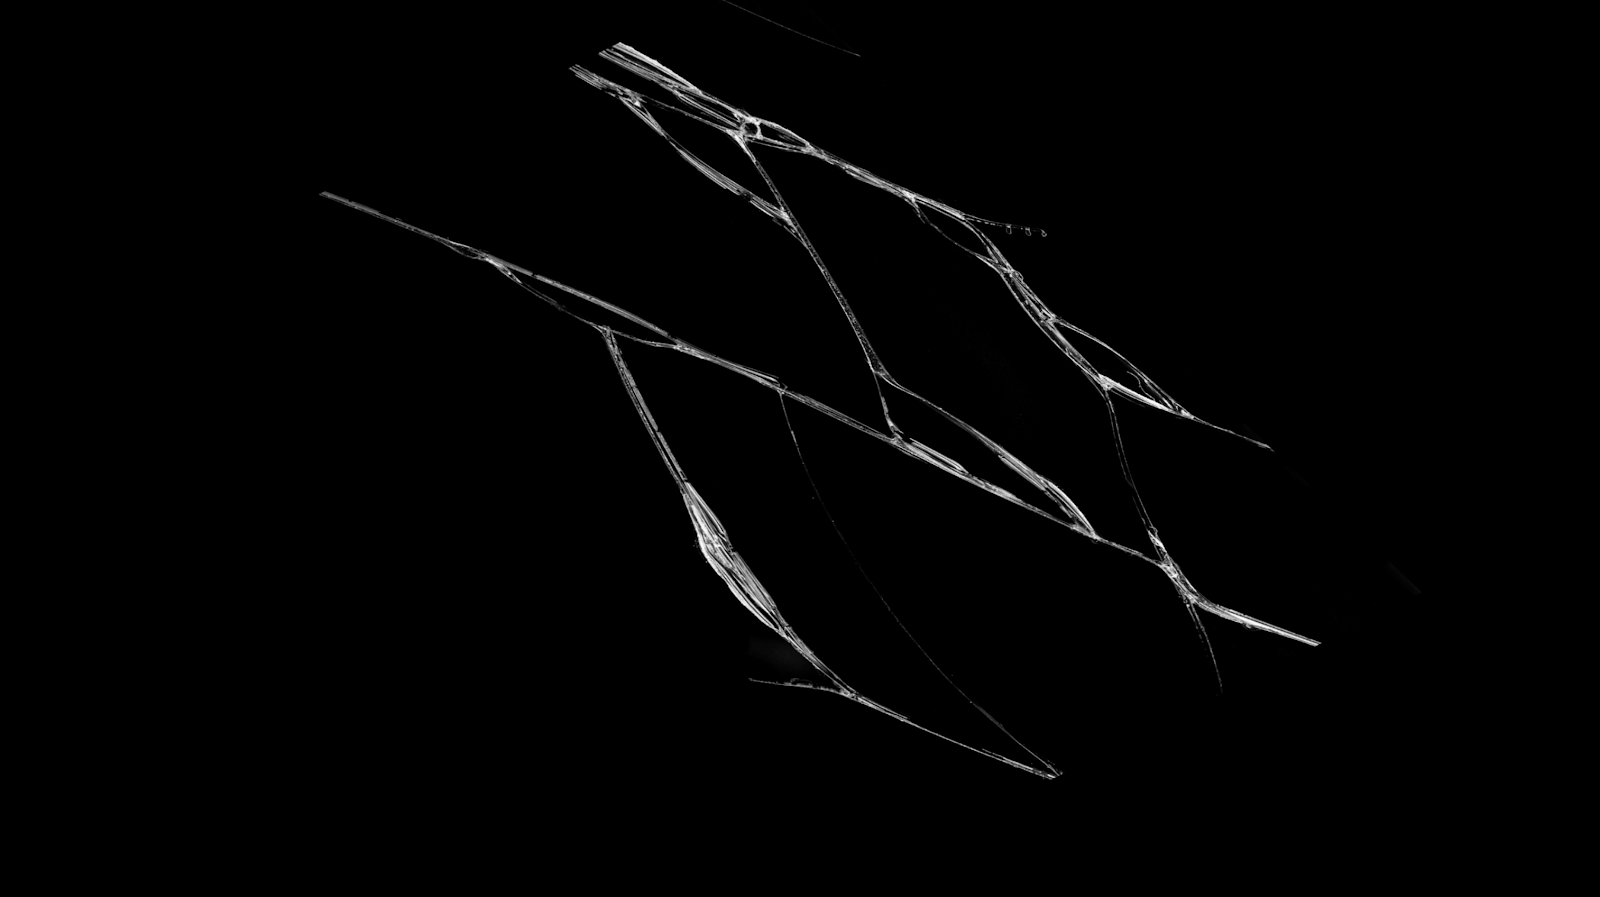
The first step for this particular type of photoshop tutorial is to find a texture of shattered glass. For a moment I thought it would be a good idea to create mine from scratch, but I realized that it would require a lot of extra steps. It is also a great idea for a new tutorial.
So for this tutorial, I used Adobe Stocks to find the right texture. There are a lot of cool images available online these days, from Shutterstock to Adobe Stock, it’s definitely much more affordable. The image I used can be found here.
Step 2
Once you get the image you will need to do some adjustments. First thing is to simplify the number of cracks. Also, depending on your image, you might have to rotate and scale it. For mine, I did all of those. In addition to that, using the Magic Wand Tool (W) select the black area and remove it using masks.

Step 4
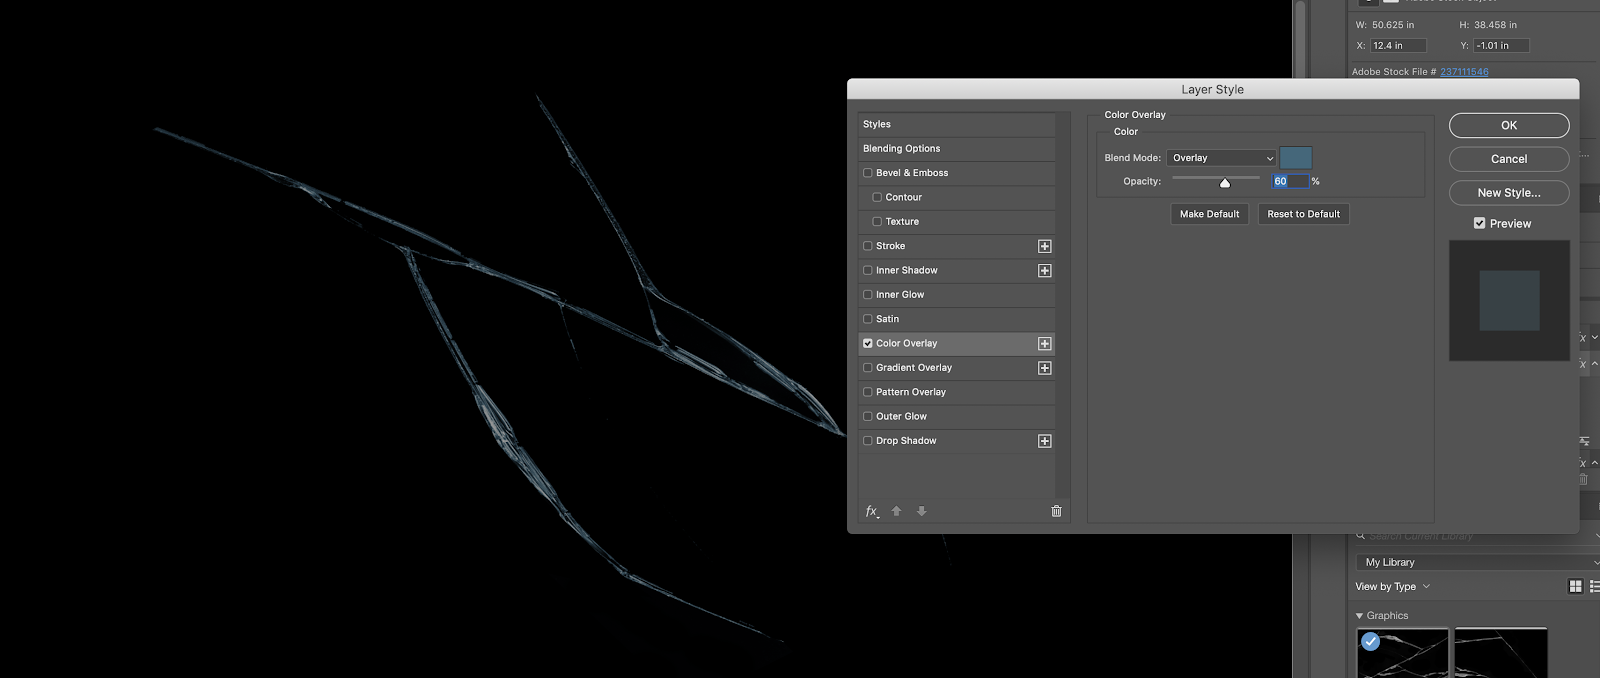
Now let’s tone things down a little bit. First, change the fill opacity to 60%. Second, go to Layer >Layer Style>Color Overlay. Select a dark blue/teal color and use Overlay for Blend Mode at 60%
Step 5
Once you have the broken glass done it’s time to move over to the next part. Honestly, that seems to be the easiest one to me. It’s just a bit more work.
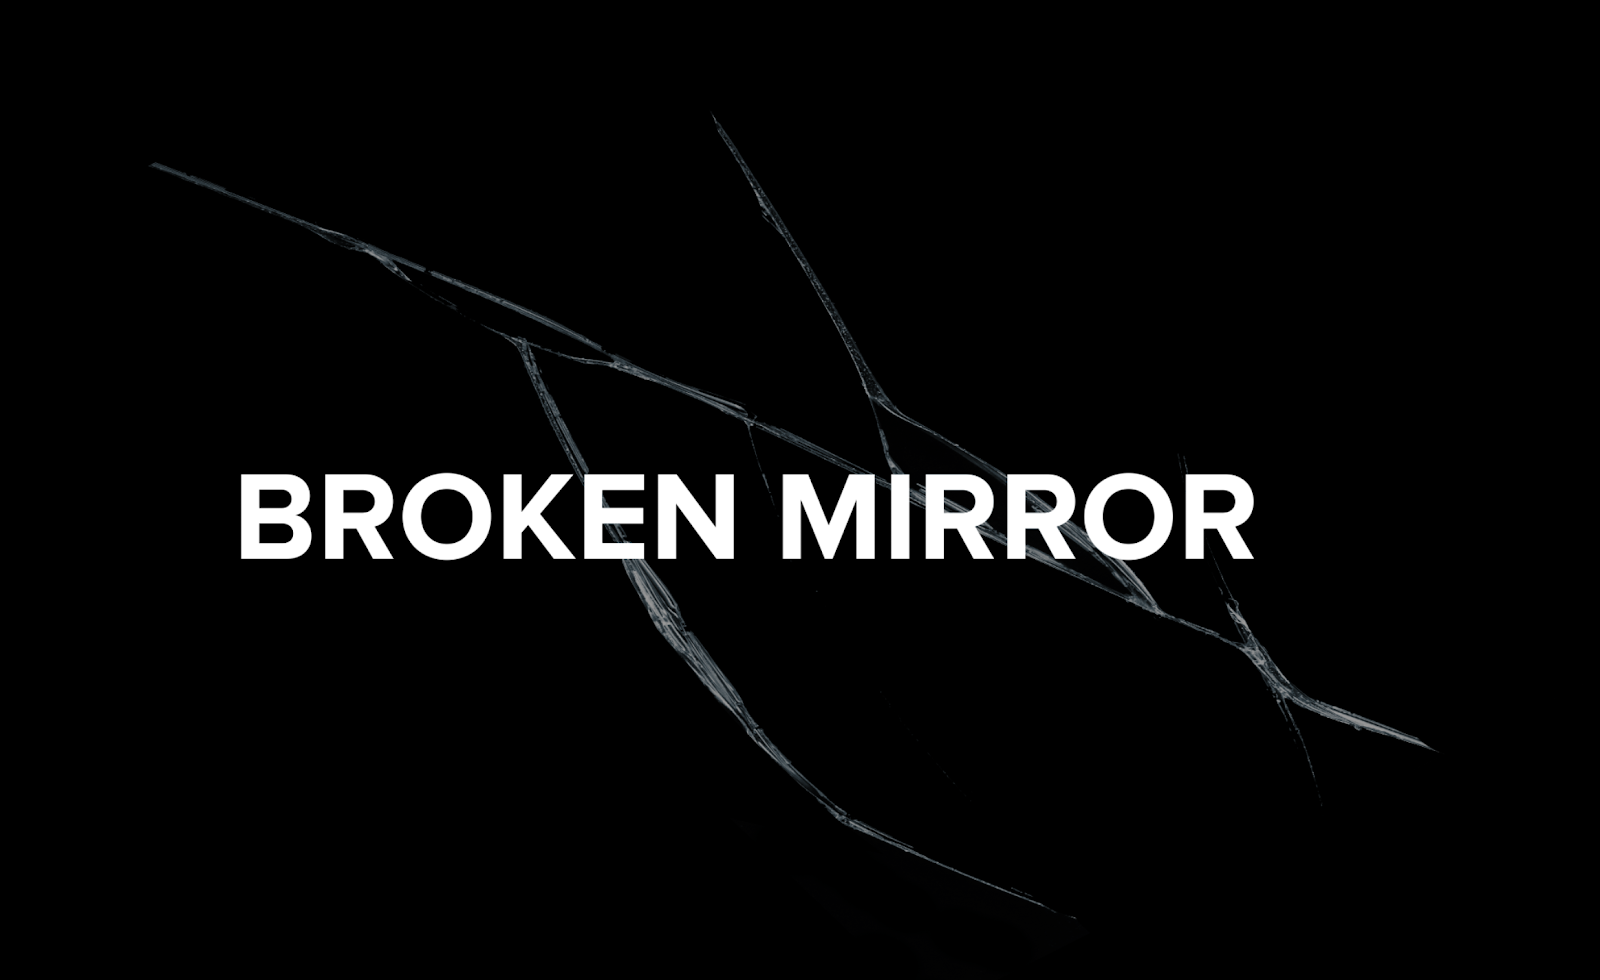
For the text, I used Proxima Nova Bold, in all caps. Once you finish positioning the text over the cracked area it’s time to do a very important thing. Go to Layer>Smart Object>Convert to Smart Object. The reason for that is that it will allow you to change the text and automatically update the effect.
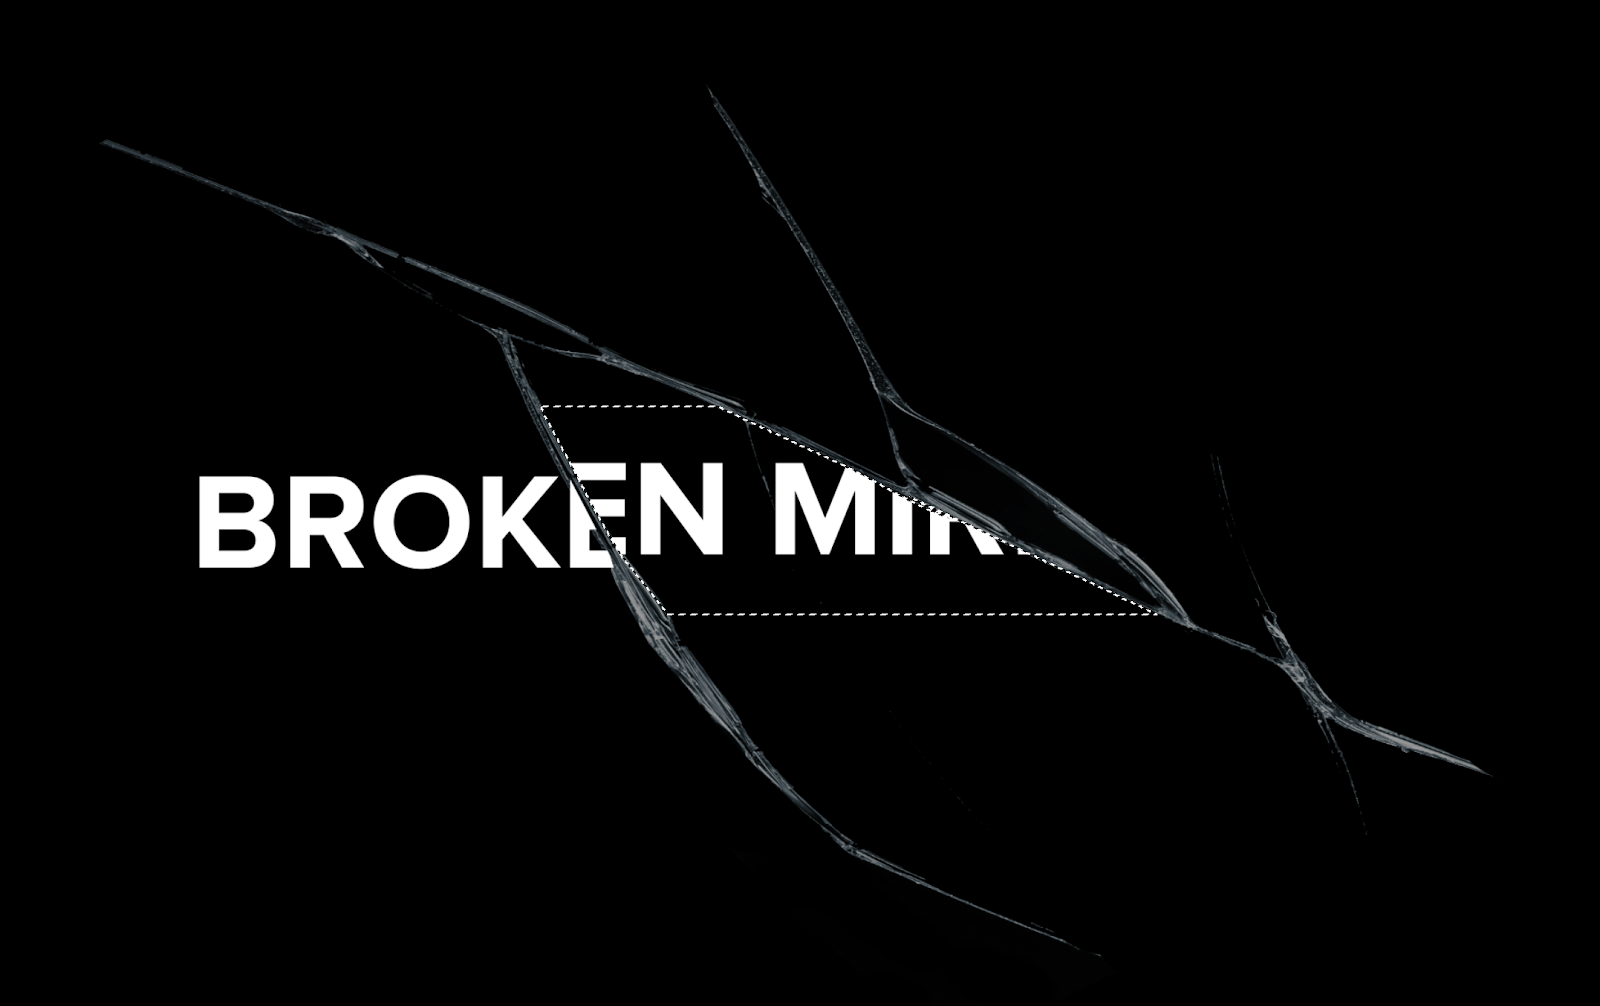
Step 6
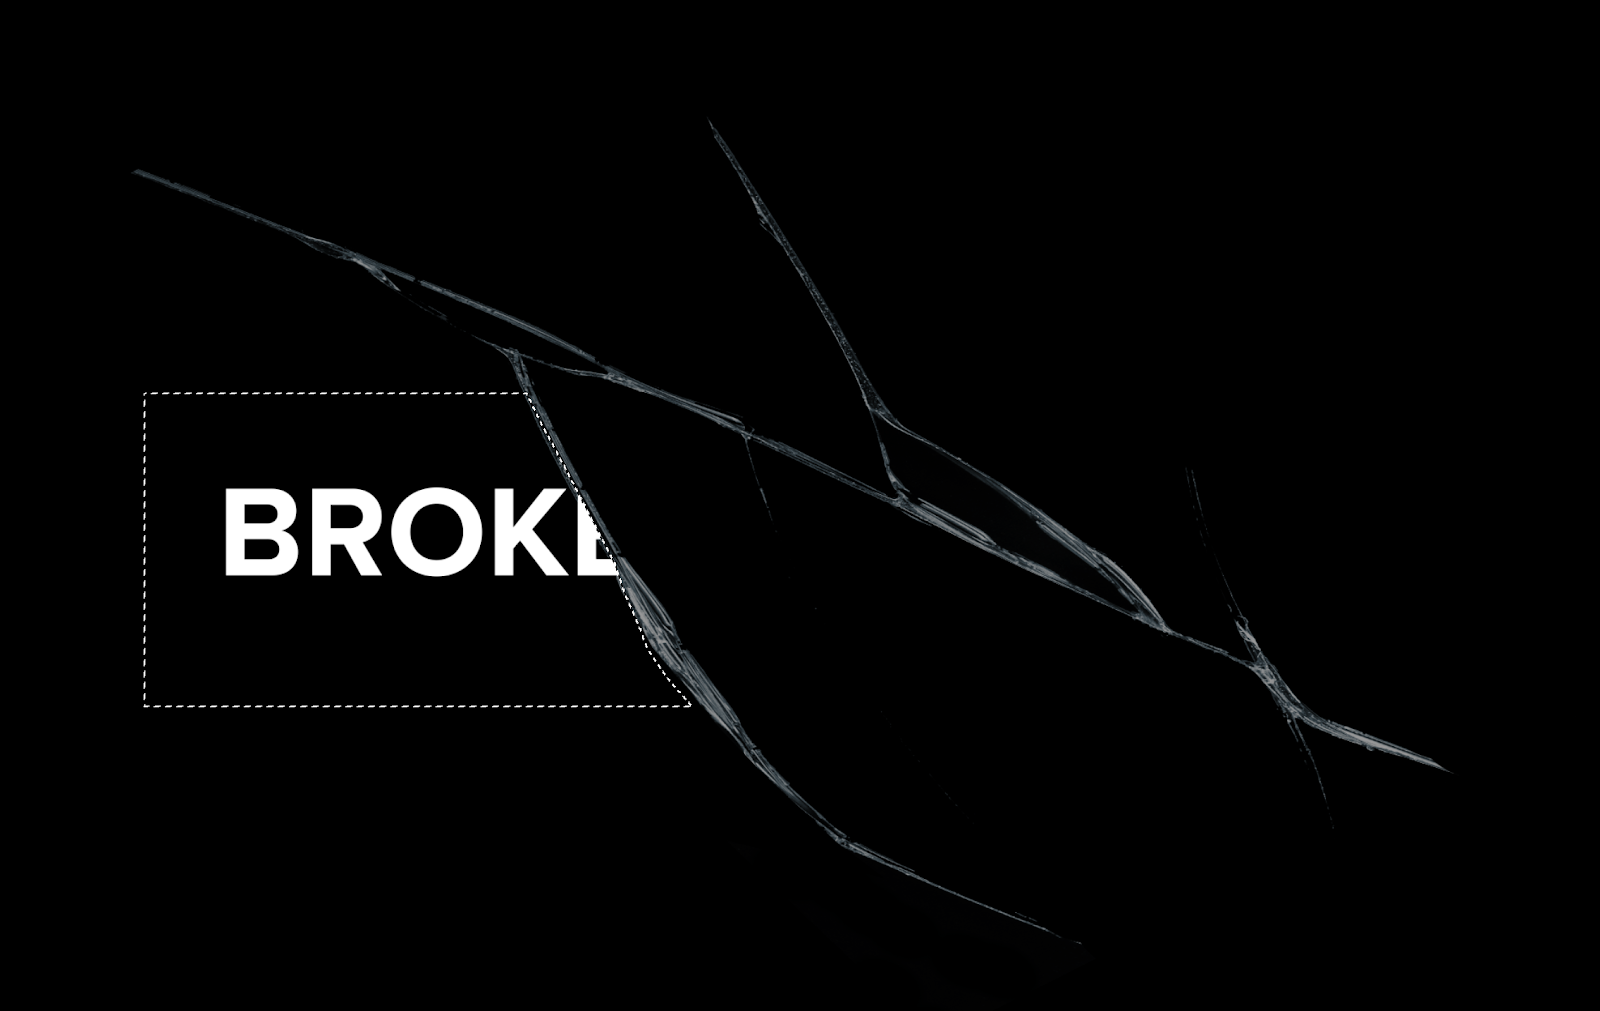
Now it’s just about masking texts. First, duplicate the text you just converted to Smart Objects. Then with the Lasso Tool (L) select part of the text before it intersects with the crack. Then just go to Layer>Layer Mask>Reveal Selection.
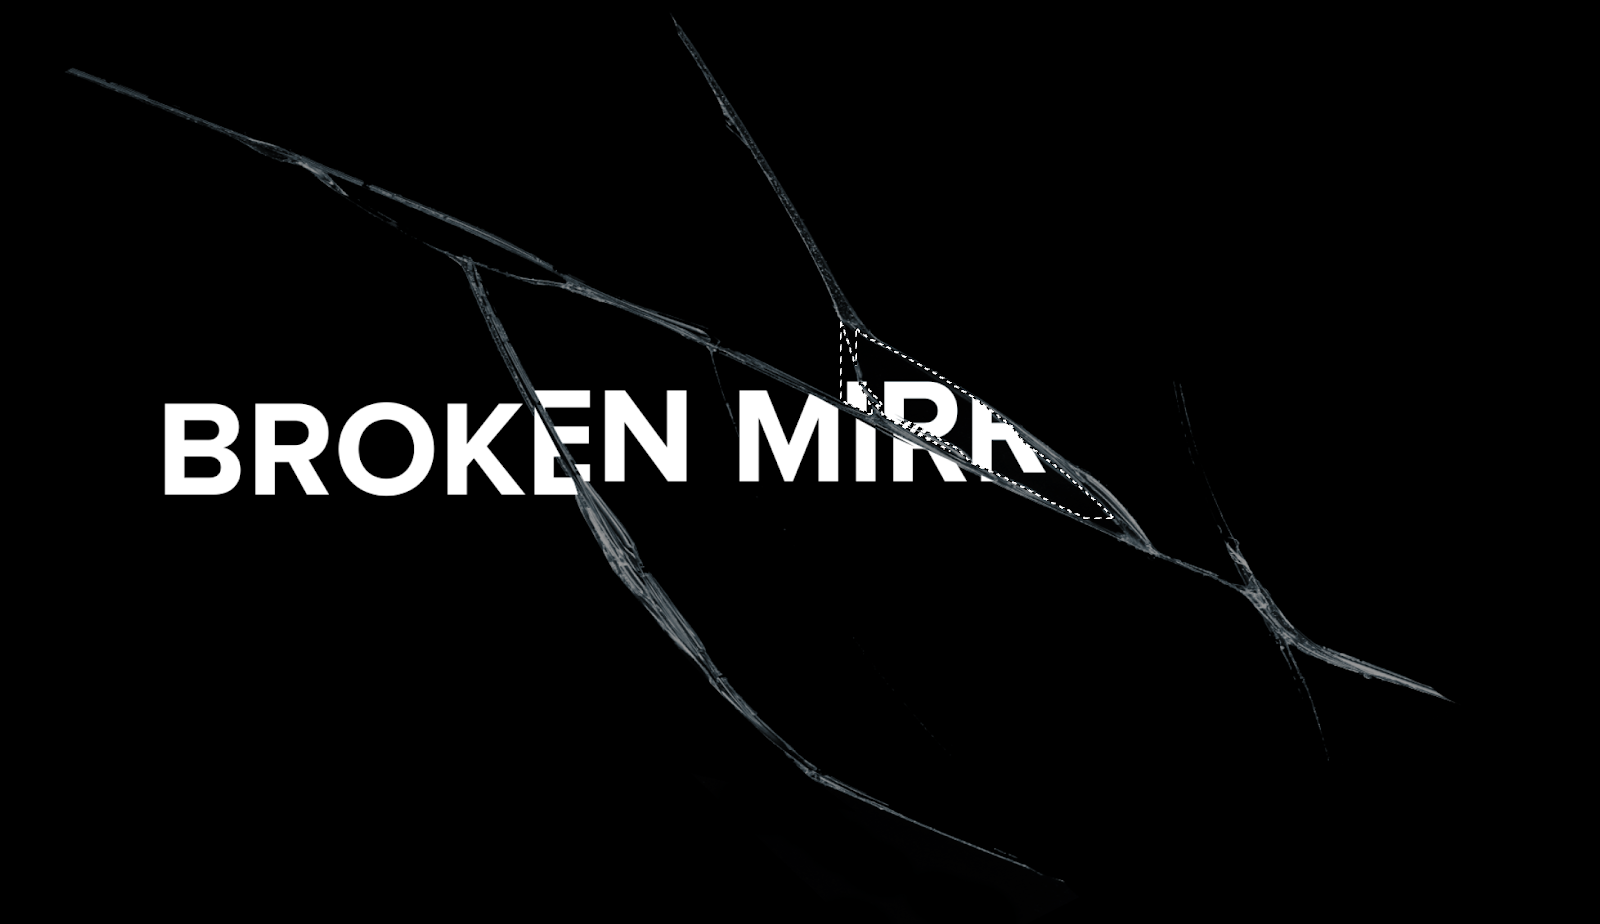
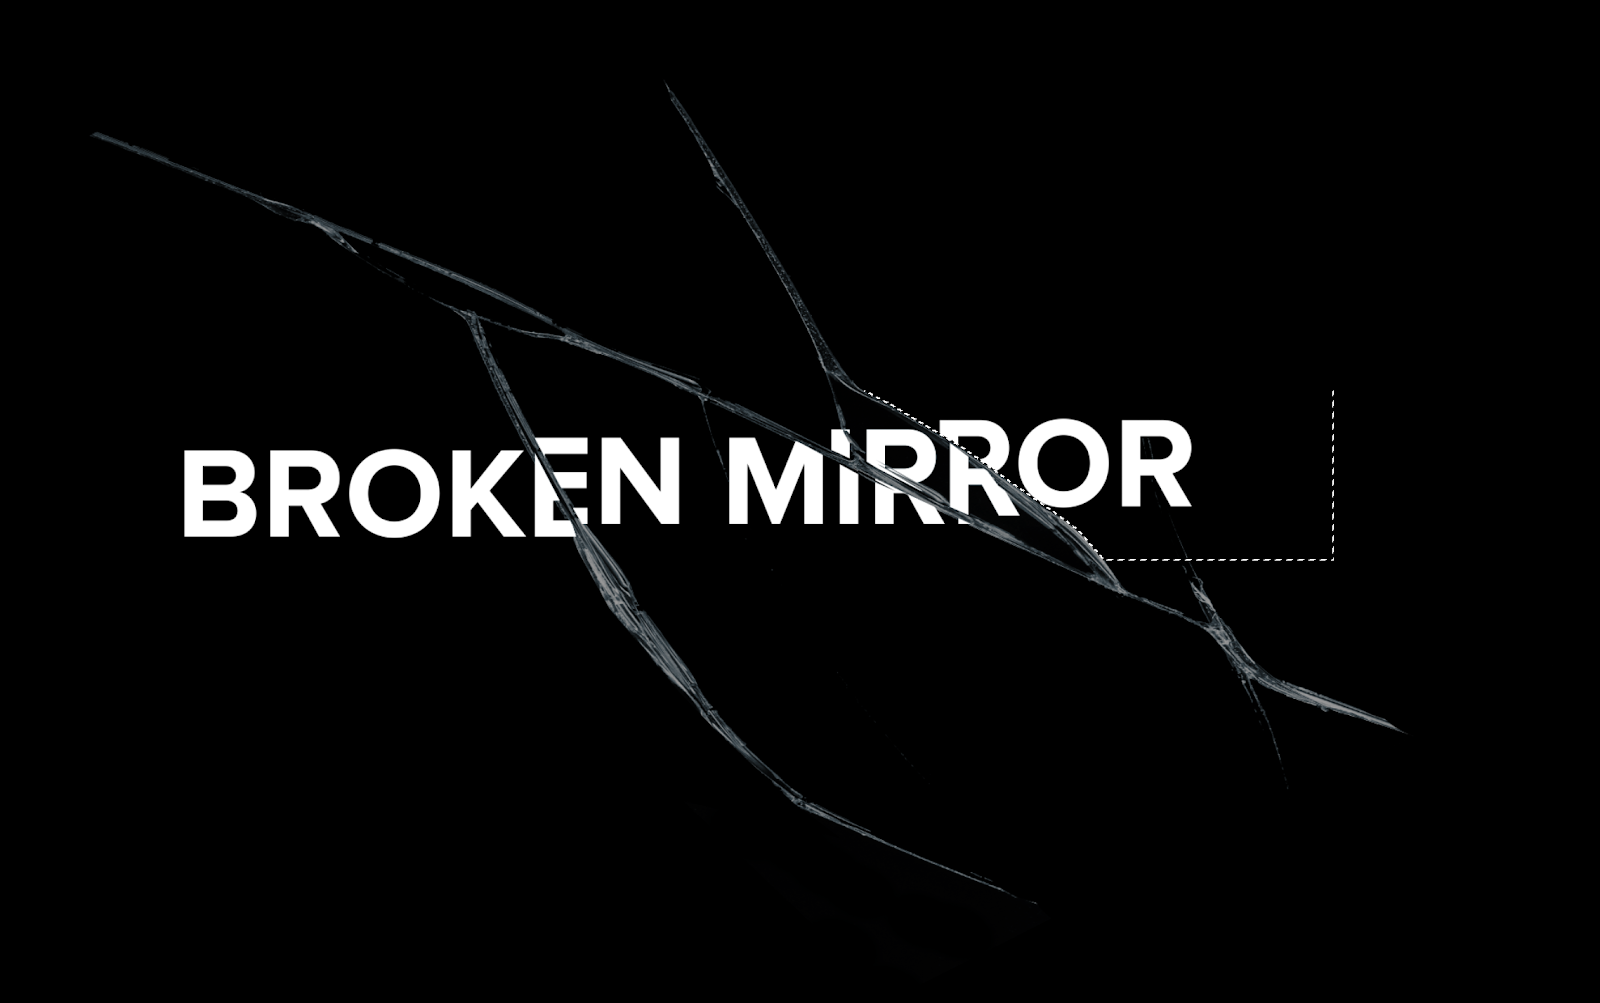
Step 7
Repeat that for the rest of the text. For every new part of the text unlink the mask from the text and move the text up and to the left. Like the image below.
Step 8
If you hide the crack effect you will see something like this:
Step 9
In order to add a bit more realism to our image let’s add drop-shadow to the broken glass texture. The result would be something like the image below.
Step 10
Now we just need to add some effects to the text to match the Black Mirror logo. Here’s what I did:
- Select all the text layers including the original and convert them to Smart Object. You will be able to double-click and go to that object, and there you can double-click again and change the text.
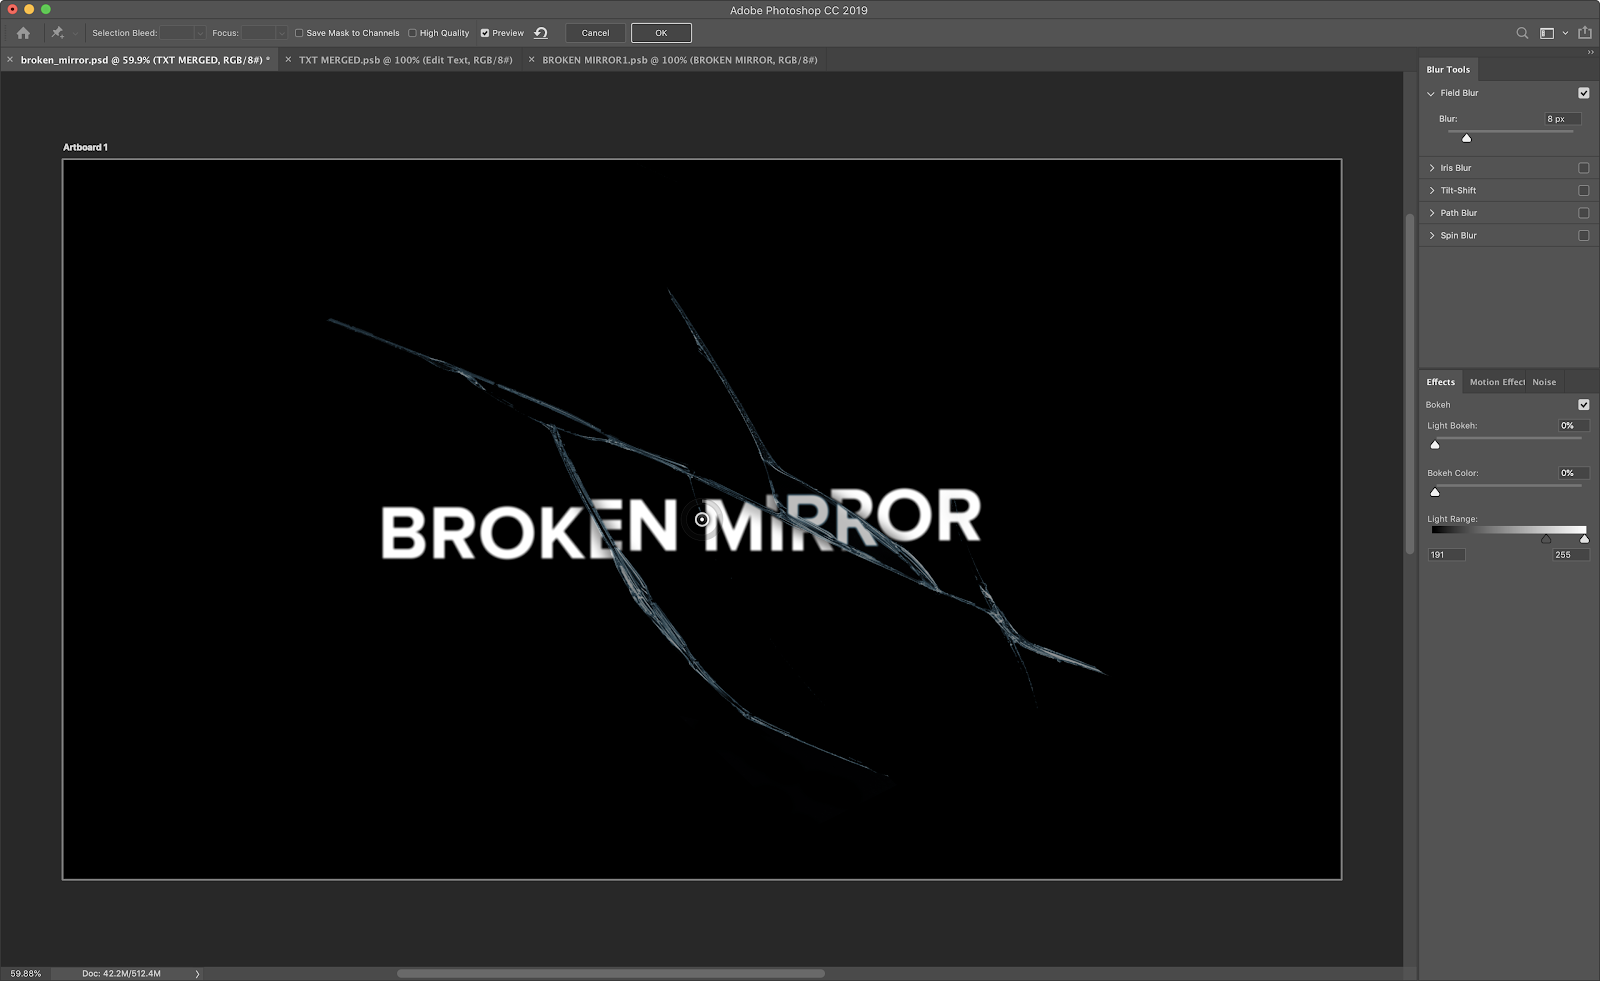
- Select the smart object layer of the text and go to Filter>Blur Gallery>Field Blur. Use the values below.
Step 11
Now let’s just apply some Layer Styles.
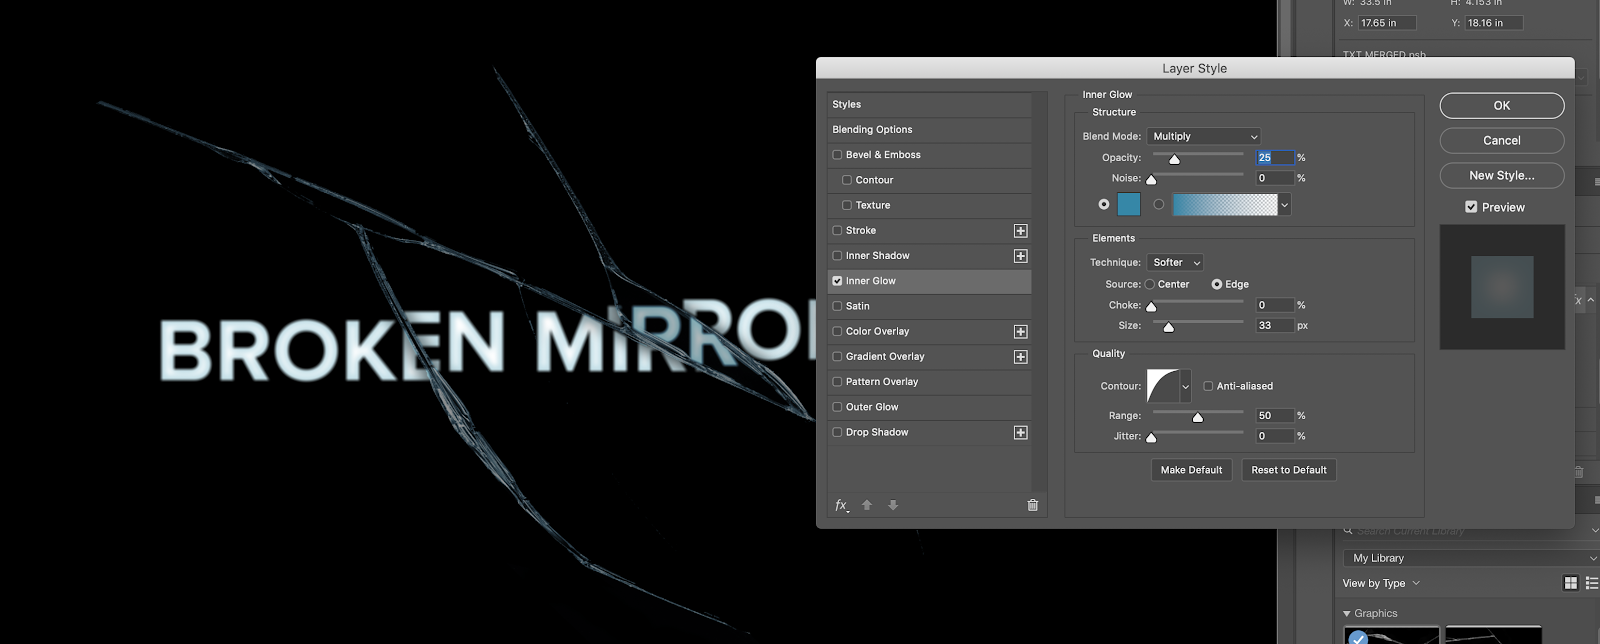
- Go to Layer>Layer Styles>Inner Glow. Select Multiply for the Blend Mode at 25% opacity using a cyan color. Change the Size to make it spread a bit more. The size will vary depending on the image size you are working on. My design is using 5k for resolution, so I used 33px for the size. I also changed the Contour to Half Round.
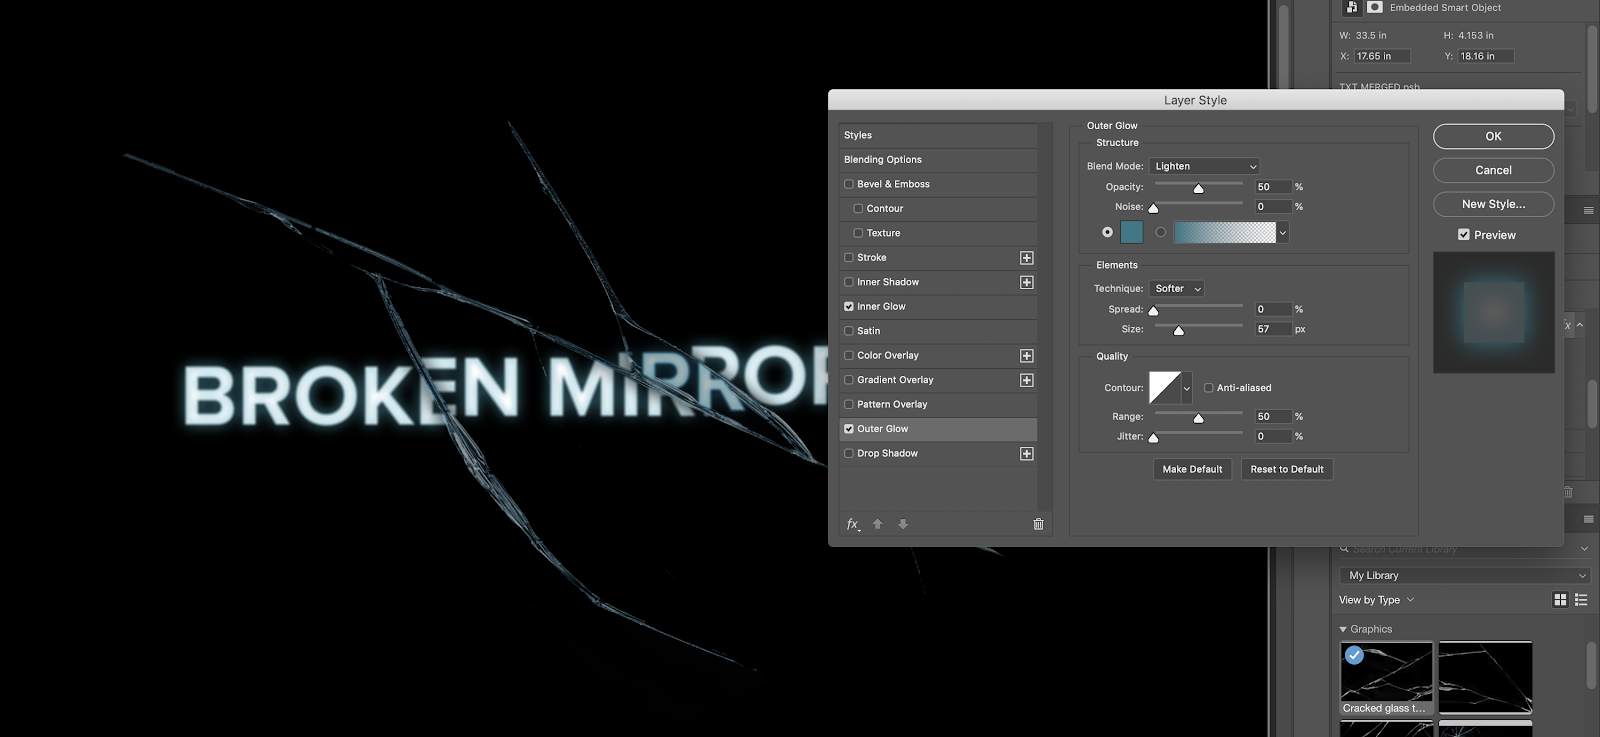
- Go to Layer>Layer Styles>Outer Glow. Use Lightem for the Blend Mode with 50% opacity using the same cyan color. Then tweak the size of the Elements. I am using 57 pixels but again it will depend on your document size.
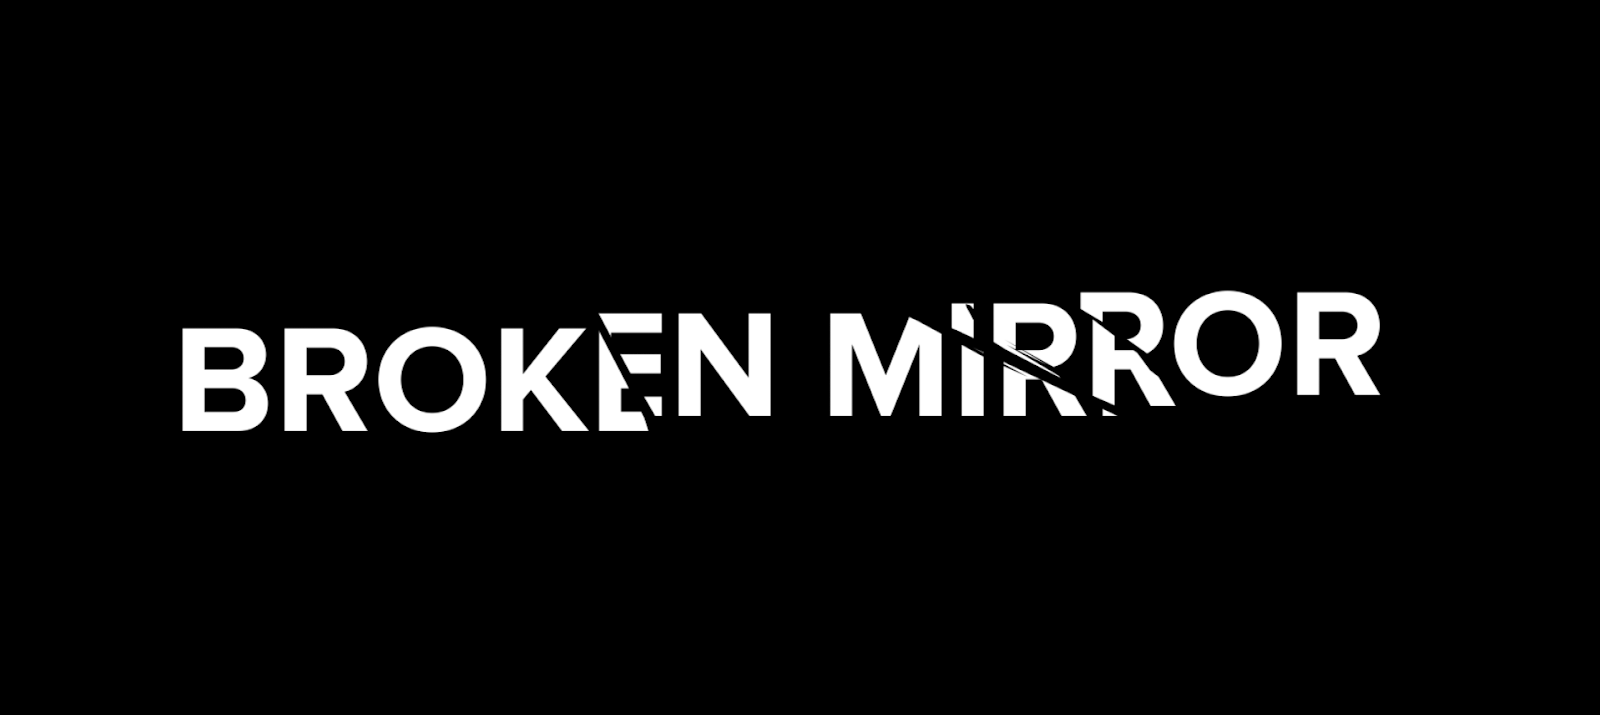
Conclusion
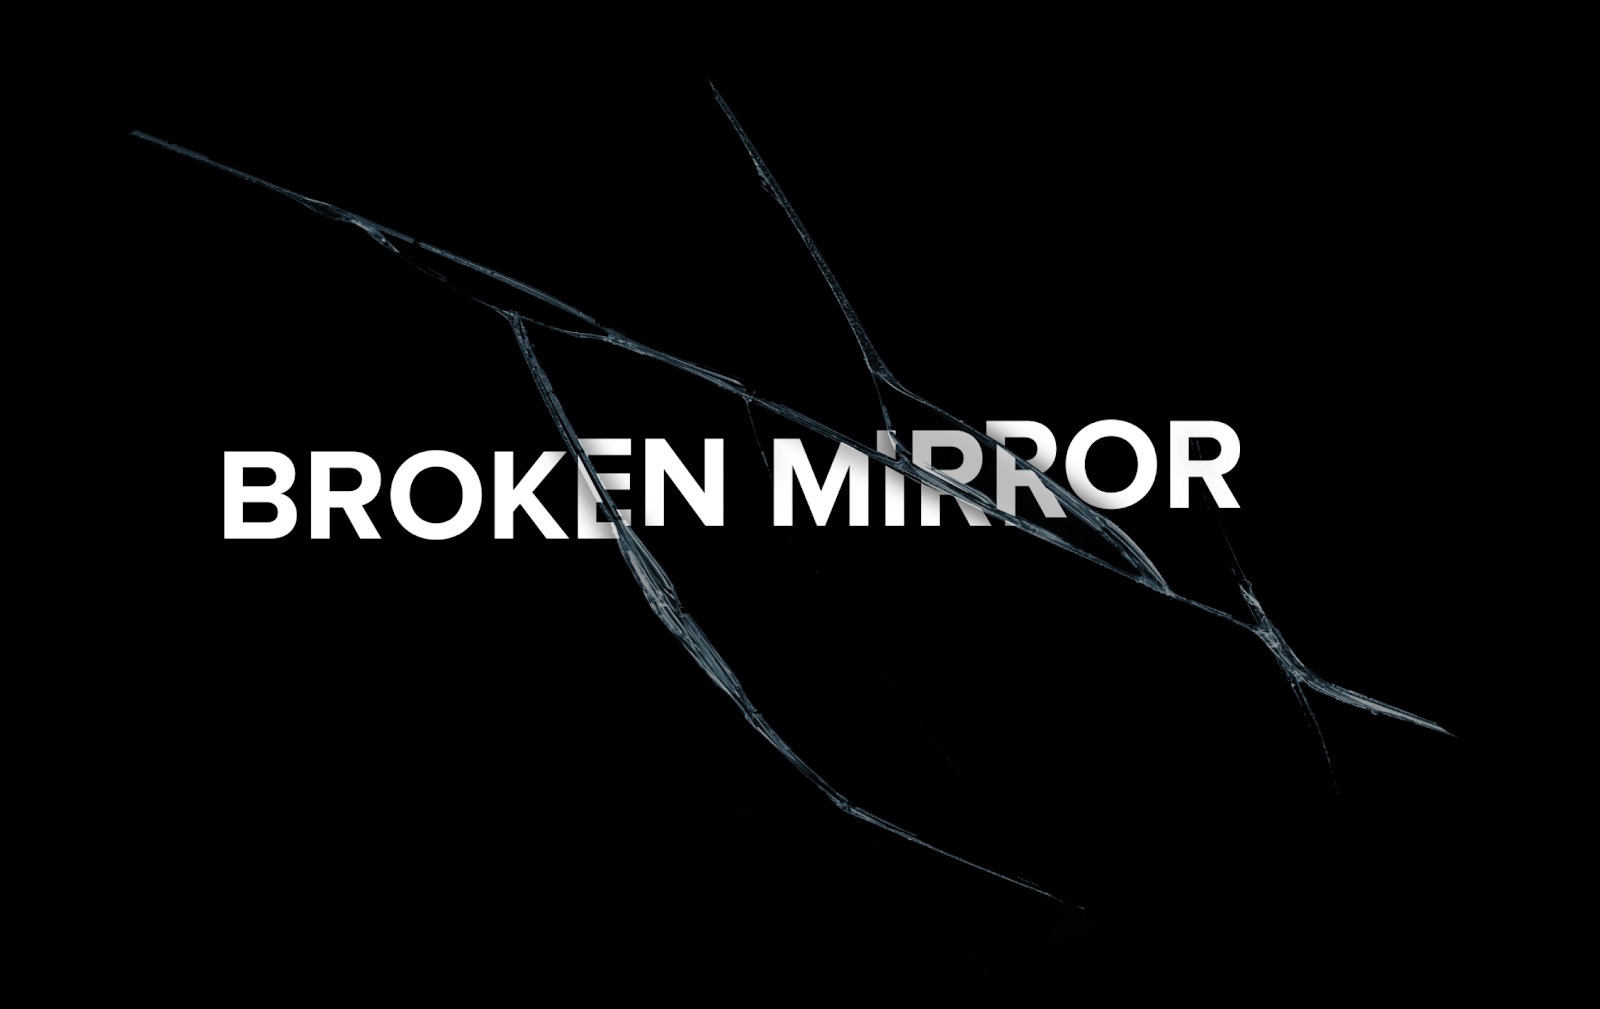
There you have it, the final image is done for this Photoshop tutorial. The cool thing is that you can try different texts and the effect automatically updates.


Details


Get the Photoshop source file
Get the source file for this Photoshop tutorial for the price of a cup of coffee, or just buy me a coffee :)


