by abduzeedo
In this tutorial, I will show you how to create a text made up of clouds in ten very simple steps, solely using brushes, blending, and basic filters. The technique is extremely simple and can be used to create all sorts of text effects as well.
Step 1
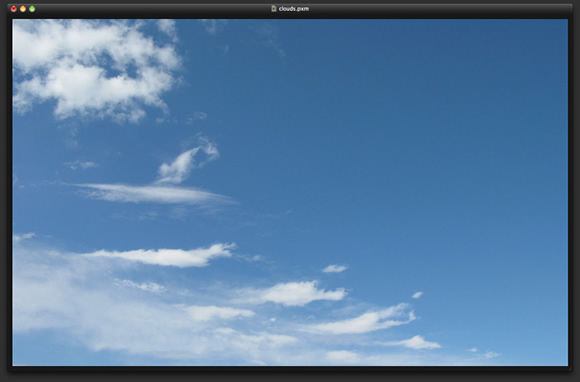
Open Pixelmator and create a new document. As usual, my document is wallpaper size, 1920×1200 pixels. After that, import a photo of a sky and some clouds. The one I used stems from Google Images; you can find it at the following link: http://wallpaperblog.files.wordpress.com/2007/12/blue_sky_1920.jpg Paste the photo into your document.?
Step 2
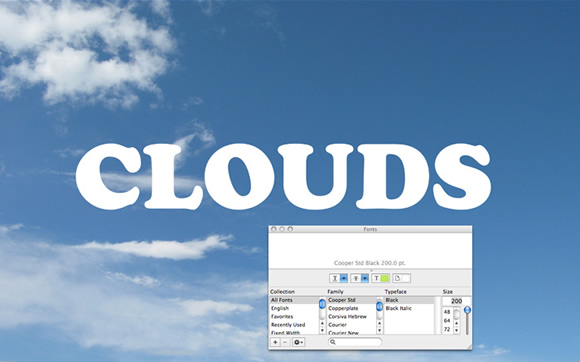
Using the Type Tool (T), add a text to your design. I am using Cooper Std Black as the style of font with a size of 300 pixels in white.
Step 3
Pixelmator comes with a really cool smoke/cloud brush, but certain adjustments need to be made in order to make it work for our cloudy text effect. Double click the cloud brush to open the brush presets, then use the values shown below for your brush settings and save them.?

Step 4
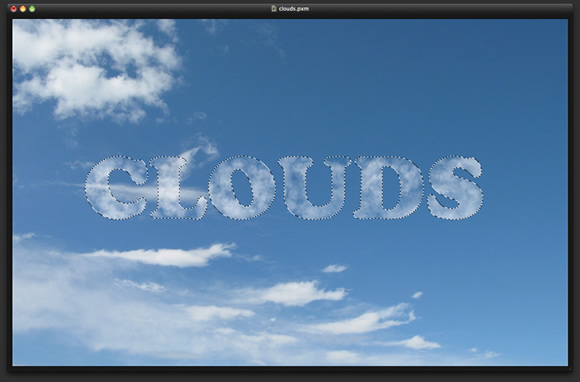
Holding down the command key on your keyboard, click on the thumb of the text layer in the layer palette. This action will create a marquee selection of the text. Add a new layer, and change the Blending to Screen. Then, using the Brush Tool (B), select the cloud brush you edited previously, and use white to start painting within the selection.
Step 5
Go to Filter > Blur > Gaussian Blur. Use 20 for the Radius.

Step 6
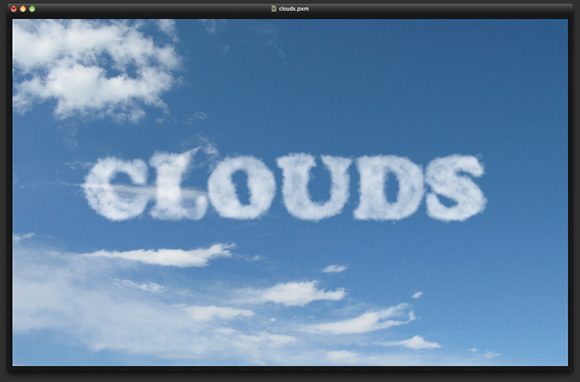
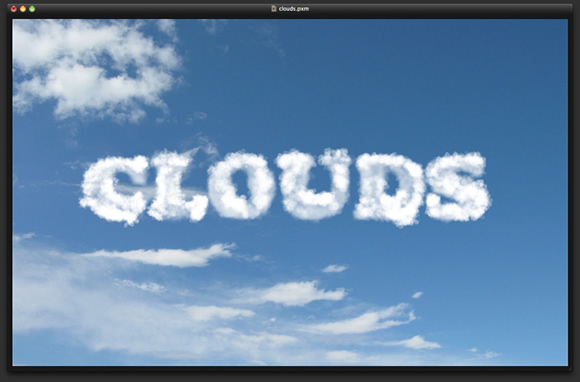
Add another layer, and using the Brush Tool (B) and white paint on the cloud brush, paint more clouds, particularly over the edges of the text in order to make these edges less visible. Next, adjust the opacity of this layer so as to make the effect more subtle. I am using a 50% opacity, which results in the image below.
Step 7
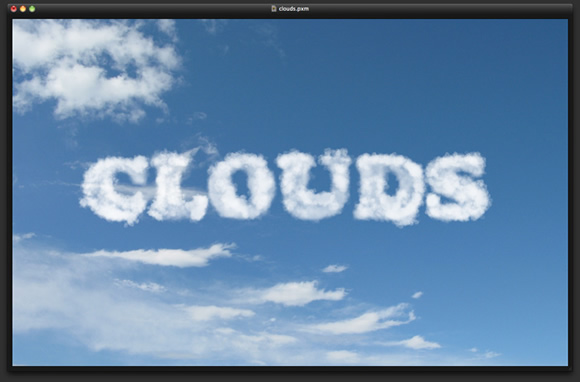
Add another layer, and repeat painting in some more clouds; this time, the idea is to highlight particular areas.?
Step 8
Adjust the opacity of the highlighted layer. Once again, I am using a 50% opacity; however, you can try different values, depending on the manner in which you painted the clouds.
Step 9
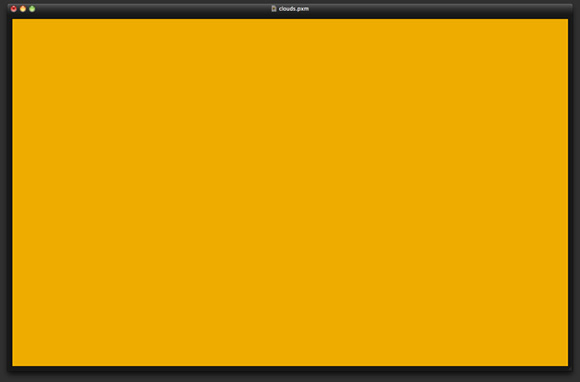
Add a layer on top of the others, and fill it with a dark yellow/orange color; I used #e89e00. Next, change the Blending to Overlay and the Opacity to 30%.
Step 10
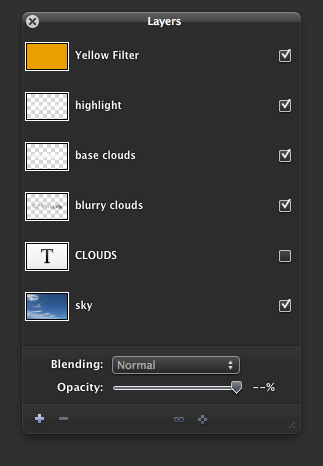
Here you can see the organization of the layers in the Layer Palette.?
Conclusion
The yellow overlay layer was added in order to attain this vintage/lomo look in our design. As you can see, the process of creating the text effect was really quite simple and used nothing other than Brushes and Blending. You can create all sorts of text effects with this technique, ranging from water to fire. I will try to cover these effects in the next tutorials.

Download the Pixelmator File
Click here to download the Pixelmator file used for this tutorial.


