by abduzeedo
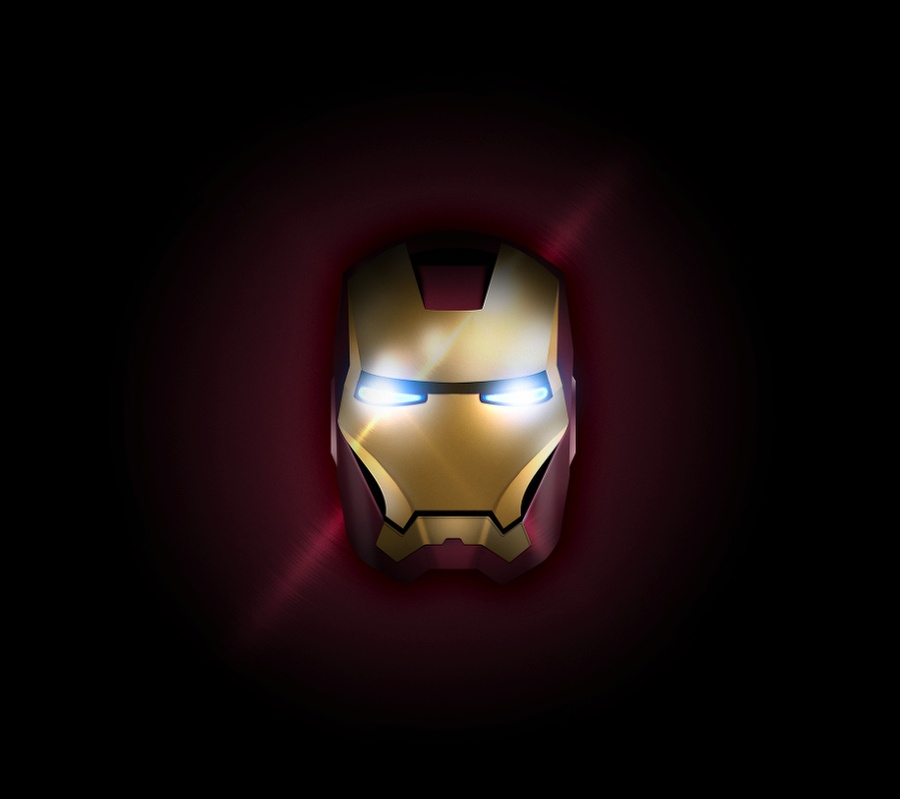
Last week I saw the new Iron Man trailer and as usual, it was nothing less than amazing. The effects are top notch and I'm really anticipating seeing it in May. There's still a couple of months until we can set our eyes on the real deal so I decided to create the Iron Man mask from scratch using Illustrator and Photoshop just to warm up and to try to improve my illustrating skills.
So for this tutorial, I will show you how to create the Iron Man mask using Adobe Illustrator and Photoshop. It's not too detailed because I wanted to share a simple overview/walkthrough so you could play and explore by yourself. At the end that's the best way to learn.
Step 1
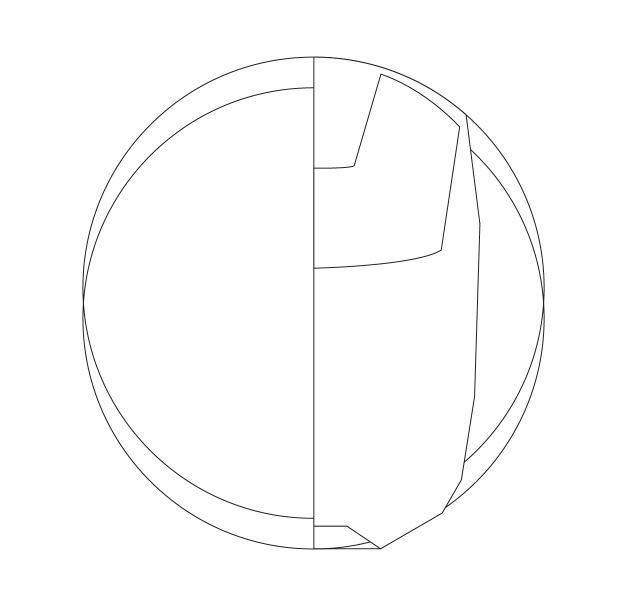
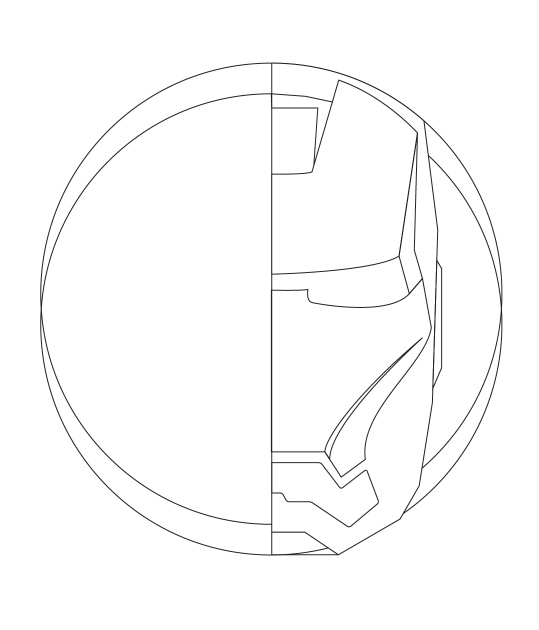
Open Illustrator and create a new document. The first thing to do is get a good reference of what you want to do. After that create a circle and a line crossing the center. We will create just half of the mask. With the Pen Tool (P) start creating the basic shapes.
Step 2
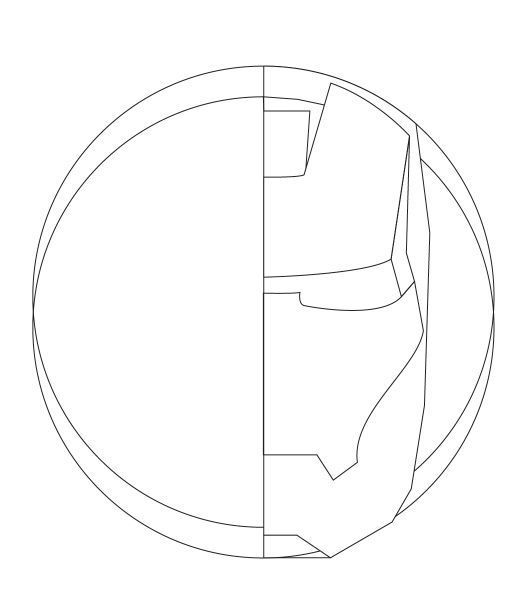
Create one shape for each part of the mask, it will help us to add colors and textures later on in Photoshop
Step 3
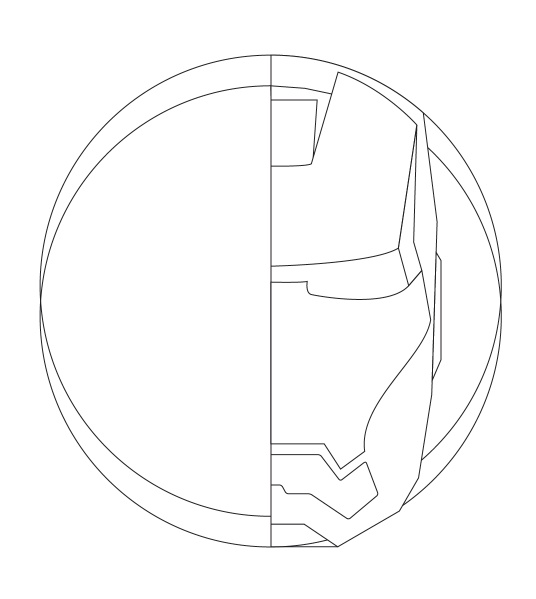
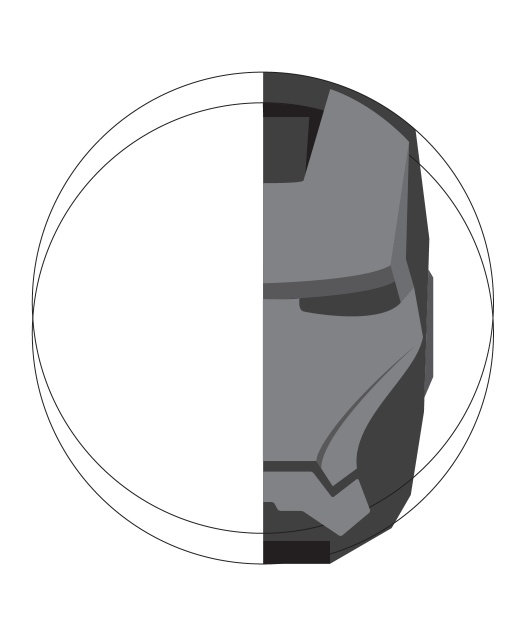
Once you have all shapes, use basic grey colors to see if everything is alright.
Step 4
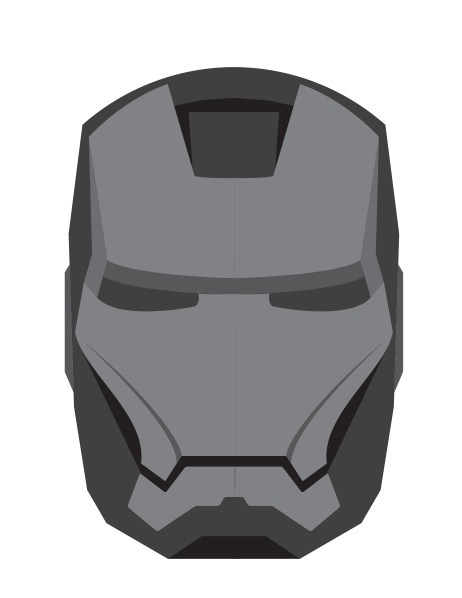
Duplicate the half of the mask and flip it horizontally.
Step 5
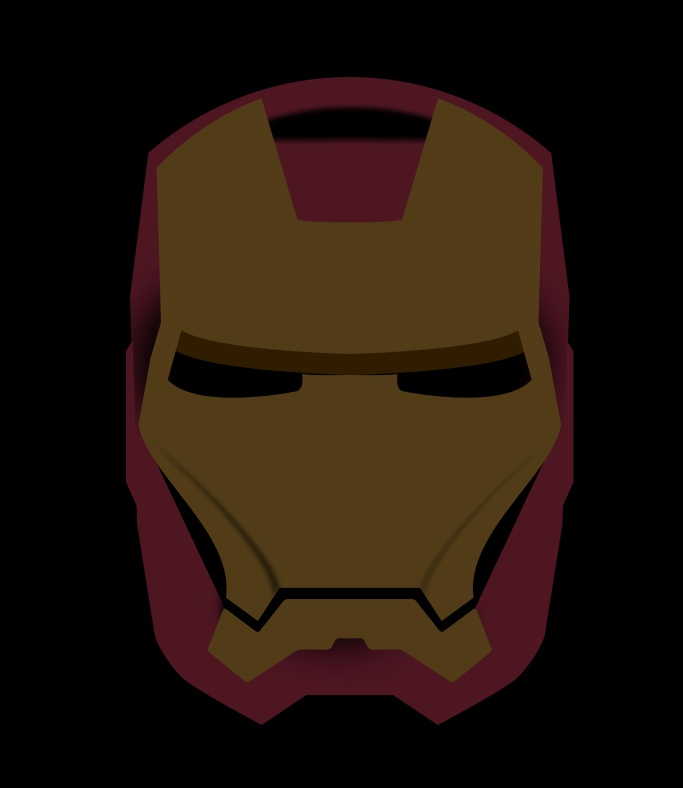
Now in Photoshop, paste each part of the mask as a layer and let's add some colors. The basic Ironman colors are gold and purple. Also, there are some shadows and subtle details like you can see in the image below.
Step 6
For each part of the mask, add a layer and go to Layer>Create Clipping Mask. Fill the layer with black and change the Blend Mode to Color Dodge. With the Brush Tool (B), a very soft brush and white for the color, start painting some areas to highlight. Use 10-20% Opacity.
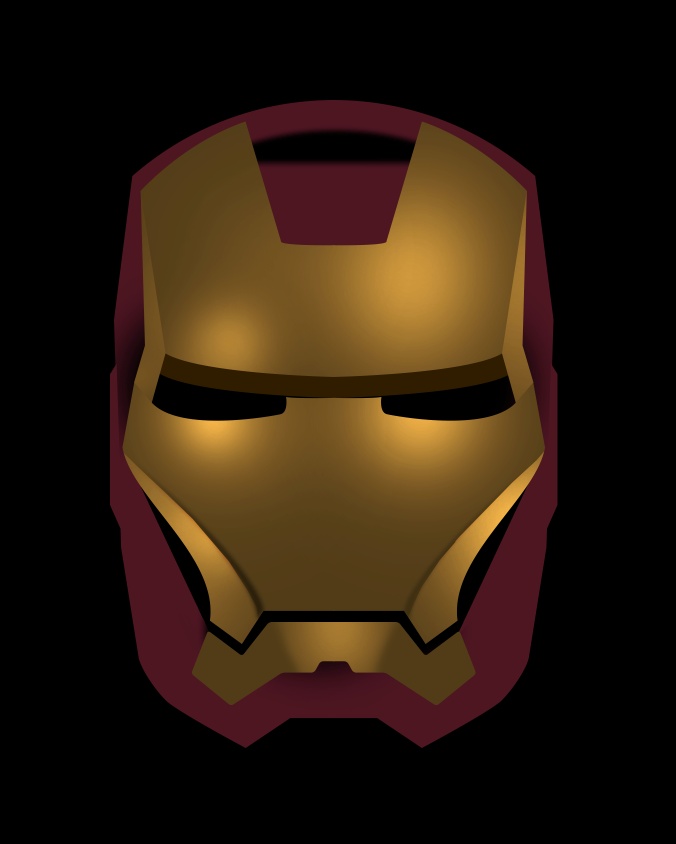
Step 7
Repeat the same thing as the previous step, but this time use Screen for the Blend Mode. Paint some more highlights.
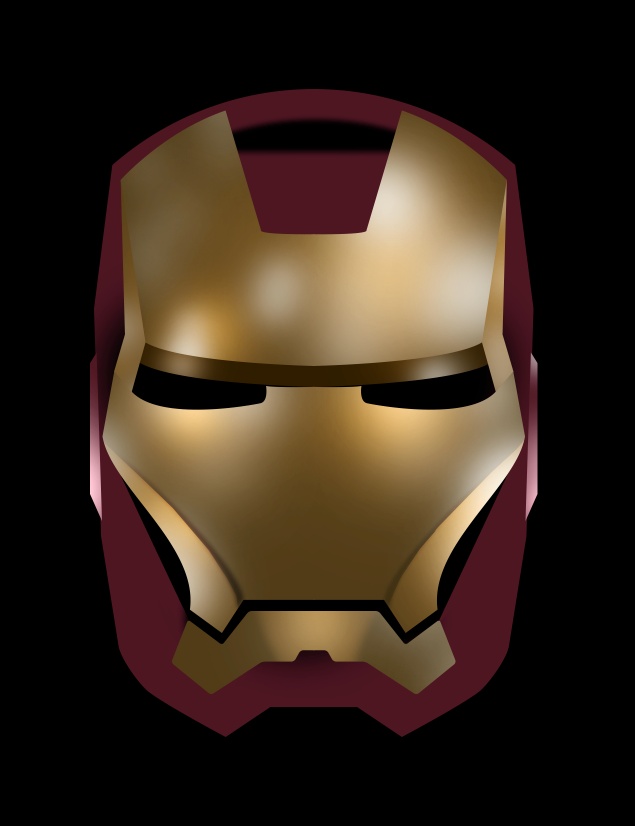
Step 8
Add some more highlights, especially on the mouth and purple part.
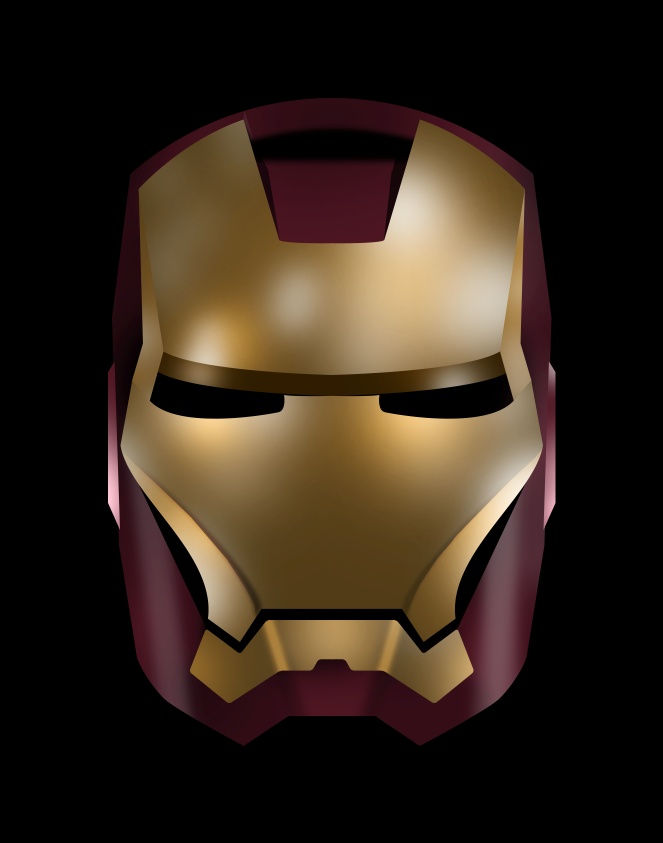
Step 9
Now let's add texture. Again remember, apply the texture to each part of the mask. Move the position of the texture give more depth. The texture I used can be downloaded at http://www.hdwallpapers4ipad.com/_ph/24/641167066.jpg
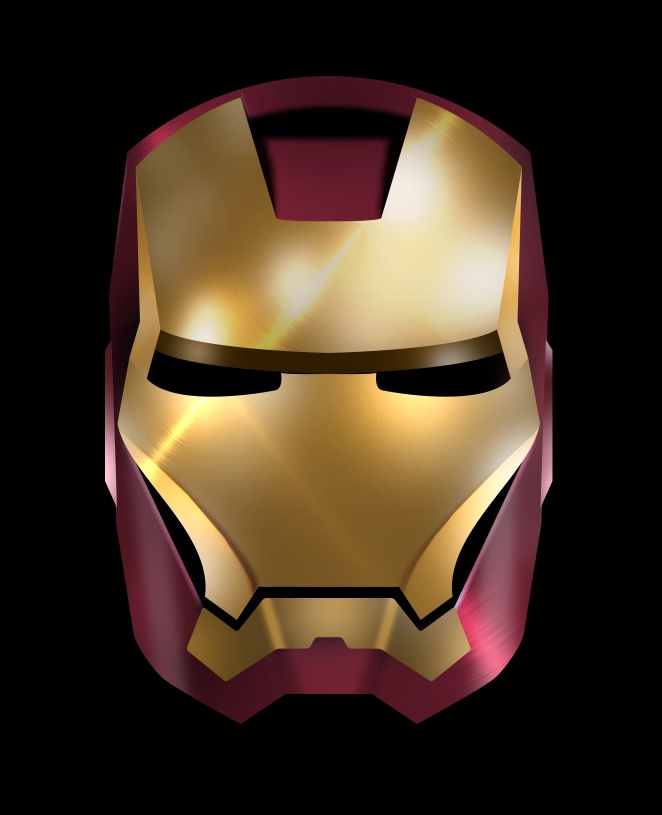
Step 10
For the eyes, the create the 2 shapes and fill with blue, then use a basic checked texture. Apply some Gaussian blur after that.
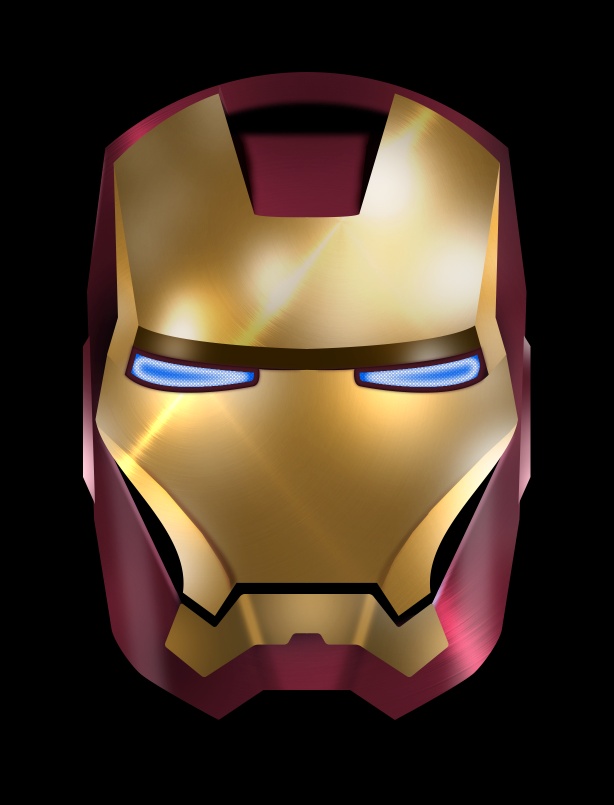
Step 11
Add a new layer on top of the layer you created the eyes and group this new layer into a folder. Change the Blend Mode of the folder to Screen. After that with the Brush Tool, use a soft brush with white and paint 2 light spots. Add another layer inside this folder and paint 2 spots with blue.
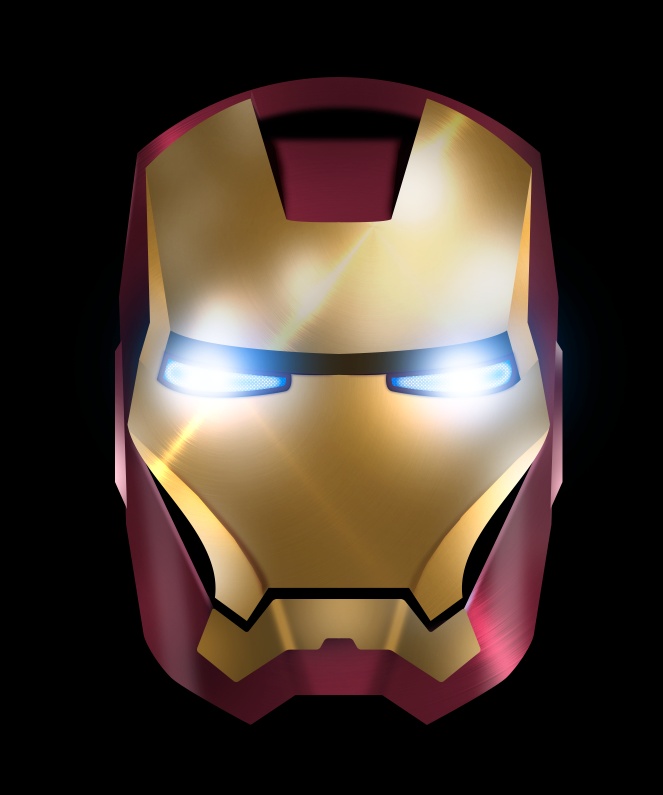
Step 12
Duplicate the folder and delete the blue layer. Change the Blend Mode of the folder to Color Dodge. Delete the content with the white light spots and create 2 different ones, a little less strong. The color dodge will create a very realistic light effect.
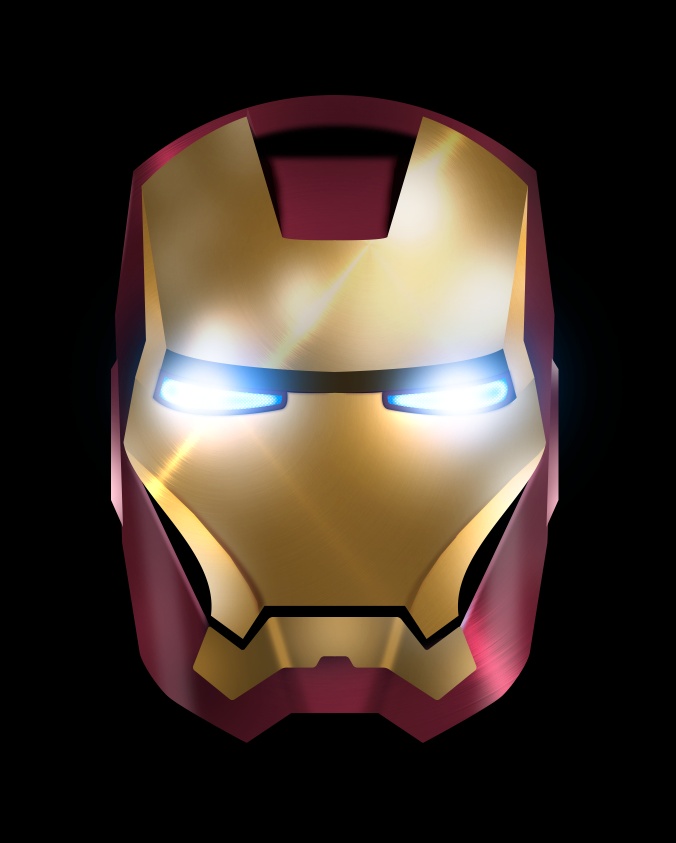
Conclusion
The whole process is more about digital painting than design. I am not really good at digital painting but it's always a good exercise. There are a lot of tiny details that I will continue to work on this design, however, I wanted to share with you a quick overview. Now it's up to you to create your own, have fun ;)
