by abduzeedo
A few weeks ago I received an email from a reader asking me if I could write a tutorial showing an underwater scene. I have written some tutorials on this subject like the 3D type made out of water or the underwater scene for Digital Arts in 2008. However I was watching TV this weekend when I started to watch I, Robot. The opening titles of that movie is awesome and really inspired me to write this tutorial.
In this tutorial I will show you how to create a underwater scene with some bubbles and light effects. We will use the Brush Tool to create the bubbles and basic tools and filters for the rest of the effects. The whole process won't take more than 45 minutes and as usual you can download the Photoshop file in the end of the tutorial.
Step 1
Open Photoshop and create a new document, I'm using 2560x1440 pixels so I can use it as wallpaper. After that fill the background layer with black.
Step 2
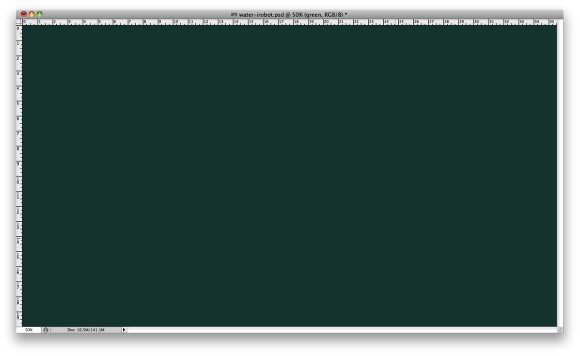
Add another layer and fill it with green (234b44)
Step 3
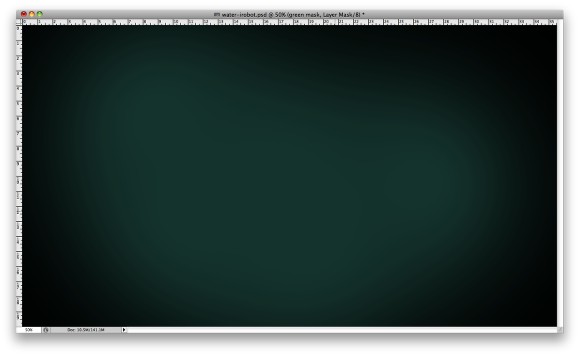
With the green layer selected go to Layer>Group Layer. The layer will be inside a folder in the Layer Palette. Select this folder and go to Layer>Layer Mask>Hide All. Select the Brush Tool (B) and, with a big soft brush, paint with white over the areas you want to be shown,
Step 4
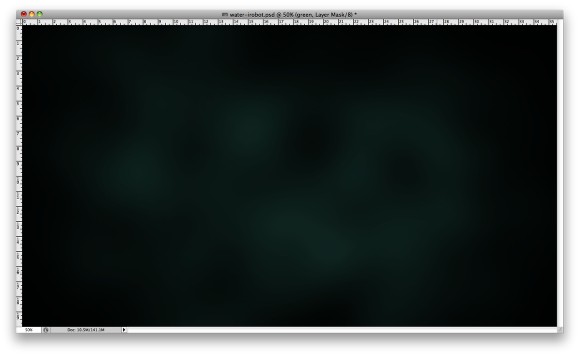
Select the green layer now and go to Layer>Layer Mask>Reveal All. Over the layer palette, select the mask of the layer and go to Filter>Render>Clouds. You will apply the clouds into the mask. After that, still with the mask selected, go to Filter>Blur>Gaussian Blur. Use a big value, I used 80px for the Radius but this value will vary depending on the size of your document.
Step 5
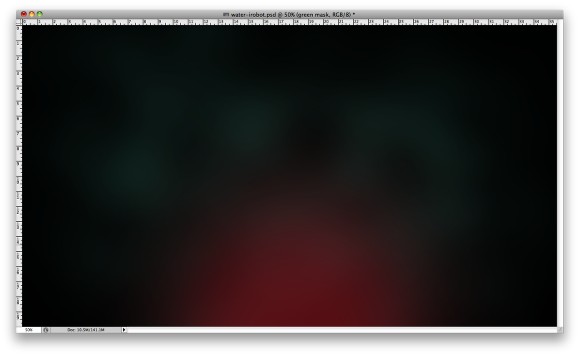
Add another layer on top of the others and with the Brush Tool (B) and a very soft brush, paint a red spot light like I did in the image below. Change the Opacity of this layer to 65% as well.
Step 6
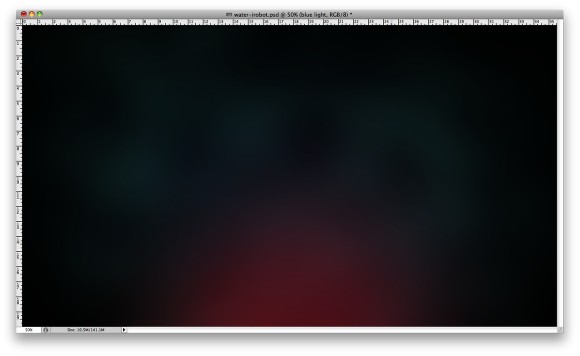
Add another layer on top of the others and then again with the Brush Tool (B) and the big brush you used before, select now a dark blue and paint some areas above the red. This blue has to be very subtle, so change the Opacity to 20-30%.
Step 7
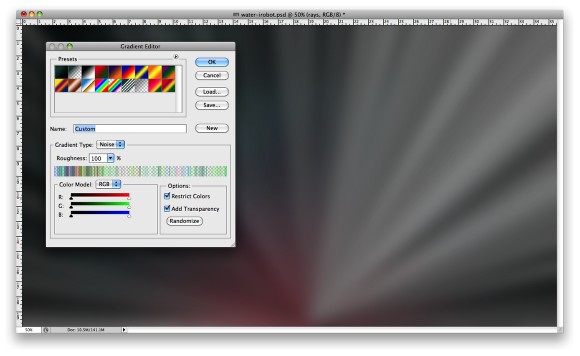
Add another layer and then select the Gradient Tool (G). Click on the gradient colors to open the Gradient Editor, then change the Type to Noise, the Roughness to 100% and select both Options: Restrict Colors and Add Transparency.
Fill the layer with the gradient and then go to Image>Adjustments>Desaturate. After that go to Filter>Blur>Gaussian Blur. I used 30 pixels for the Radius, but once again this value will change depending on the size of your document.
Step 8
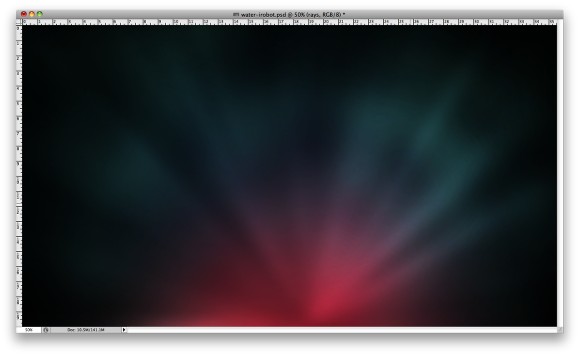
Just change the Blend Mode of the layer with the noise gradient to Color Dodge.
Step 9
For the bubbles I created a brush using a photo for reference. The photo I used was courtesy of Shutterstock and you can download it here. You can also download the brush I created here.
Add a new layer and then select the Brush Tool (B) and then using a big size, I used 400 pixels, paint some bubbles using white for the color. Group this layer (Layer>Group Layers) and change the Blend Mode of the Folder to Color Dodge.
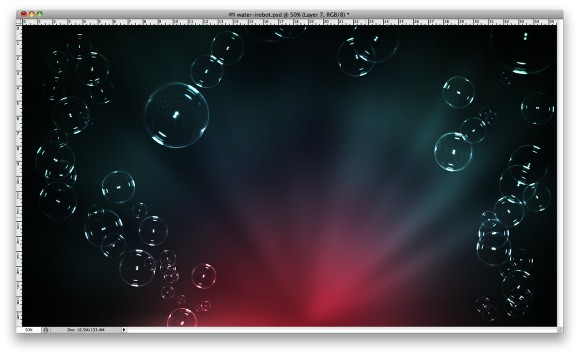
Step 10
Select the layer with the bubbles and go to Filter>Convert for Smart Filters. Then go to Filter>Blur>Gaussian Bur. Use 7 pixels for the Radius. The whole layer will get blurry, but notice that there is a sub layer with a white thumb called Smart Filters. Select the Brush Tool (B), with black for the color and start painting over the bubbles you don't want them to be blurry. It's like a maks for the smart filters.
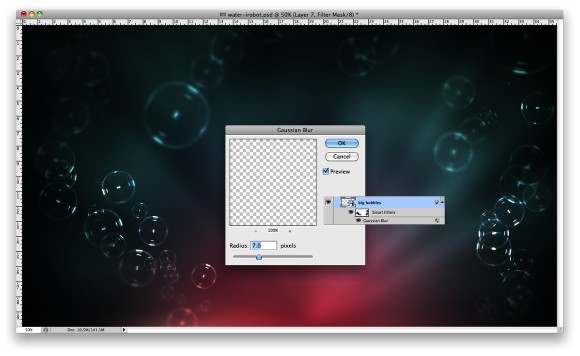
Step 11
Import your logo and go to Layer>Layer Styles>Blending Options. Change the Fill to 0, then select Inner Glow. Use Color Dodge for the Color, 50% for the Opacity and change the Size to 15pixels. After that select Bevel and Emboss. Use Inner Bevel for the Style, 90% for the Depth, Down for the Direction, 1 pixel for the Size, 5 pixels for the Soften. For the Shading options use 70º for the Ange and 16º for the Altitude. For the Highlight and Shadow Modes use Color Dodge with white for the colors and 100% Opacity.
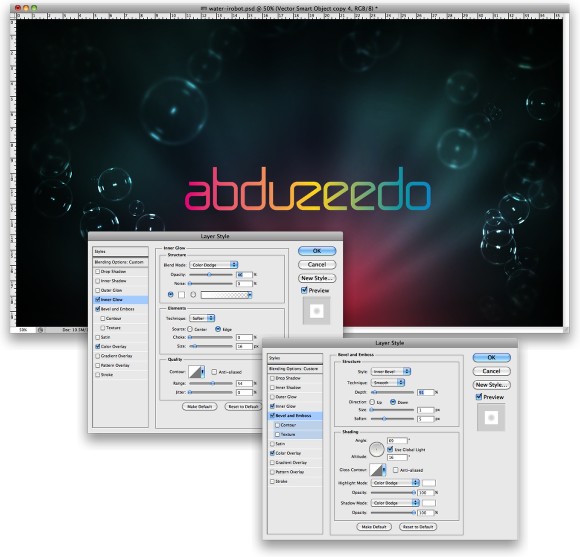
Step 12
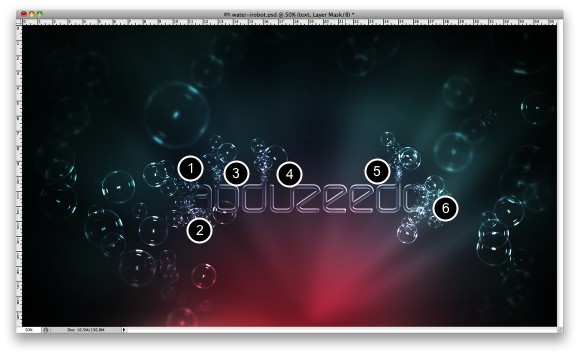
Add another layer, you can add it inside the folder of the other layer with Bubbles, the one we created in the step 9. With the Brush Tool (B) and the bubble brush, this time with a much smaller size, paint some bubbles over the A, B, Ds and O like the word would be disintegrating into bubbles.
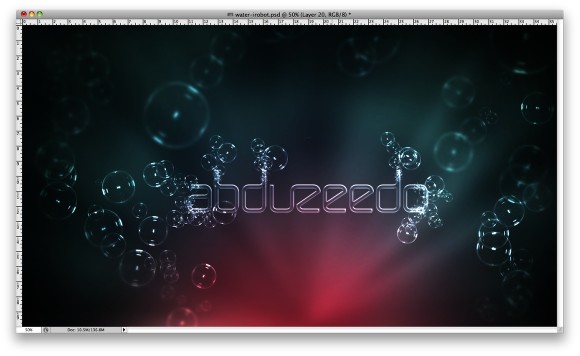
Step 13
Select the text layer and go to Layer>Layer Mask>Reveal All. With the Brush Tool (B) and soft brush with black paint over the areas that the text would be disintegrating into bubbles (1-6)
Step 14
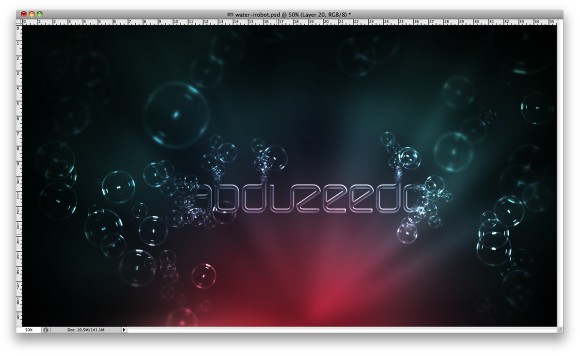
Select the bubbles layer the one that is over the text and the repeat the same technique we did on the Step 10 to make some parts of the layer blurrier than other areas.
Step 15
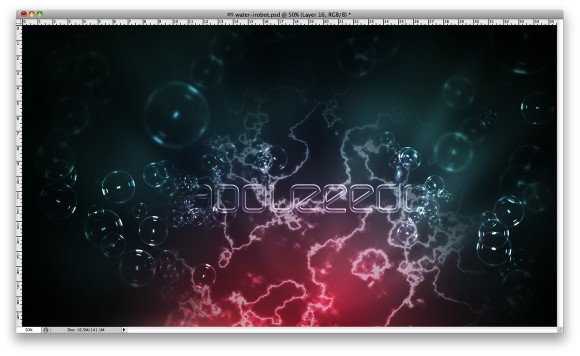
Add a layer on top of the others and go to Filter>Render>Clouds. Make sure you had black and white for the background and foreground colors. After that go to Filter>Render>Difference Clouds. The layer will be very dark, so go to Image>Adjustments>Invert, then go to Image>Adjustment>Levels. Increase the white input until you have an image like the one below.
Step 16
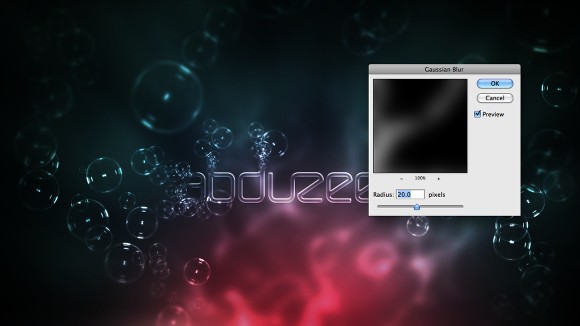
Change the Blend Mode to Color Dodge and go to Filter>Blur>Gaussian Blur. Use 20 pixels for the Radius. You can also reduce the Opacity to 60%.
Step 17
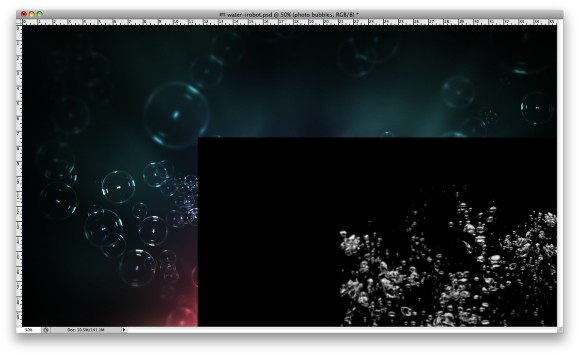
To give more realism to the composition you can add some real bubbles, here I'm using a photo that is courtesy of Shutterstock and you can find it here. As you can see the photo has black background, in this case, change the Blend Mode to Color Dodge so the black becomes transparent.
Step 18
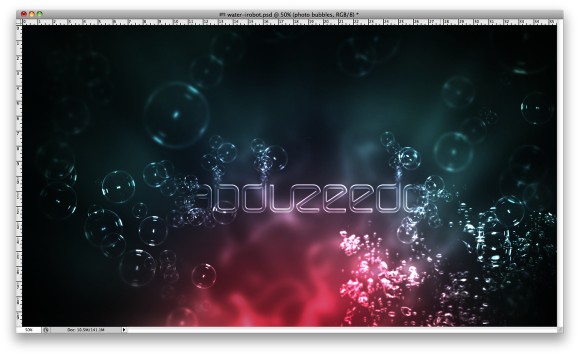
Once again you can convert the layer with the stock photo of bubbles to smart objects and then apply Gaussian Blur and paint of the areas you want to keep them without blur like we did on the Step 10.
Step 19
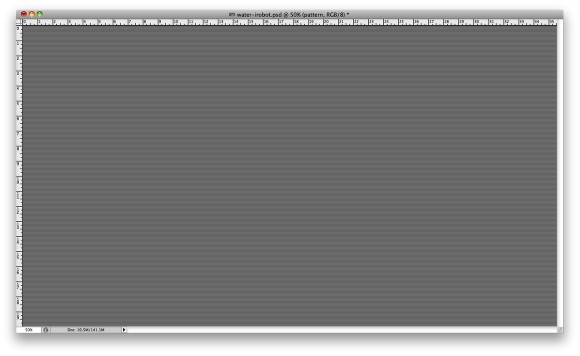
Add a layer on top of the others and then select the Paint Bucket Tool (G). Change the type to Pattern, then select the stripes pattern that I have created, you can download it here.
Fill the layer with the pattern and go to Filter>Blur>Gaussian Blur. Use 2 pixels for the Radius, then change the Blend Mode to Overlay and the Opacity to 50%.
Conclusion
The idea of this tutorial was to show you how to create a sort of underwater scene using basic tools like brushes and gradients combined with simple filters like blur and clouds. The whole process is pretty simple and you can now create some really nice wallpapers as well.
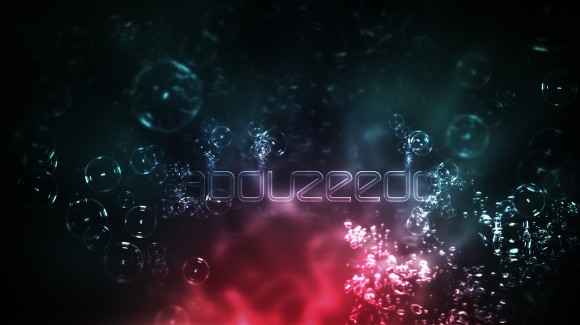
Click on the image for full preview.
Another Example

Download the Photoshop File
Click here to download the Photoshop files used for this tutorial