by abduzeedo
A few weeks ago I posted artwork I created for a poster inspired by the Man of Steel movie. I used Pixelmator for that project and got quite a few comments and requests about how to achieve the same effect in Photoshop. As Photoshop doesn't have the awesome Vintage filters that Pixelmator now has, I tried emulating the effect using brushes which I will share with you today.
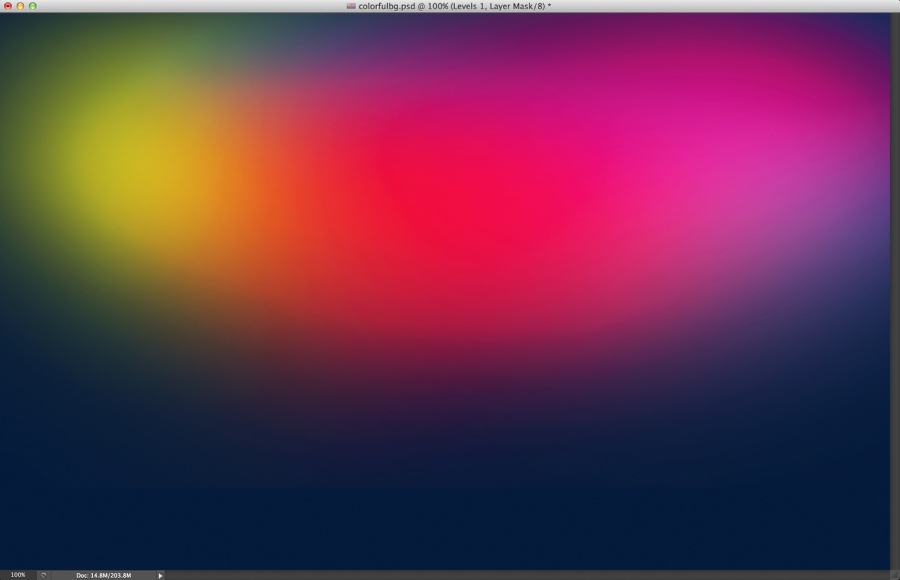
So in this tutorial I will show you how to create a nice colorful background using Photoshop. The whole process is pretty simple and straightforward. One good requirement is to understand a little bit of Color Theory in order to create different color combinations.
Step 1
Open Photoshop and create a new document. I am using 2880x1800 pixels. After that fill the background layer with black.
Step 2
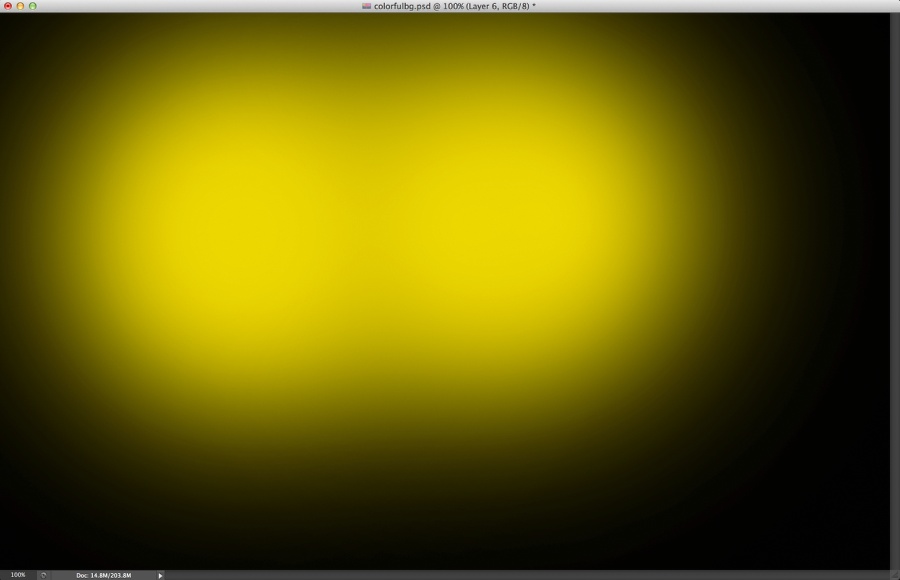
Create a new document and then with the Brush Tool (B) use a very soft brush and then paint some yellow brush spots.
Step 3
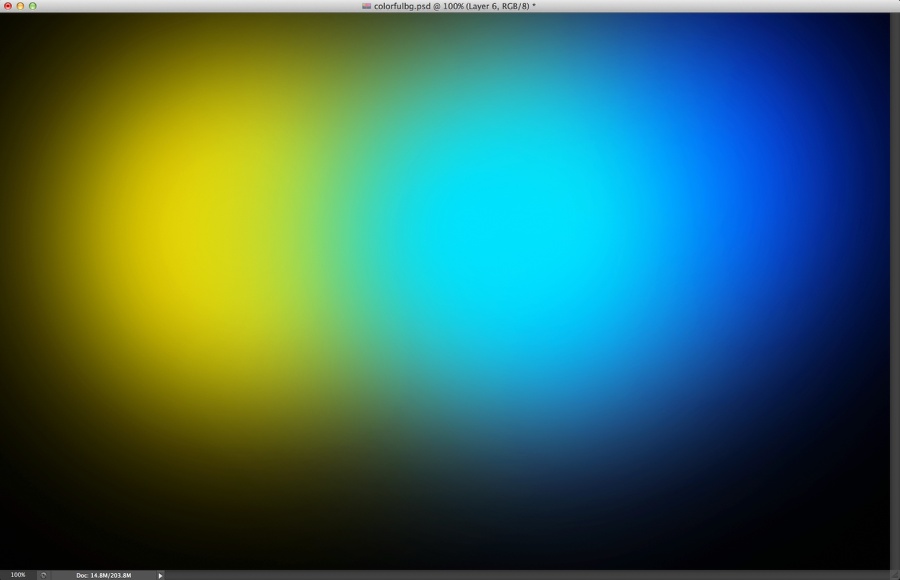
Add another layer and then still with the Brush Tool, paint now a blue spot next to the yellow.
Step 4
Add another layer and now paint a red spot. Use the image below for reference.
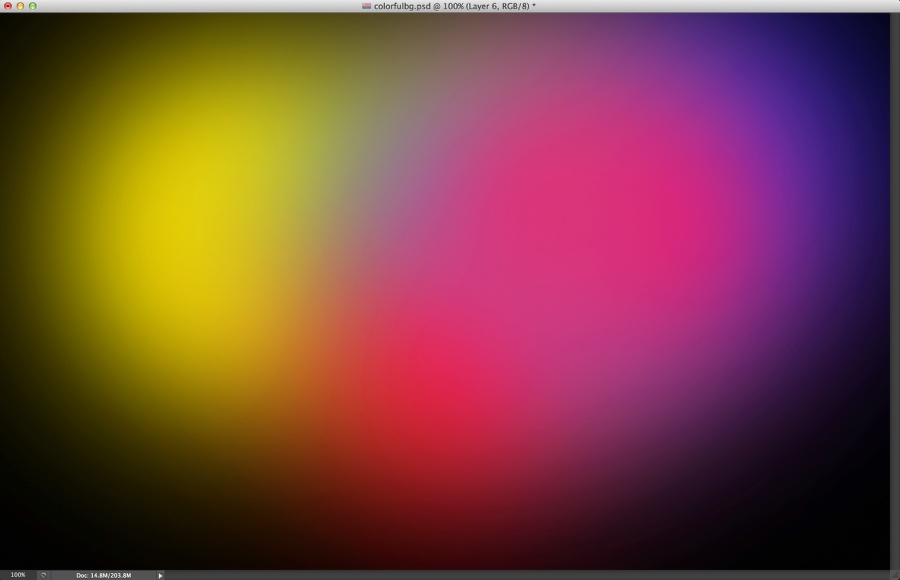
Step 5
Select the 3 layers and group them. After that convert the group to Smart Objects, Layer>Smart Objects>Convert to Smart Objects. Then go to Edit>Transform>Warp. Deform the mesh in order to make the colors transitions less uniform.
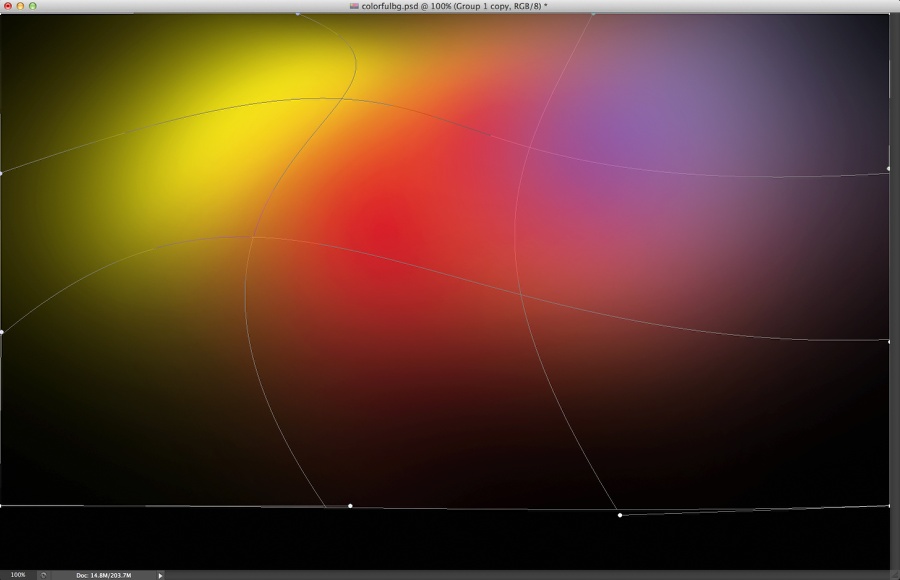
Step 6
Now resize the image a little bit, only in the height. Make sure the colors are blending well with the background, otherwise use the Eraser Tool (E) to smooth things out. Also go to Image>Adjustments>Levels. Boost the Black and White Inputs to increase the contrast.
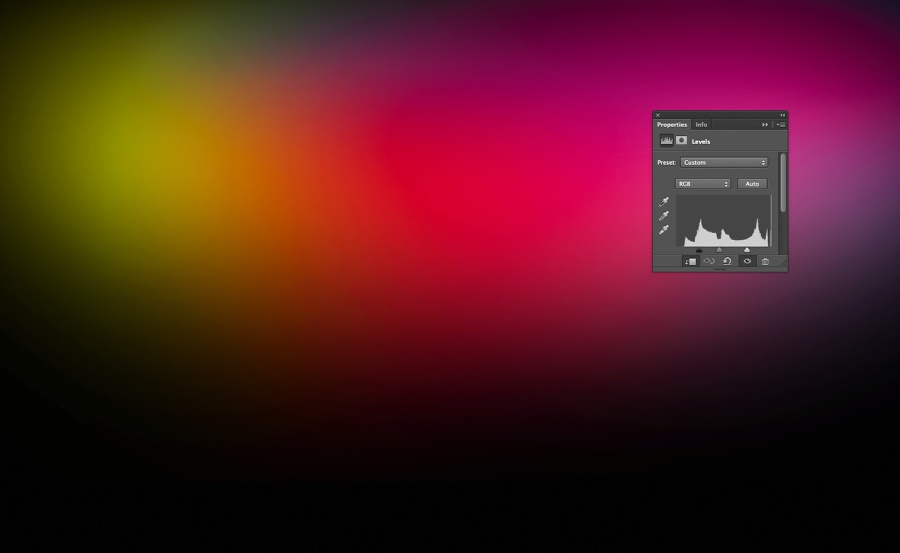
Step 7
Duplicate the layer with the colors and change its Blend Mode to Overlay.
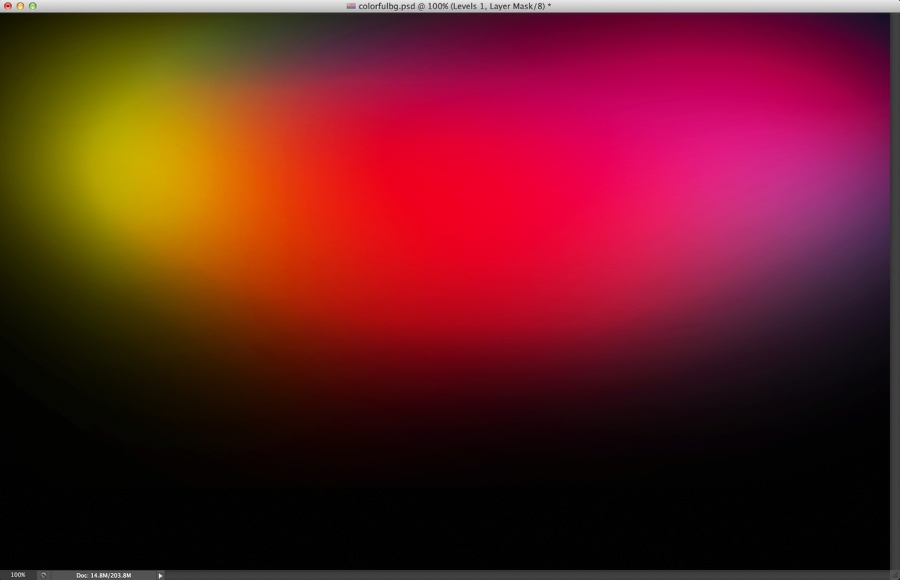
Step 8
Change the background color to a dark blue like the image below.
Conclusion
Add your logo and the image is done. There are lots of ways to achieve this effect, this for me is the easiest one, but it's up to you to come up with your own workflow. Remember the most important thing is to have fun.


