by abduzeedo
Vintage looking photography is super trendy especially with so many apps for Android and iPhone, apps like Instagram, Hipstmatic and so on. The vintage look is cool and easy to create in Pixelmator especially light leaks. That's why I decided to give it a try.
In this tutorial I will show you how to add a super cool vintage look to your photos in Pixelmator 2.0. The tutorial is very simple, it has 10 steps only and I'm sure you will have a lot of fun playing around with your photos.
Step 1
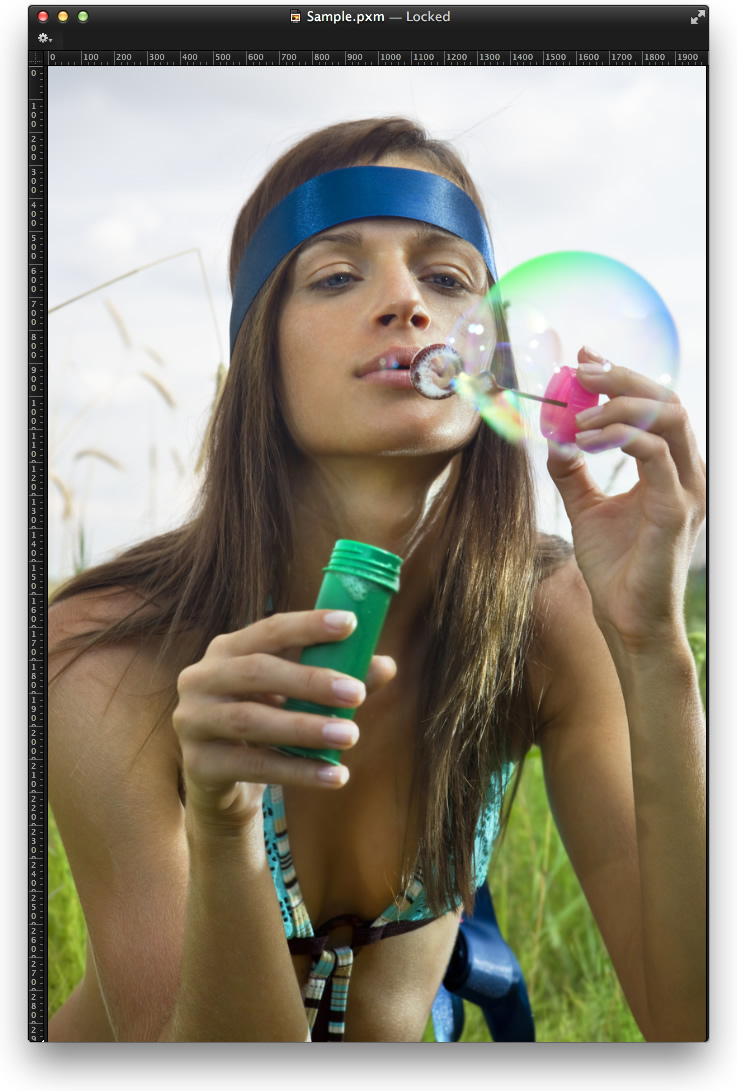
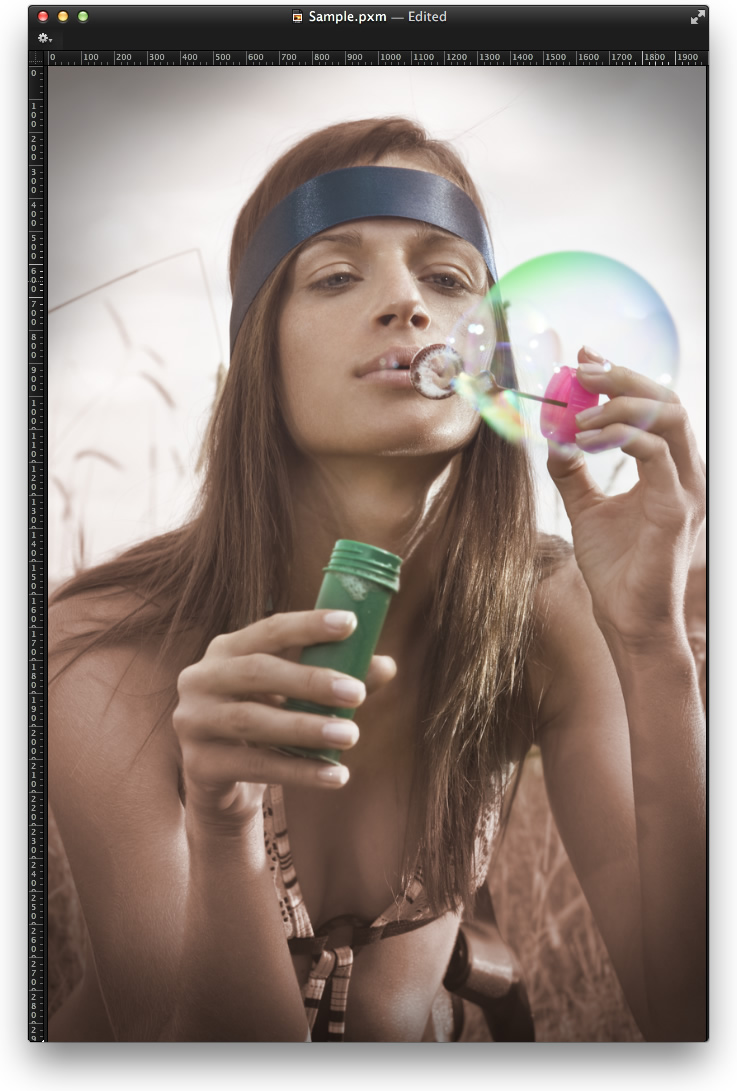
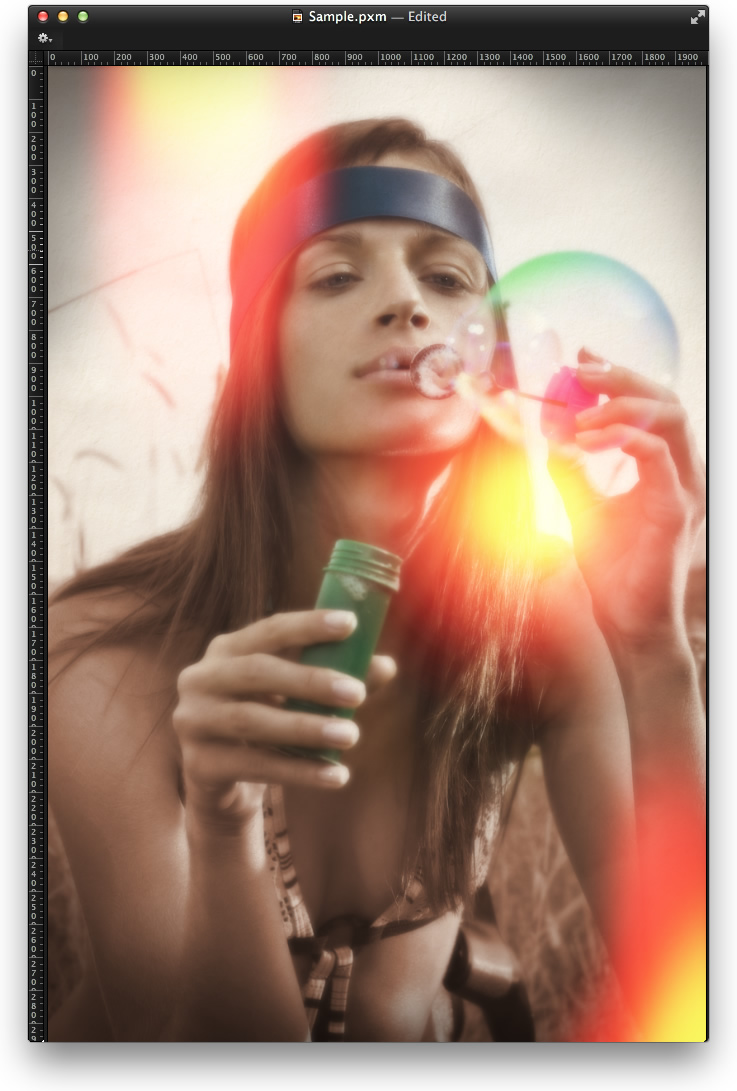
Open the photo you want to apply the vintage look in Pixelmator. The one I'm using is from ssuaphotos called beauty young woman blowing soap bubbles in summer day and you can find it here: http://www.shutterstock.com/pic-57812896/stock-photo-beauty-young-woman…
Step 2
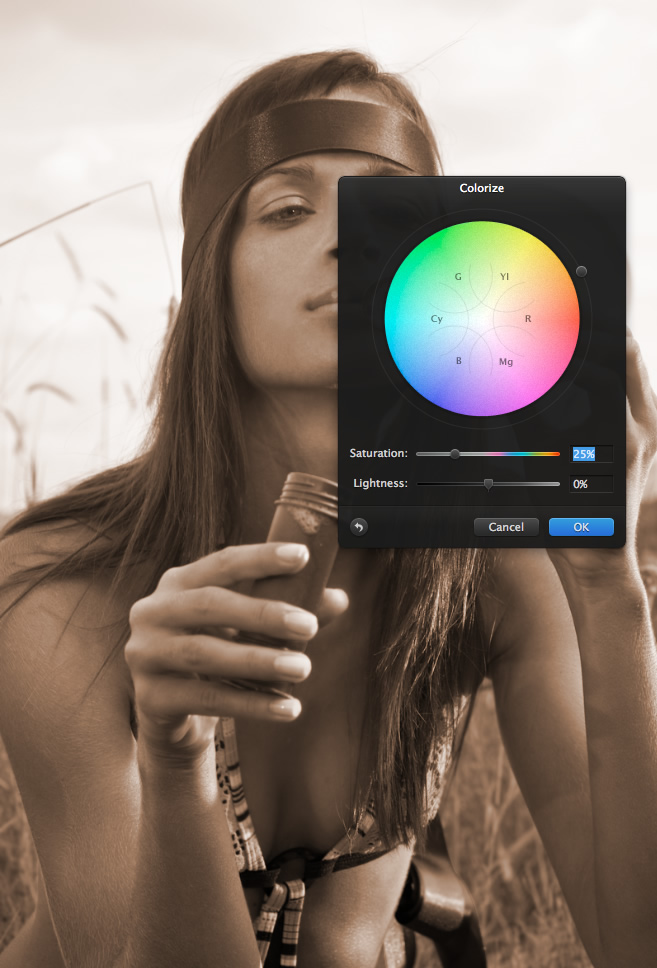
Duplicate the layer of the photo and go to Image>Colorize. Reduce the Saturation to 25 and keep the Lightness at 0.
Step 3
With the layer you just applied the Colorized adjustment selected go to Layer>Add Layer Mask. After that with the Brush Tool (B) and a very soft brush with grey for the color start painting on the mask over the soap bubble and her face in order to hide that part of the layer. The idea is to let her face and the soap bubble in color while the rest in that sort of sepia tone.

Step 4
Add a new layer and the with the Paint Bucket Tool (N) fill it with black. After that with the Brush Tool (B) and white for the color start painting on the center of the layer. Use the image below for reference, also if you want you can apply a Gaussian Blur to make it more subtle.
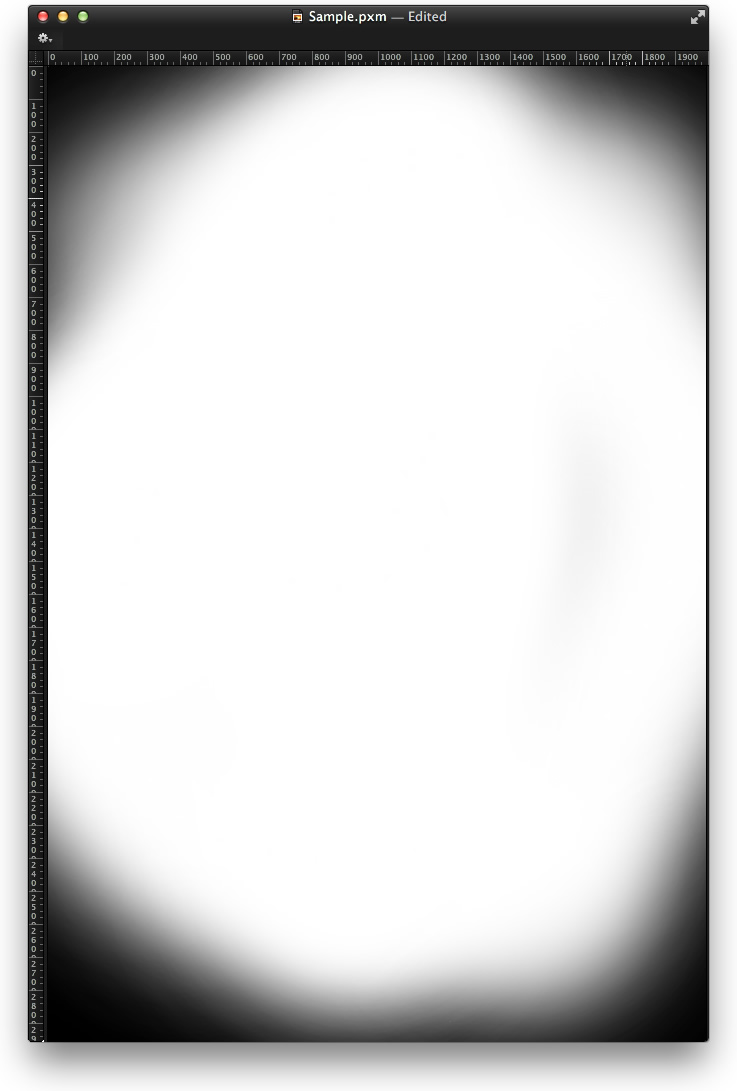
Step 5
Change the Blending of the layer to Multiply at 30% in order to create a vignette effect.
Step 6
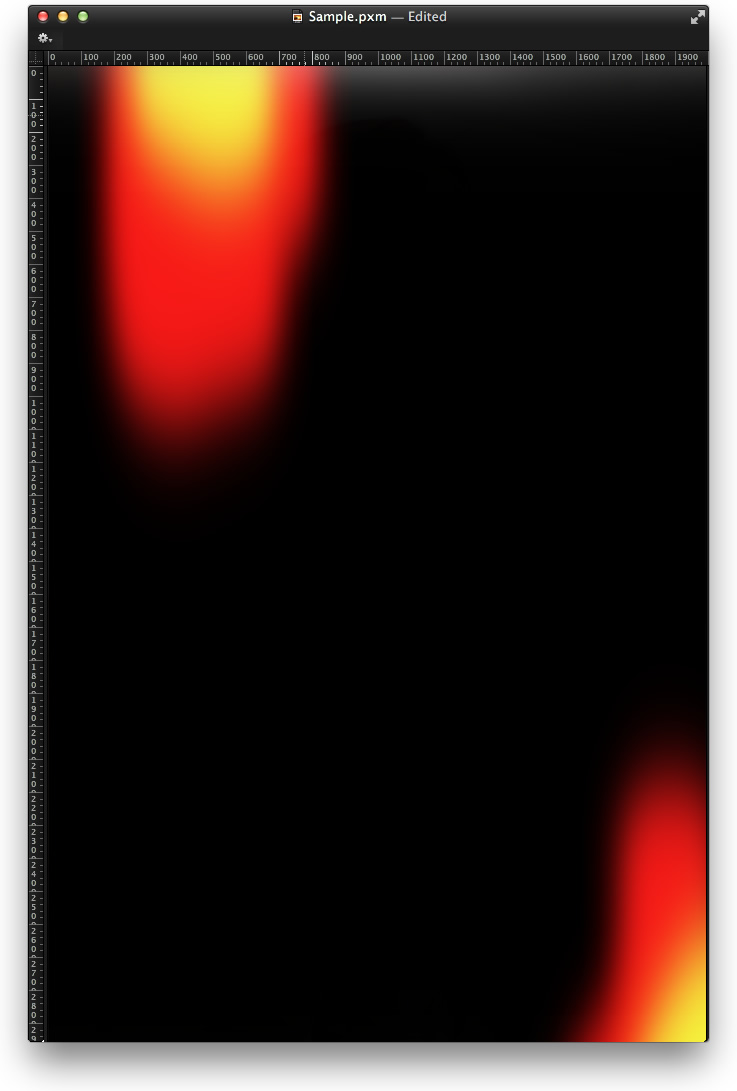
Add a layer on top of the others and with the Paint Bucket Tool (N) fill it with black, after that with the Brush Tool (B) and red for the color paint some spots that you want to create a light leak effect. Once you have the red spots, still with the Brush Tool, select yellow for the color and then paint some smaller yellow spots over the red ones. Use the image below for reference.
Tip: Use the motion blur with 90º angle to make the effect more realistic.
Step 7
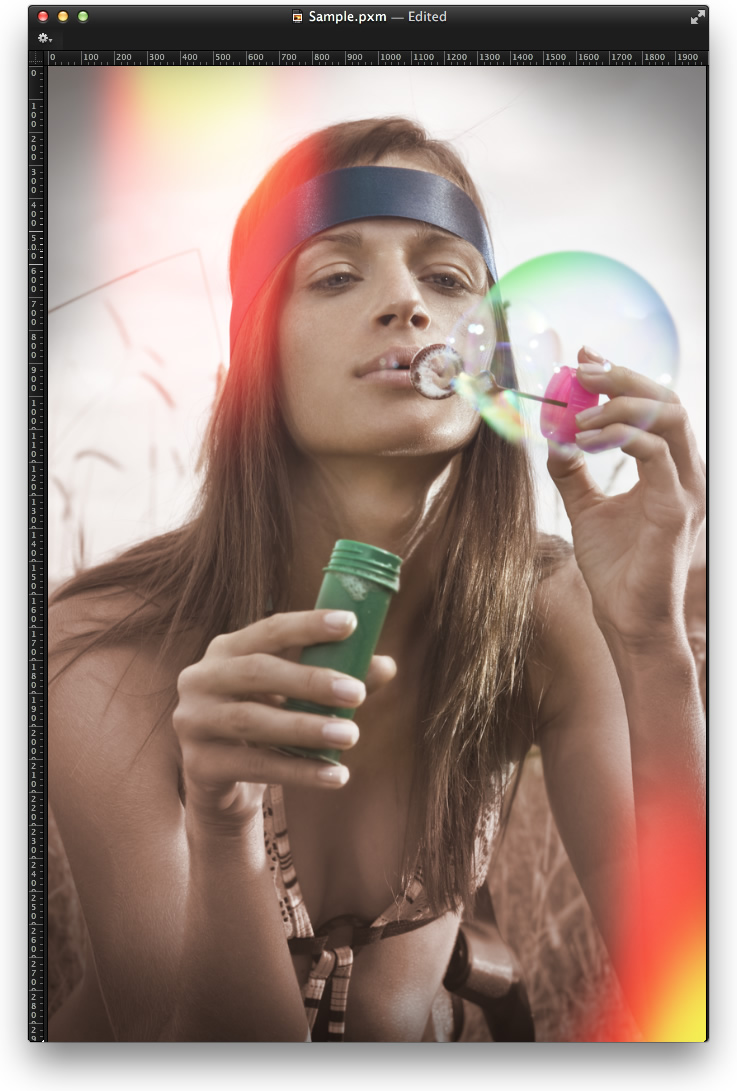
Change the Blending to Screen to create a really nice light leak effect.
Step 8
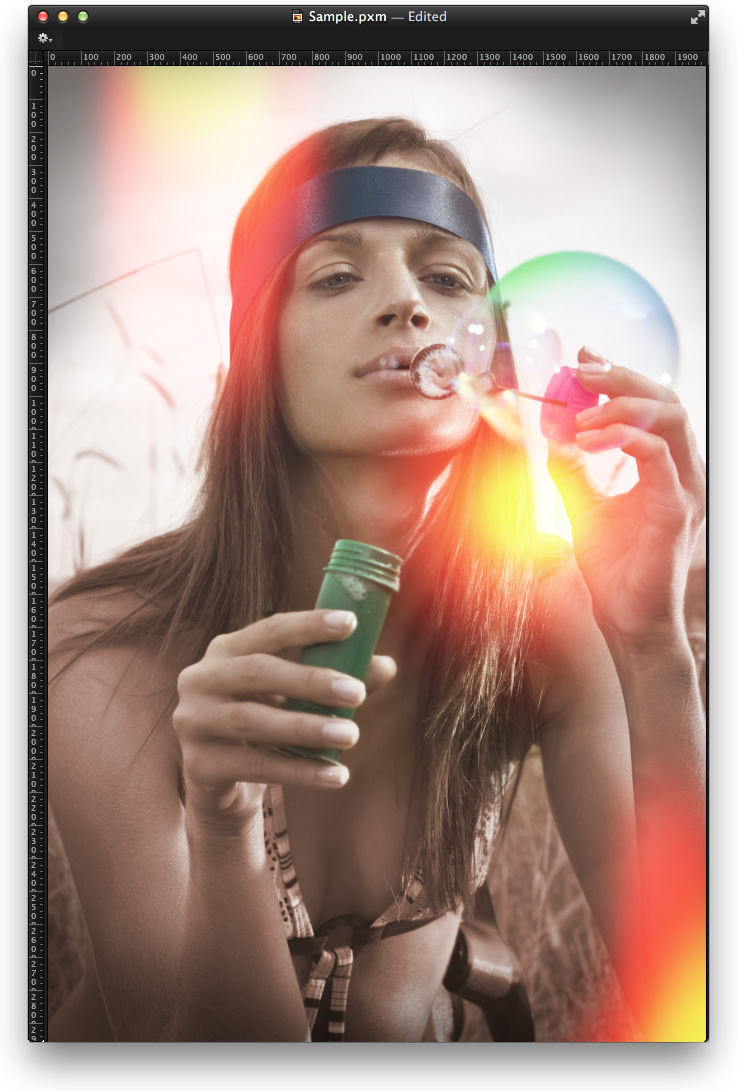
Repeat the same thing to create the flares effect over her shoulder.
Step 9
Select all layers and duplicate them, after that, with all the duplicated copies selected go to Layer>Merge Layers. You will have one layer with all the effects merged. Go to Filter>Blur>Gaussian Blur. Use 10 for the Radius.

Step 10
Duplicate this layer once, you will have 2 blurry layers. With the one on top change the Blending to Screen at 50% and the one that is beneath, use Soft Light at 50%.
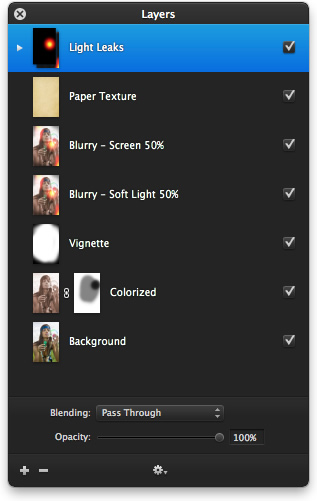
Layers Order
Conclusion
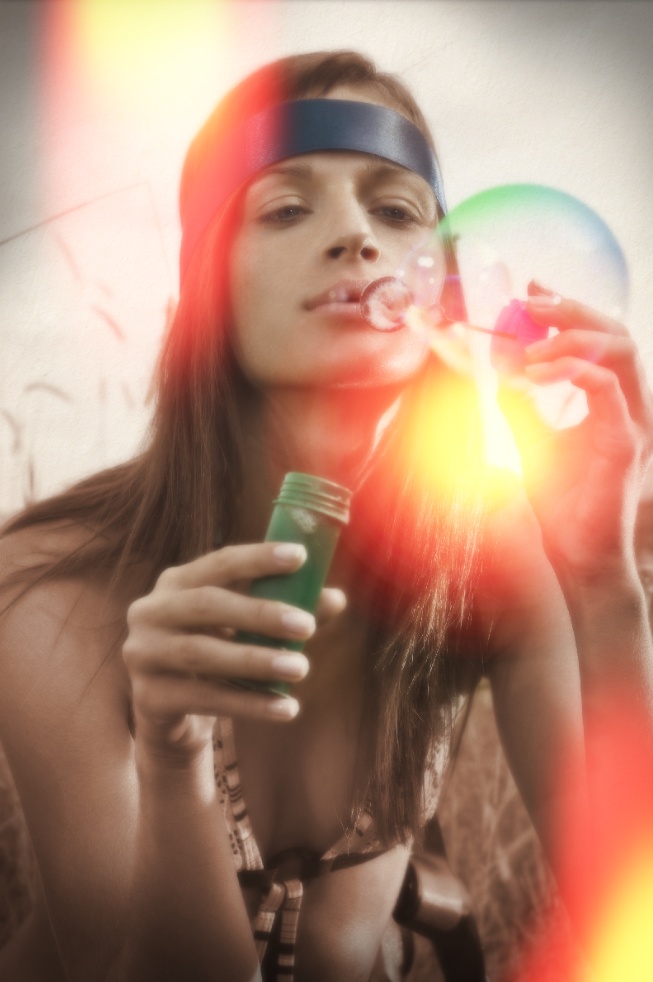
You can add an old paper texture like a did in the final result, I'm using an texture from Shutterstock which you can find it here. For the Blending I used Multiply at 20%. Notice in the previous step that the light leaks layers are on top of the others, even though we have the merged layers. That's because I wanted to increase the strength of the light effect. Now it's up to you trying it with your own images.