by abduzeedo
The tutorial of this week is from one of our readers, his name is Trisme and he is an illustrator, digital artist and web designer from Poland. Trisme will show us how he created the design called AeroStuff, it's a really cool artwork mixing photos and some 3D objects. The best thing about blogging is that we have the chance to see how digital artist from all around the globe overcome the challenge of making an idea come true. In this little tutorial/case study it's not different.
The idea I had in mind was to show some sort of air/gravity applying a force on some objects in a very visual and sort of abstract form - inspired by some airy d'n'b beats I just started this piece.
Resources

Step 1
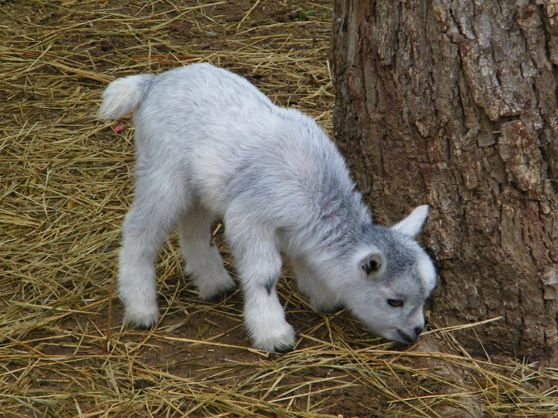
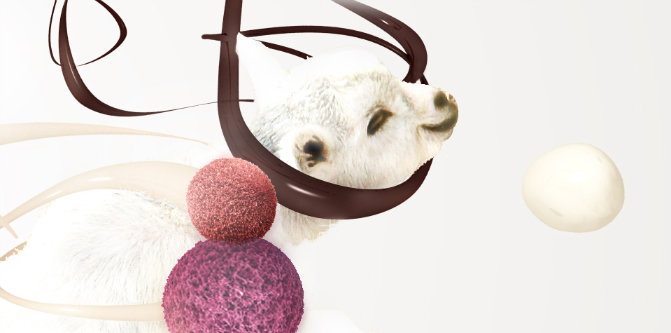
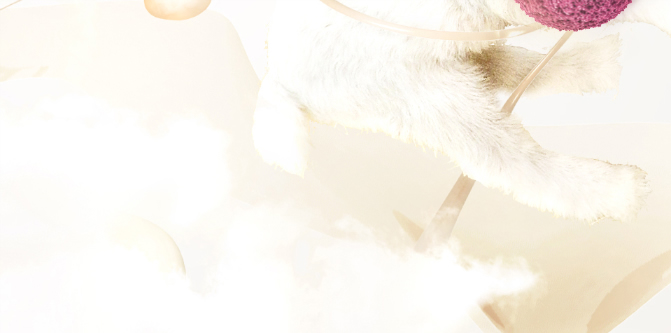
Firstly I imported and placed the sheep, because they remind me of light and soft stuff, I don't know why. The gradient and the rest of the composition was related to this idea I had in mind and want to turn into an real artwork.
Step 2
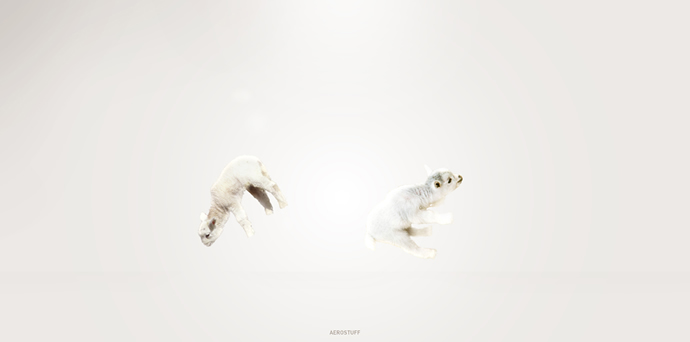
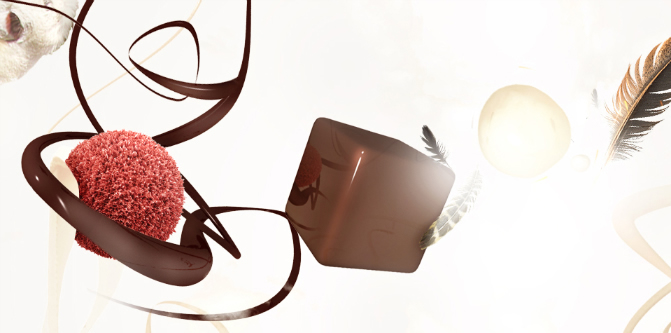
With the sheep and gradient, the next step I started adding some abstract 3d shapes that I had rendered before.
Step 3
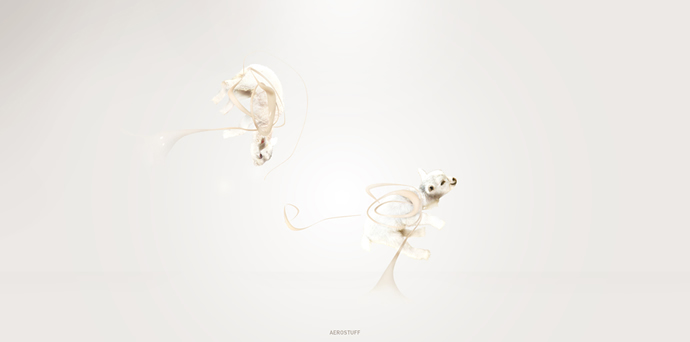
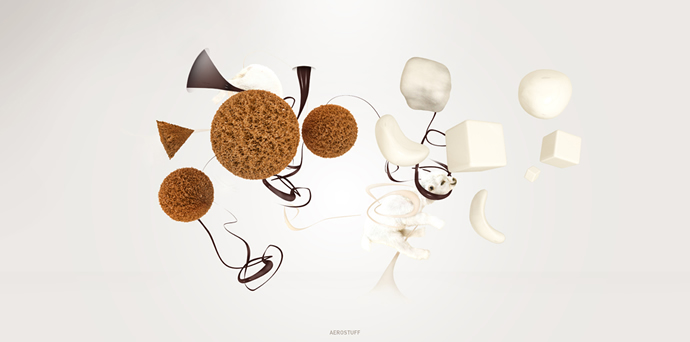
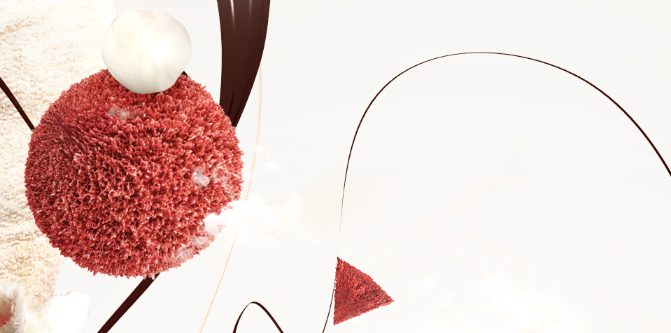
Some other 3D render objects this time with a bronze color for contrast. After that, as you can see in the image below, the composition has some more coffee/creamy look which is exactly what I wanted to achieve.
Step 4
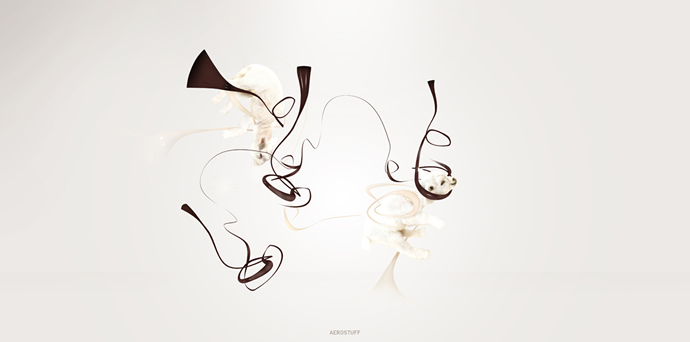
Here I needed to do some changes like small details and shadows were added, also, those big 3D objects that you can see in the first plane. I still was just checking to see if that would work.
Step 5
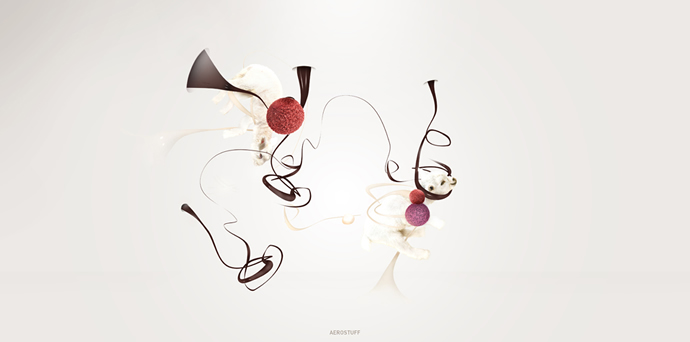
Time for a major resizing and I also replaced some elements and colorize some as well.
Step 6
Here I added other 3D objects and had to make some little changes as well.
Step 7
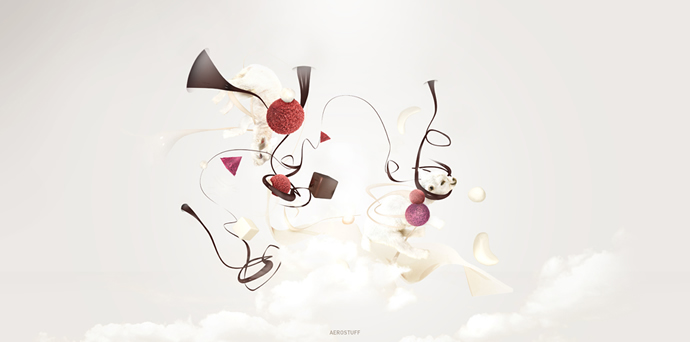
In this phase it was time to add clouds and try some different light effects.
Step 8
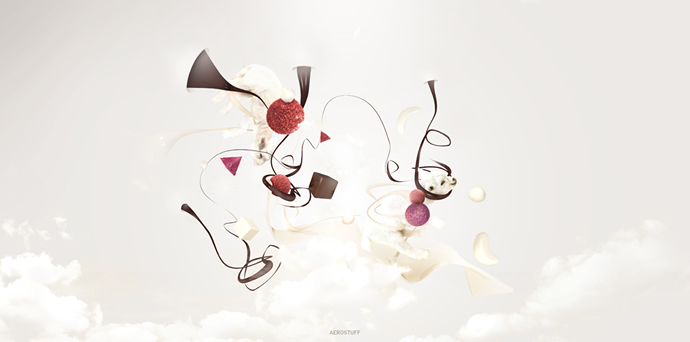
Still playing with the clouds.
Step 9
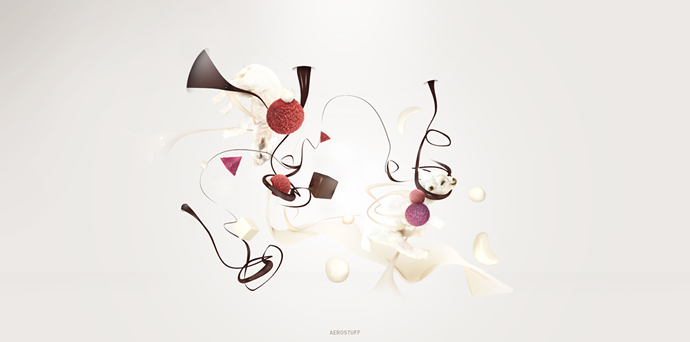
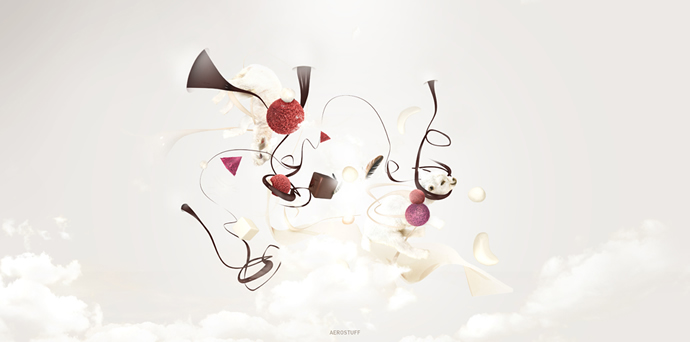
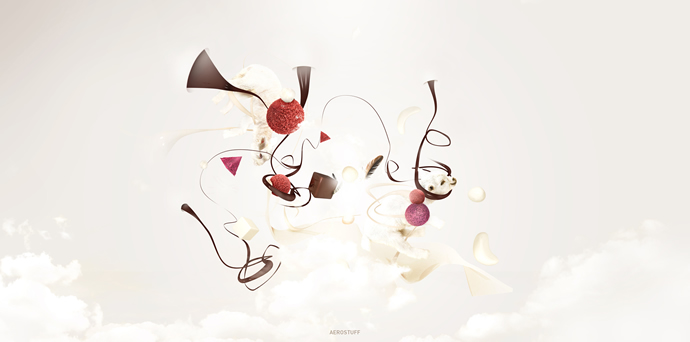
To create a better focal point I added some elements in the middle as you can see in the image below. After that some little adjustments and finished.
Conclusion
Looks easy but I have to say, I spent quite some time to create this. I hope it might help you. Thank you very much for following along.
Details
For more information about Trisme visit his Web site at http://cargocollective.com/trismeart. You can also check out his Behance Profile and his DeviantArt profile.


