by abduzeedo
Designers tend to put off their portfolio until it becomes a big, looming task hanging over their heads. Carbonmade changes that. If the name "Carbonmade" sounds familiar to you, it's because the portfolio builder has been around since 2005 – but it's a completely different tool now.
The new Carbonmade is block-based, so you can layout pages and build your site easily without overthinking it. And even better, you're not locked into templates. If you want to redesign your homepage, you don't need to start from scratch with a new template. You just update your grid, swap out your navigation or change your header. You can keep it simple or personalize your site from the top down.
Here we'll focus on creating a simple design portfolio in 5 steps, so you can see how easy the building experience is. If you want to take it further after that, you can. (Plus it's free to use until you launch, so you might as well try it.)

Let's get started!
Requirements
The only thing you need for this tutorial is Carbonmade.
You can sign up for free here with an email address – no need to enter a credit card or any other info. (Or if you already have an account, login at carbonmade.app and pick a starting point for your layout.)
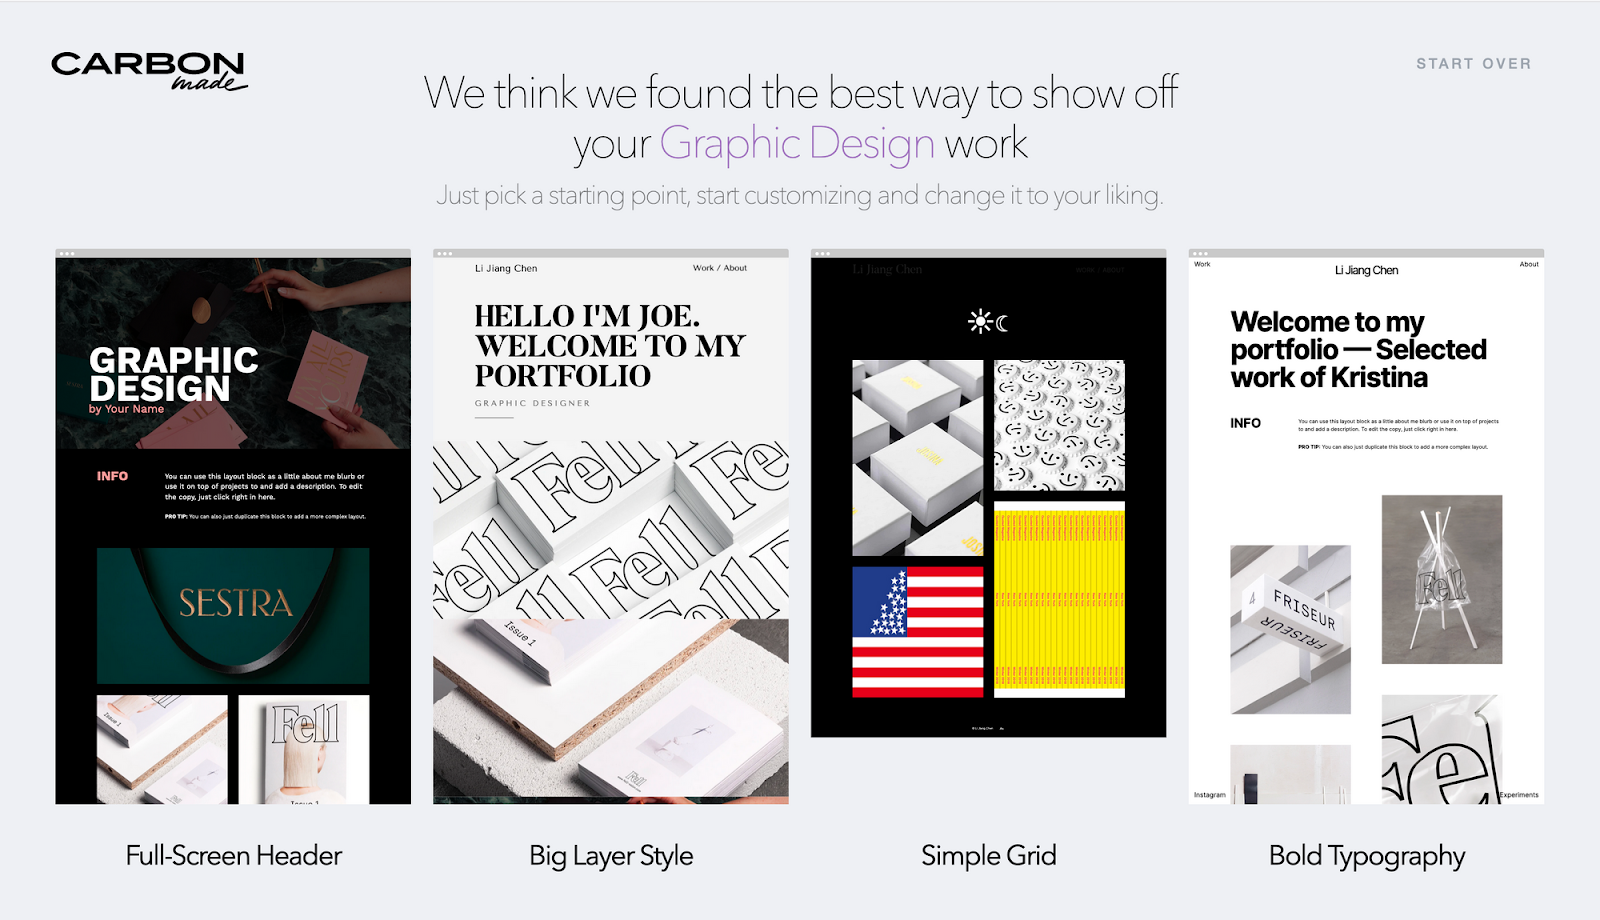
Here I'm starting with the "Big Layer Style."
Step 1: Edit the intro on your homepage
First, edit the headline and add your introduction. Don't overthink this – just tell us your name and what you do.
Step 2: Create your first case project
Next we'll create your first project. Click "Project" in the left-hand sidebar and upload a thumbnail to represent the project. Hit "Publish" under the thumbnail and it will appear on your homepage and link to your project page.
Now within the project, drag & drop your hero image onto your default "Fullscreen Cover" block. I'm deleting the text to put the focus on the full-screen image.

Next, drag the "Title & Teaser" block onto the page and type in the title and the type of project.
Now drag & drop the "Text/Embed" block onto the page and paste in your project overview. This can be just a few sentences summarizing the project and who you made it for.
And now we'll finish building out the project with the rest of our images. Alternate "Image/Video/Audio" blocks and "Text/Embed" blocks to describe your project in phases, from challenge to solution. For tips on writing case studies, read this article.
PRO TIP: Carbonmade is not limited to just JPEG or PNG images. You can drag and drop other file types like Photoshop files or video, and Carbonmade will optimize it like magic.
Step 3: Upload your logo
Have a custom logo? Under the Design tab on the left, click "Logo & Title" and drag your logo file into the Upload section.
Step 4: Create your About page
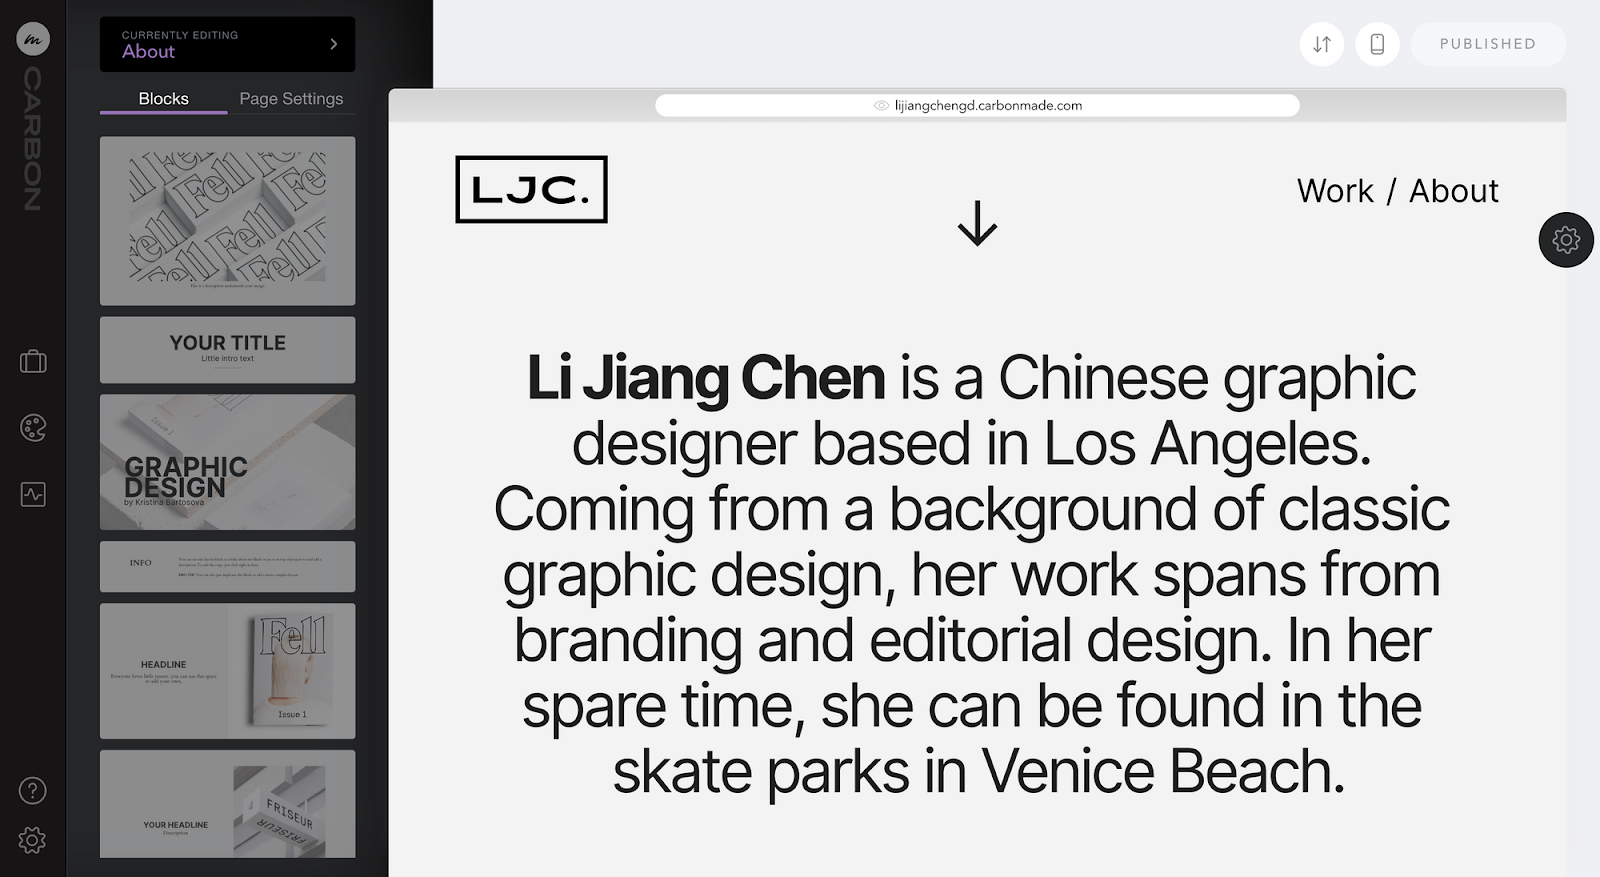
Now let's make it personal. Go to your default About page and drag your best photo into the default “Image/Audio/Video” block.
Next, click to edit the text and tell us a little about yourself. Where are you from? What is your main focus in design? Do you believe parallel universes exist? Show a little personality here. Make sure we remember you.
Now add the “Experience Details” block to list out your work history and any special press links, awards or speaking engagements you're proud of. Make mom proud.
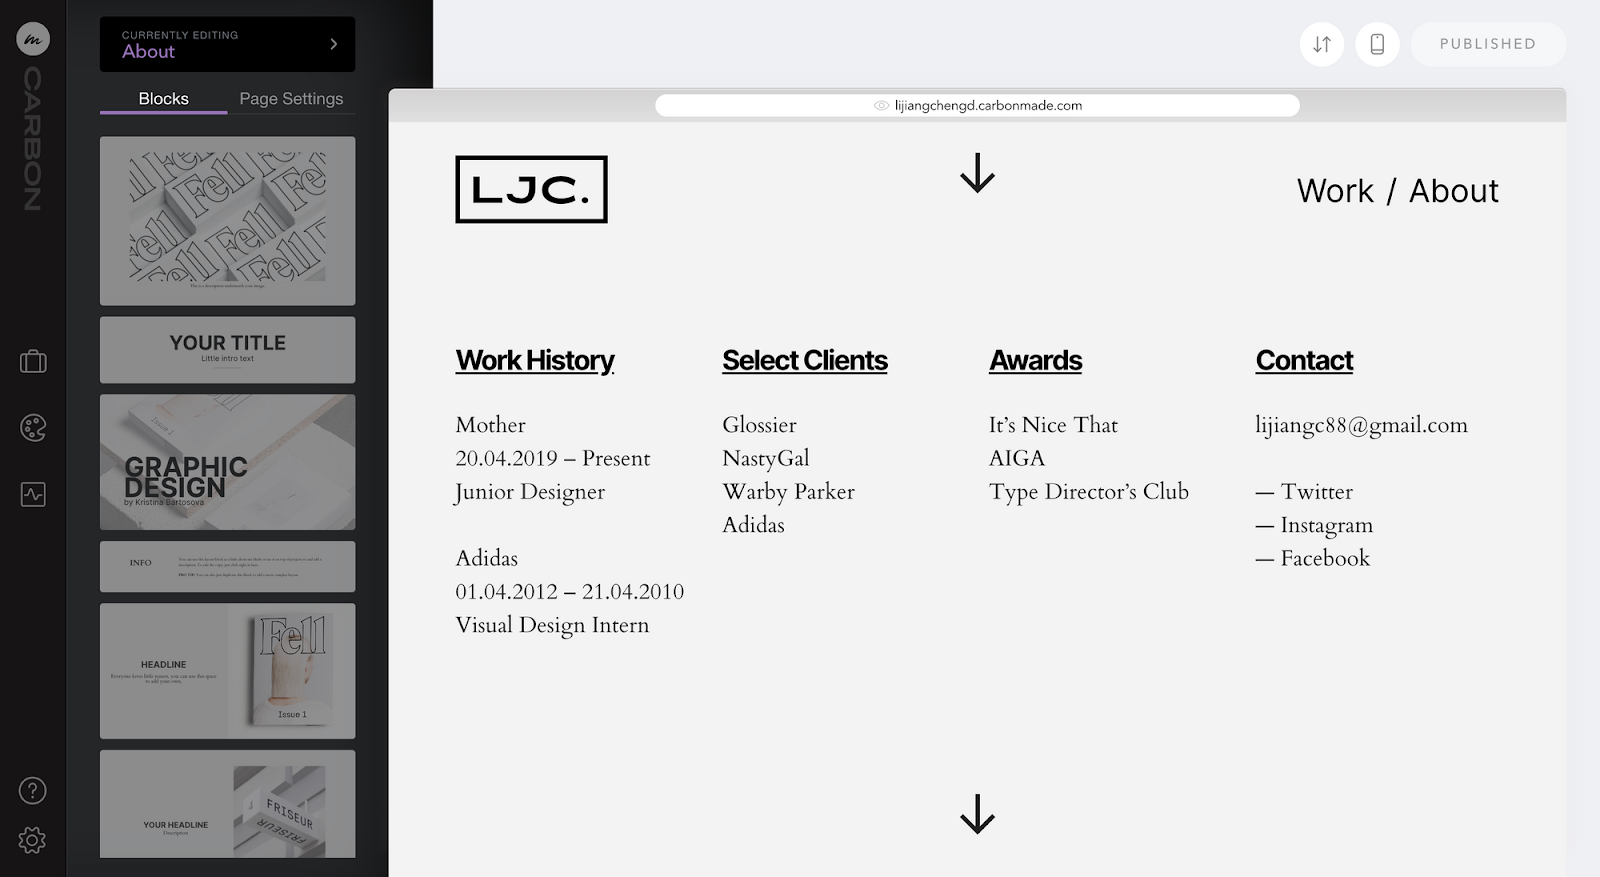
Hey, don't forget your contact info. To add your email address and social links, simply drag in a "Contact info" block onto the page and swap out the text.
Step 5: LAUNCH
That's it! Now it's time to launch. Simply click the GO LIVE button, add your payment info, choose a domain name and you're live.
Check out the completed demo right here.
In less time it takes to stress about updating your portfolio, you've updated your portfolio.
To see examples of other portfolios built with Carbonmade,visit this page. And if you create your portfolio with this tutorial, be sure to let Carbonmade know on Twitter. They might feature it!


