by abduzeedo
Back to my image a week after a short vacation, much needed. I have also been spending my time with the new Abduzeedo which is looking much sleeker and soon will be going live. This week I decided to recreate an effect I saw a couple of weeks ago and I saved the screenshot because I thought it would be awesome to know how to do it. After a few tries I think I got a good result, at least worth sharing with you guys.
Step 1
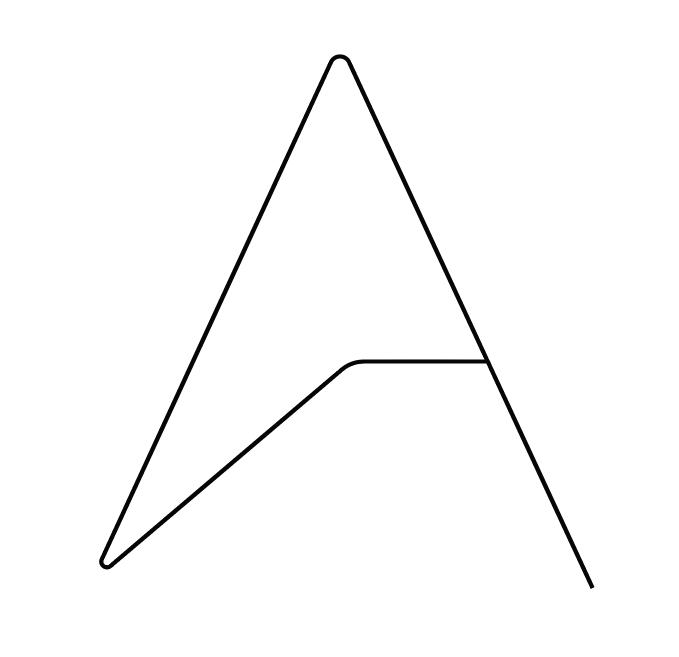
Starting with the simple path of the Abduzeedo logo in Illustrator.
Step 2
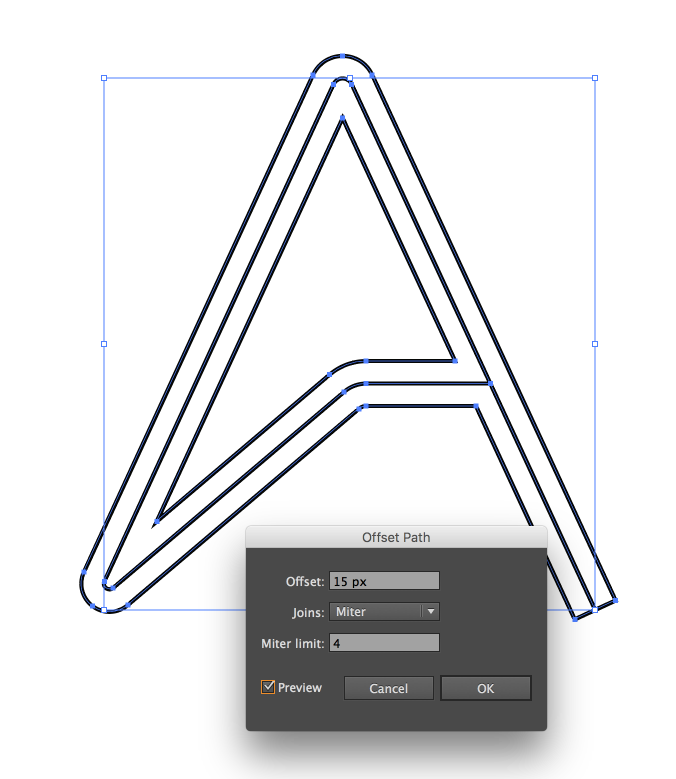
With the Offset Path I made the logo thicker and it will also be used to separate both sides.
Step 3
Here you can see the 2 different sides. I used red and black but that doesn't really matter because I will change those colors in Photoshop in the next steps.

Step 4
Paste the vector from Illustrator to Photoshop. With the Magic Wand Tool I selected the black color and created a new layer with that as a mask.

Step 5
Then I did the same thing for the red part.

Step 6
After creating the layers, create 2 folders and move the mask to each one of the folders. After that just add layers and start paiting. The mask will do the job of keeping them separate.

Step 7
I used the Lasso Tool (L) a few times to make some different cuts, like the 45 deg one on the you can see when the horizontal line connects with the other side.

Step 8
Here's after a few tries.

Step 9
The last thing I did was to add some shadow.

Conclusion
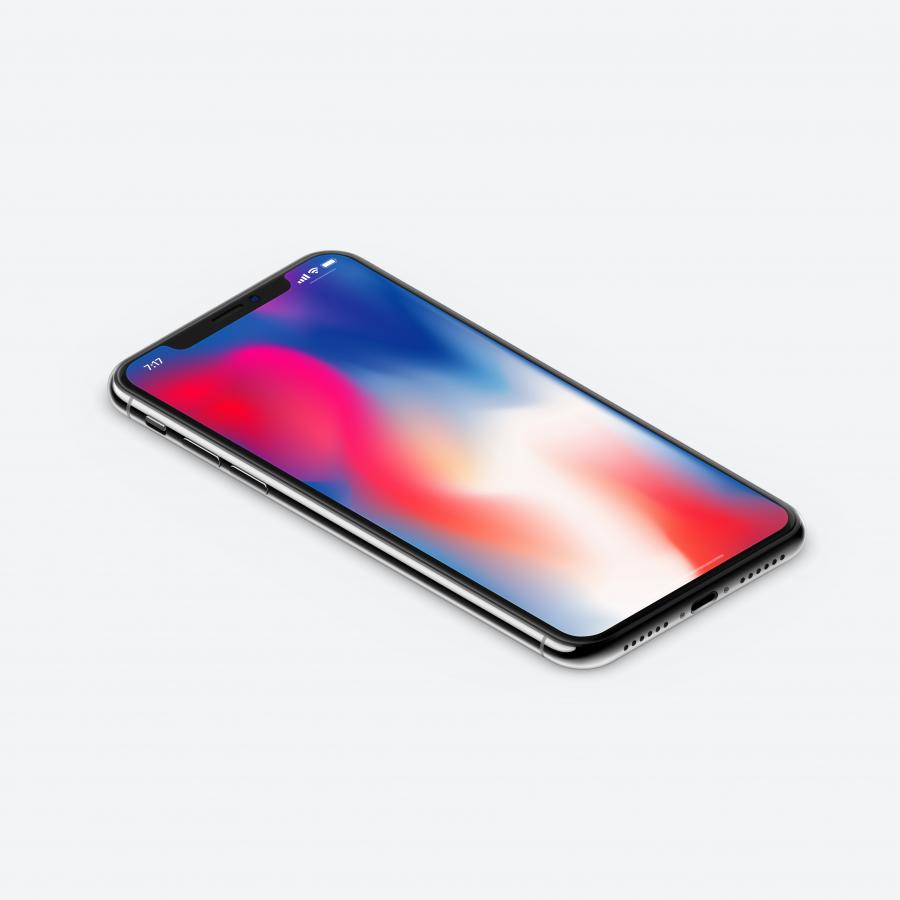
Here's the final image with a Photo Filter on top of it. This was a quick first try but I am very happy with the result, of course there's a lot to learn, but it's always good to learn some new things.

