by abduzeedo
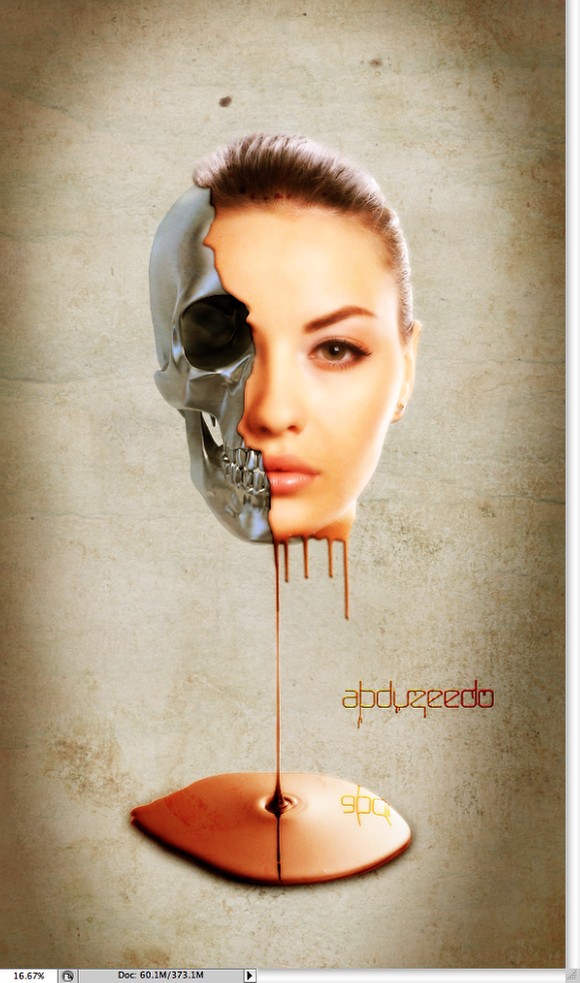
One of the best things in Photoshop, in my opinion, is that we can create all sorts of effects and photo manipulations mixing regular stock photos. A few weeks ago I used a few images to come up with a sort of surrealist design of a melting girl face over a metal skull. It's still a working in progress, but I decided to share with you how I did it.
So in this tutorial, I will show you how you can mix stock photos with blend modes, basic filters, and tools to create a really cool design. The whole process is very simple and won't take you more than 1 hour to finish the tutorial.
Step 1
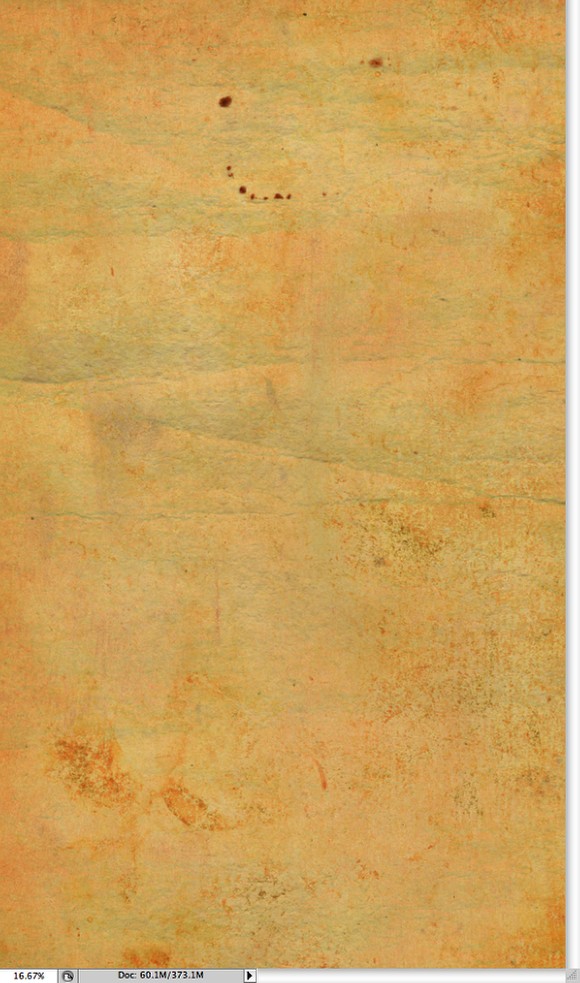
Open Photoshop and create a new document, the size I used for my is 3500x6000 pixels. Then import a paper texture into your document. The one I used is courtesy of Shutterstock and you can find it here http://www.shutterstock.com/pic-35221027/stock-photo-old-paper.html
Step 2
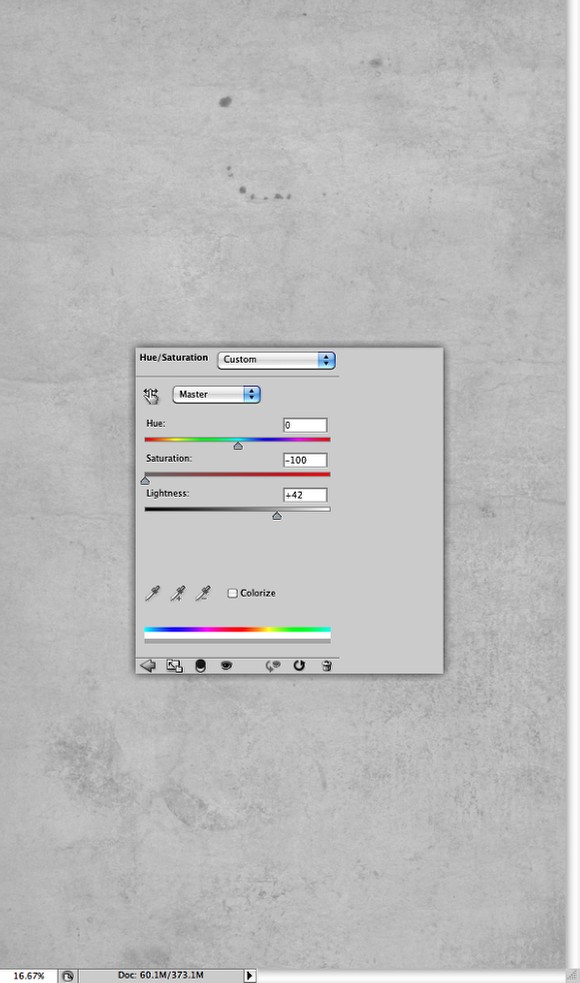
Select the paper texture and go to Image>Adjustment>Hue and Saturation. Reduce the Saturation to -100 and increase the Lightness to 42.
Step 3
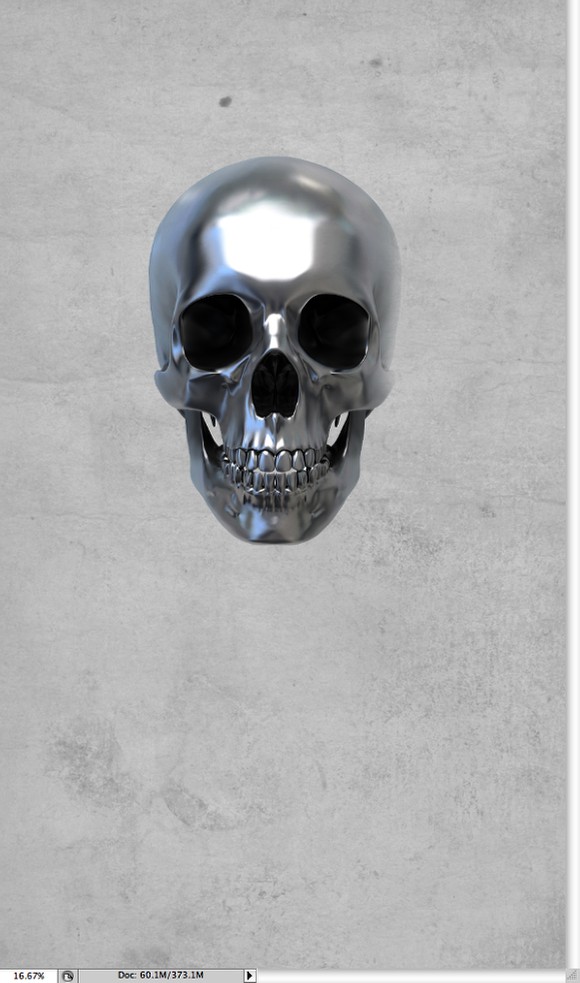
Here I used a stock photo of a skull. This one I used is courtesy of Shutterstock and can be downloaded at (http://www.shutterstock.com/pic-12754177/stock-photo--d-render-of-metal…). Extract the skull from the white background and place it in the center of your design.
Step 4
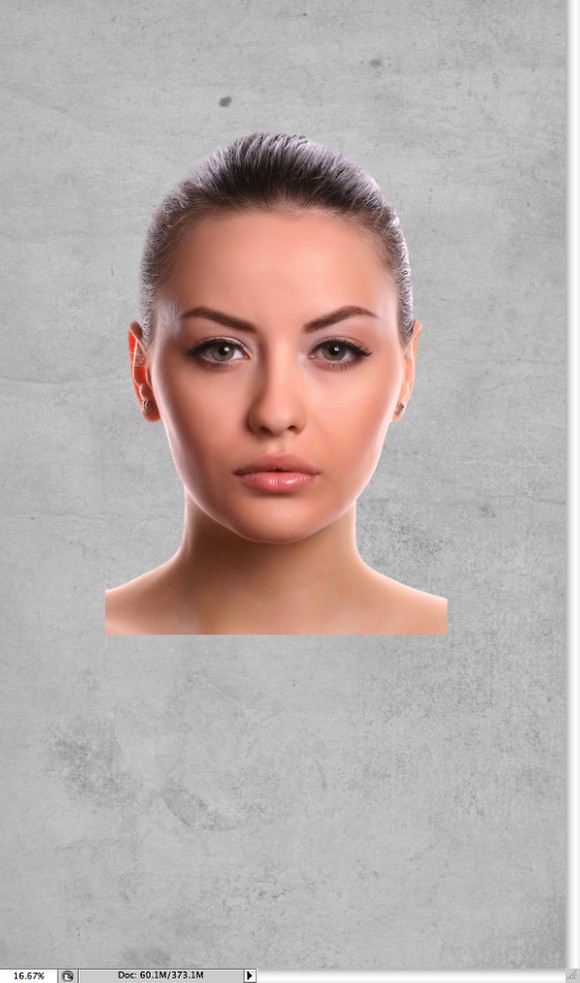
Now let's import a photo of a girl, again the image I used was courtesy of Shutterstock and can be downloaded at http://www.shutterstock.com/pic-30450358/stock-photo-attractive-young-w…. Once again extract the girl from the white background and place it in front of the skull layer.
Step 5
Reduce the opacity of the girl's photo so you can align it. Probably you will have to resize it to match the alignment.
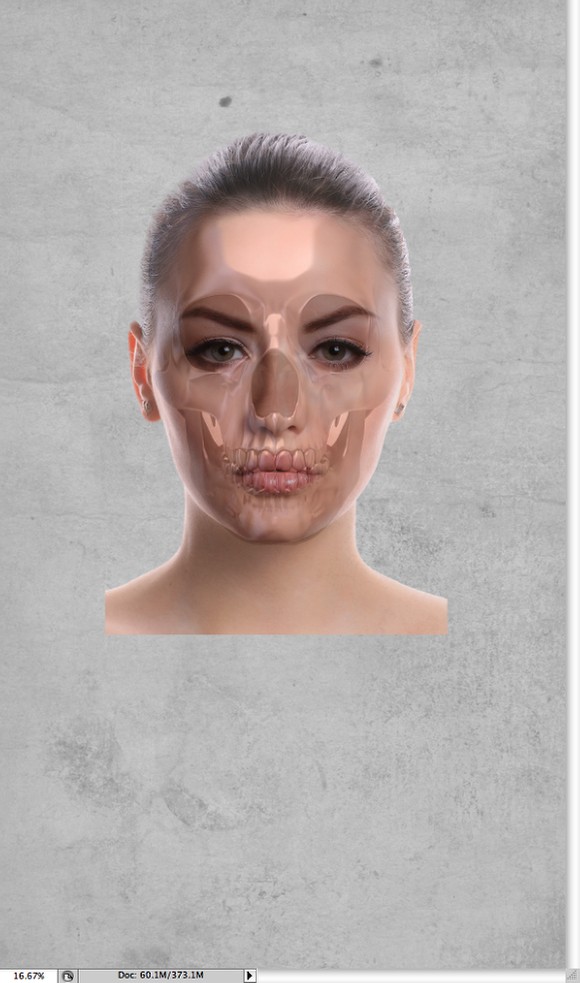
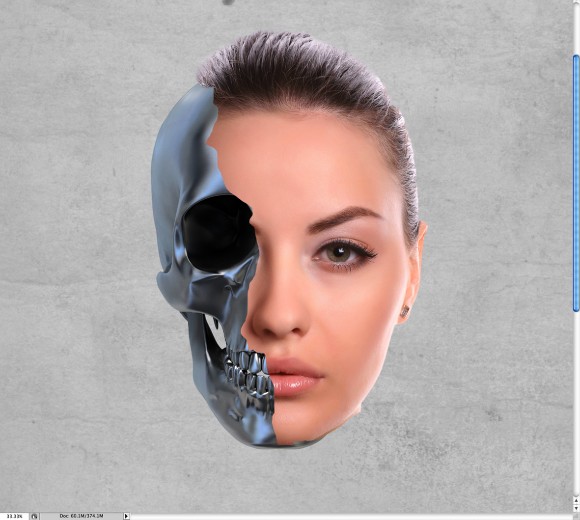
Step 6
With the Lasson Tool (L) select an area of the girl's face to delete. Then go to Layer>Layer Mask>Hide Selection.
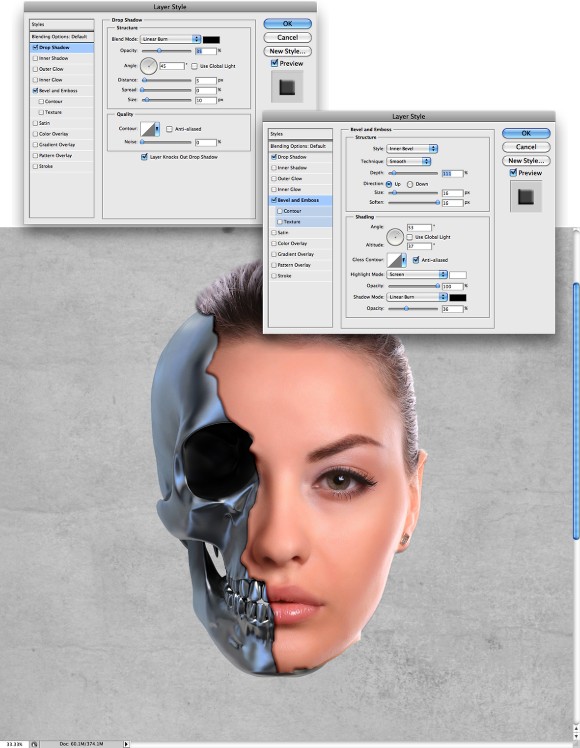
Step 7
Go to Layer>Layer Style>Drop Shadow. Use Linear Burnstrong> for the Blend Mode and black for the color. For the Opacity use 35%, for the Angle use 45º, for the Distance use 5 pixels, 0 for the Spread and 10 pixels for the Size.
After that select Bevel and Emboss. For the Style use Inner Bevel, Smooth for the Technique and 110% for the Depth. For the Direction use Up, 16 pixels for the Size, 15 pixels for the Soften, then for the Shading settings use 53º for the Angle, 37º for the Altitude. For the Highlight Mode use Screen with white for the color and 100% Opacity. Then for the Shadow Mode use Linear Burn with black for the color and 35% for the Opacity.
Step 8
Now I used a photo of a close up chocolate syrup leaking on white background from Shutterstock, you can get it here (http://www.shutterstock.com/pic-46414798/stock-photo-close-up-chocolate…)
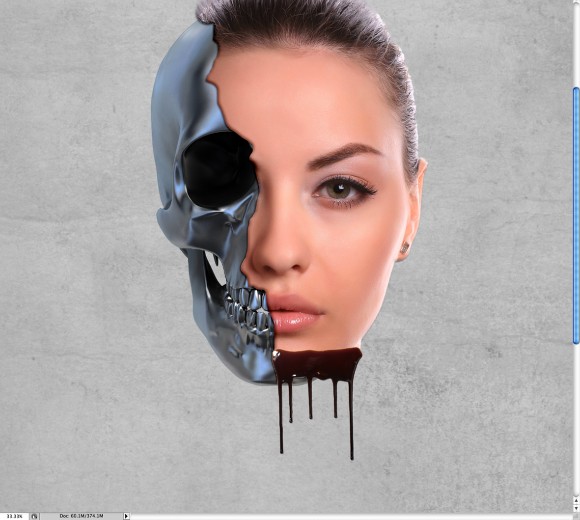
Step 9
Withe the Eraser Tool (E) delete some areas to match the face shape and make the blend well together.
Step 10
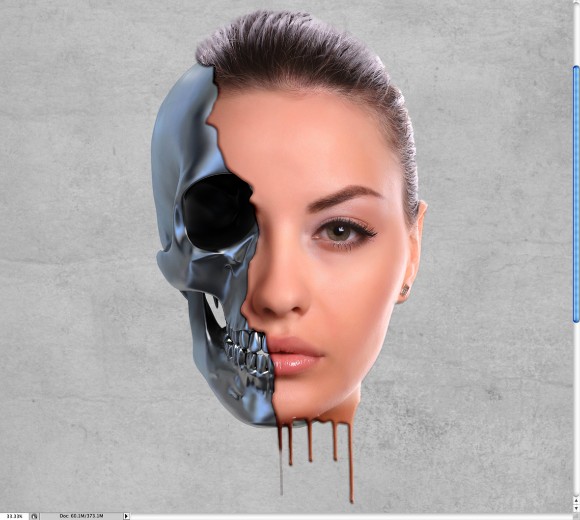
Change Blend Mode of the Chocolate Leaking image to Soft Light. The holding Command(Mac)/Control(PC) click on the layers thumb in the Layer Palette. You will have a marquee selection of the leaking chocolate.
Select the the girl's layer and click on the layer mask thumb. With the Brush Tool (B) and black for the color start painting the selected area to show the girl's skin that was hidden with the mask. You will have something like the image below.
Step 11
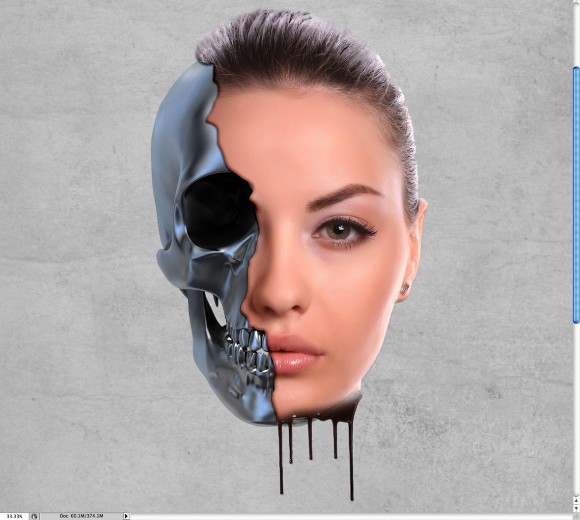
Here I used another stock photo courtesy of Shutterstock, you can get it here http://www.shutterstock.com/pic-44487754/stock-photo-melted-chocolate-d…. The photo is of Melted chocolate dripping on white background and it matched perfectly with the design we're doing, the idea is to make the face sort of melting.
Step 12
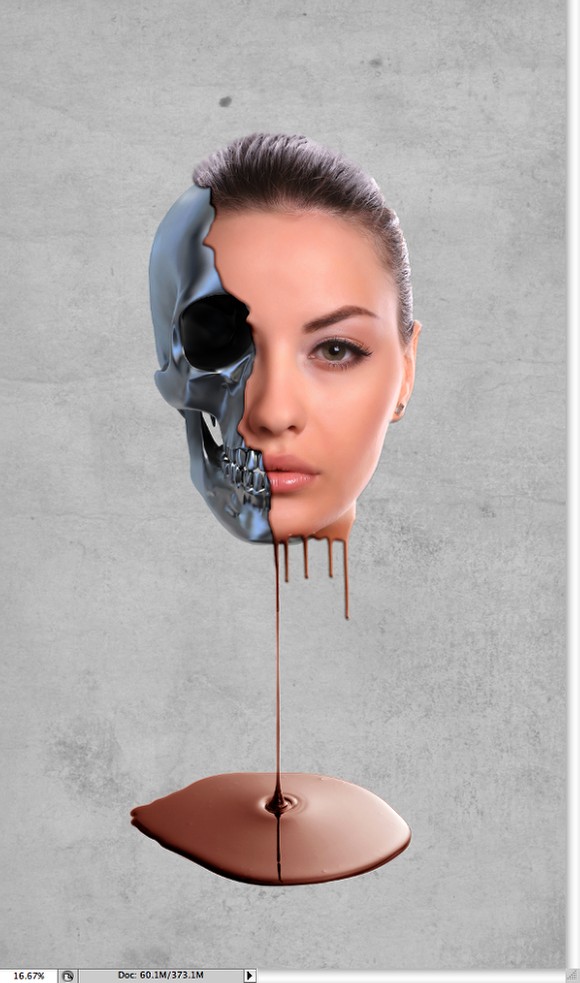
Select the face and the dripping layers and duplicate them. After that go to Filter>Blur>Gaussian Blur. Use 15 pixels for the radius. After that change the Blend Mode to Overlay.

Step 13
With the Paint Bucket Tool (G) fill the layer with black, then with the Eraser Tool (E) using a very big and soft brush, delete the center of the to create a vignette effect. Group this layer so it will be inside a folder, then change the Blend Mode of the foder to Linear Blur.
Step 14
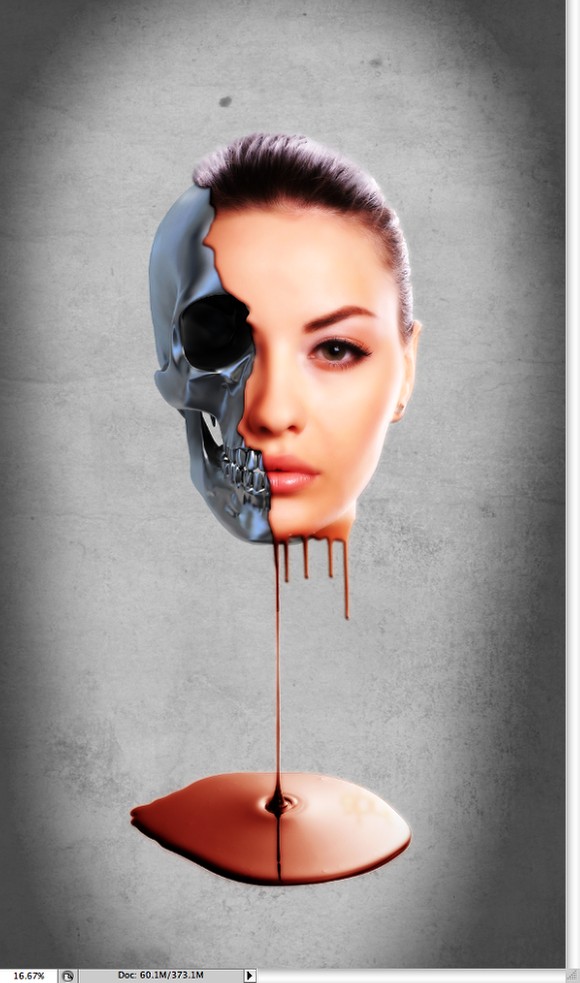
Place the paper texture again into your document, put this new layer on top of the others and change the Blend Mode to Soft Light.

Conclusion
Just add your logo and the composition is done. You can play a little bit more with the shadows to make them more subtle. However the idea of this tutorial was to show you how to create a sort of surreal effect using some stock photos and very basic filters. I hope you enjoyed it.


![Neon light effect in Photoshop [revisited]](/sites/default/files/styles/square_1x1/public/originals/hero_neon.png?itok=lP4mbIak "Neon light effect in Photoshop [revisited]")