by abduzeedo
It's the end of the year and for the last tutorial of 2009 I will show you how to create a poster inspired by the amazing work of Simon Page, especially those beautiful posters for the International Year of Astronomy. I created this design first for the Abduzeedo 3rd Anniversary poster but I changed it a little bit for this Photoshop tutorial.
So I will show you how to create a minimalistic design in Photoshop playing with stock photos, blend modes and filters. We will also use a paper texture to give a nice retro feel to our design.
Step 1
Open Photoshop and create a new document. I'm using for this tutorial 900x1440 pixels for the size. Fill the background layer with black and then go to Edit>Transform>Scale. Resize the background layer like the image below.
Step 2
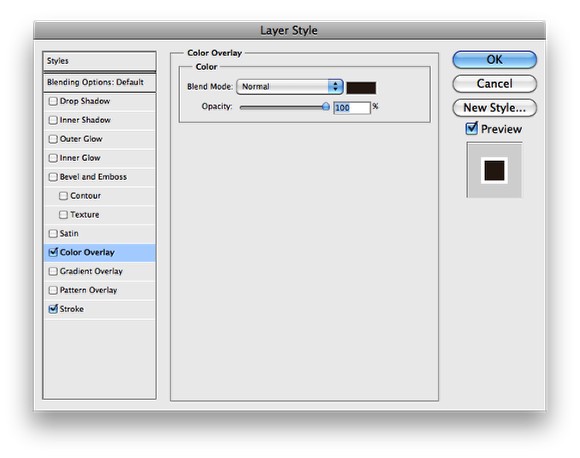
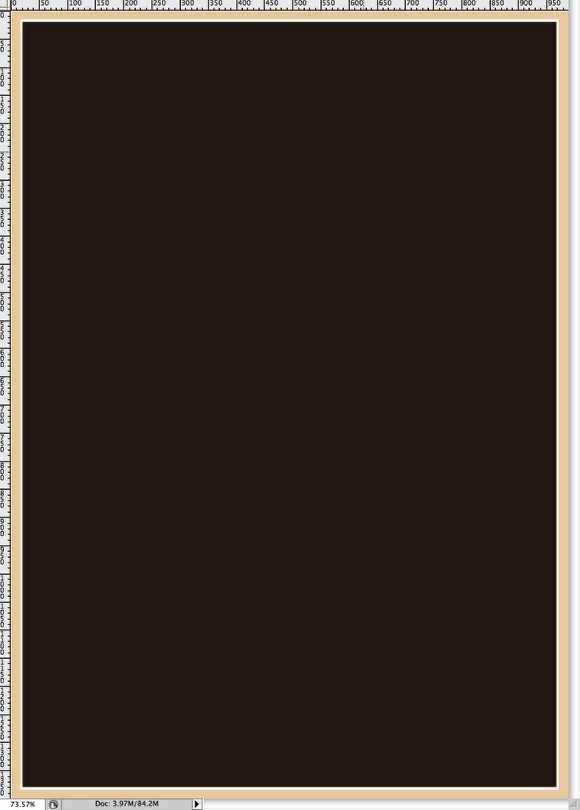
Go to Layer>Layer Style>Color Overlay. Select brown for the color, the one I used is #37281e
Step 3
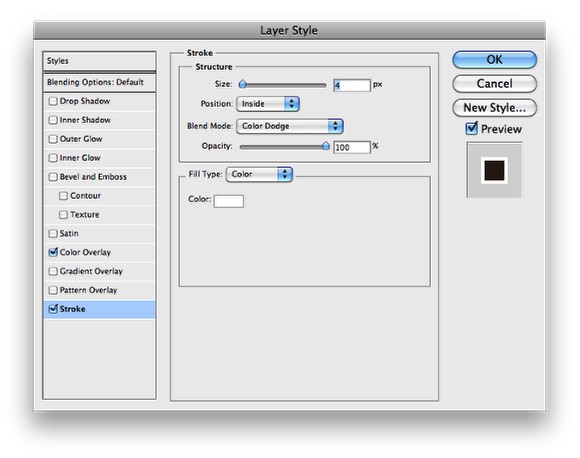
After the Color Overlay, select Stroke. Use 4 pixels for the Size, Inside for the Position, Color Dodge for the Blend Mode and White for the Color.
Step 4
Add another layer beneath the brown layer and fill it with beige, the one I used is #edd3aa.
Step 5
Let's import a photo of a ladder. The one I used is courtesy of Shutterstock and you can get it at http://www.shutterstock.com/pic-39923698/stock-photo-ladder-leading-up-…

Step 6
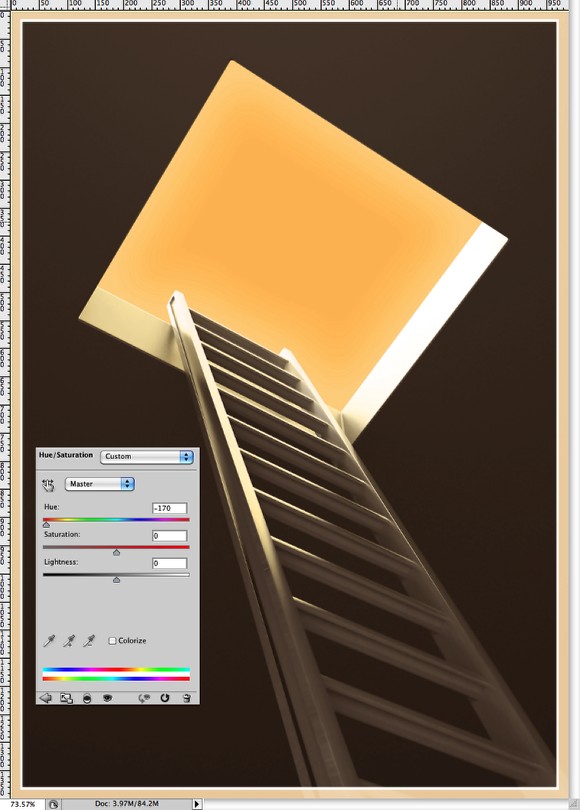
Select the image layer and go to Image>Adjustments>Hue and Saturation. Reduce the Hue to -170 and leave the other values the same.
Step 7
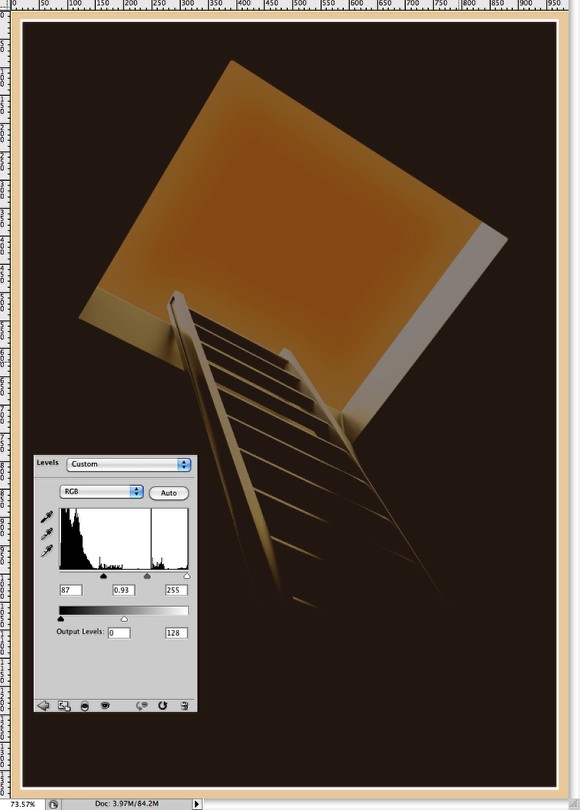
Still with the image layer selected go to Image>Adjustments>Levels. Increase the black input to 87, the middle input to 0.93. Also for the Output Leves use 0 and 130.
Step 8
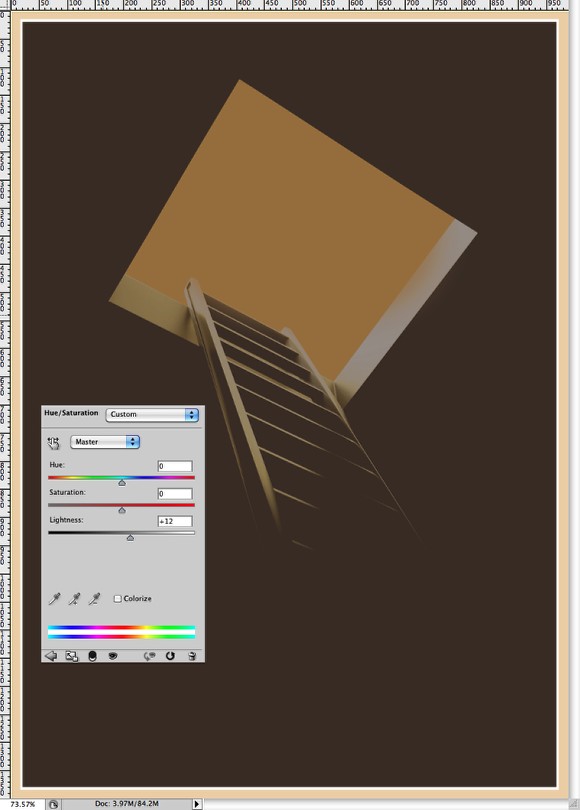
Go to Layer>New Adjustment Layer>Hue and Saturation. This adjustment layer has to be on top of the other layers, the ladder and the background. Increase the Lightness to 12.
Step 9
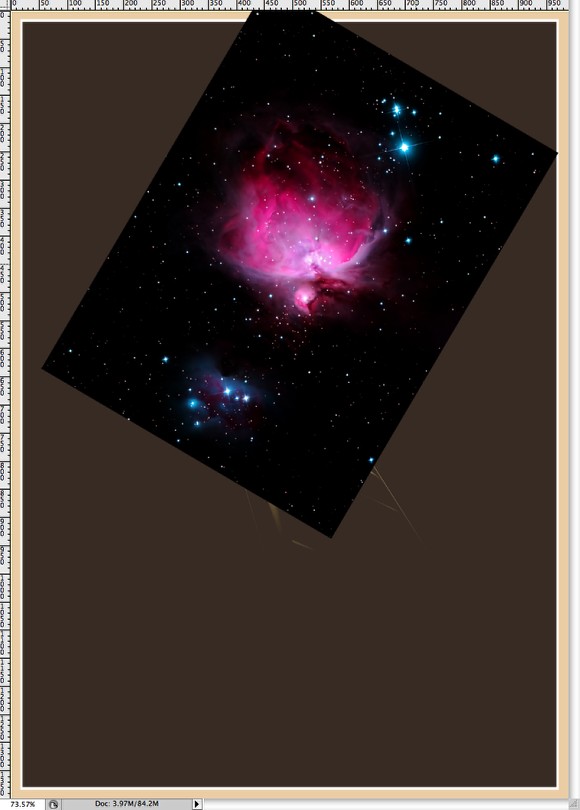
Let's use another stock image, this time of a starfield with a nebula. The one I used is courtesy of Shutterstock and you can get it at http://www.shutterstock.com/pic-1611518/stock-photo-space-heart.html
Step 10
With the Polygonal Lasso Tool (L) create a marquee selection of the yellow sky. After that with the stars image selected go to Layer>Layer Mask>Reveal Selection.
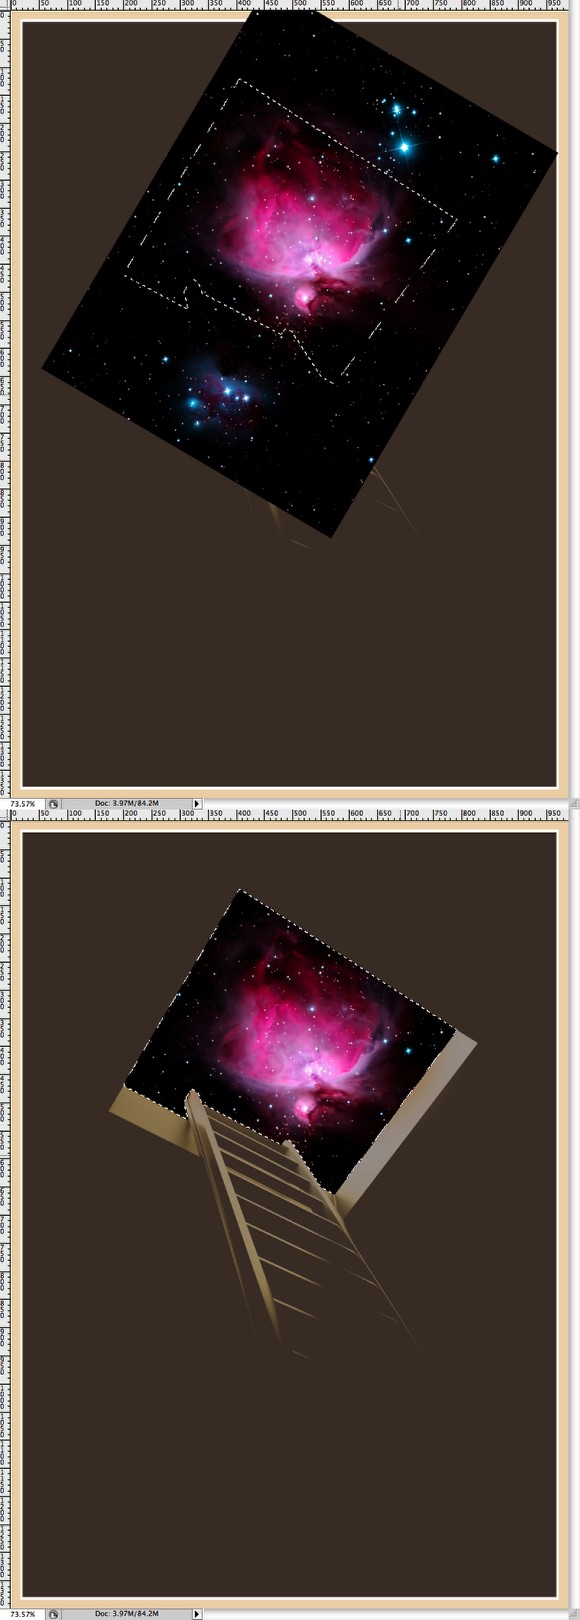
Step 11
Go to Image>Adjustments>Hue and Saturation. Reduce the Hue to 30, the Saturation to 30 and increase the Lightness to 13. Also select Colorize. Use the image below for reference.

Step 12
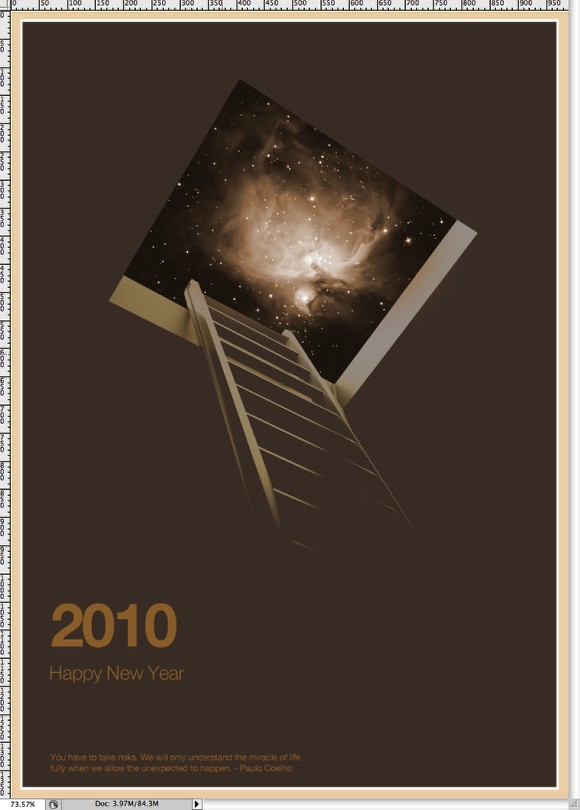
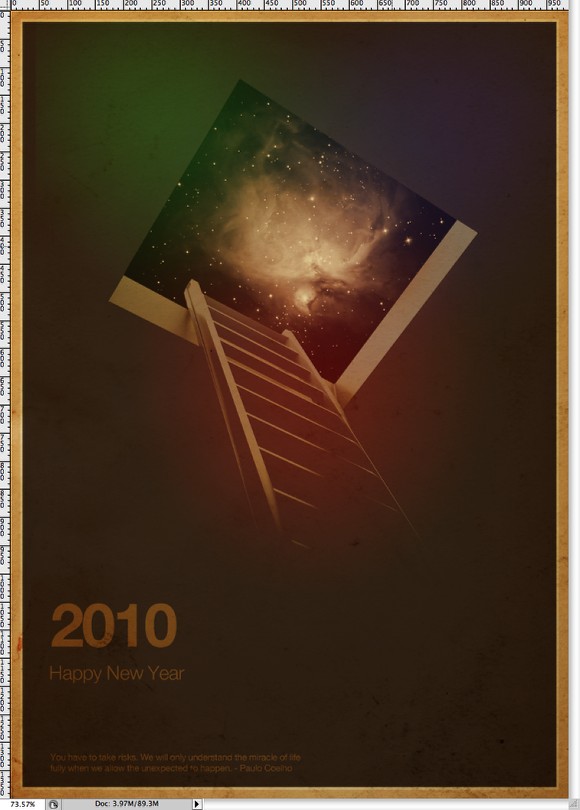
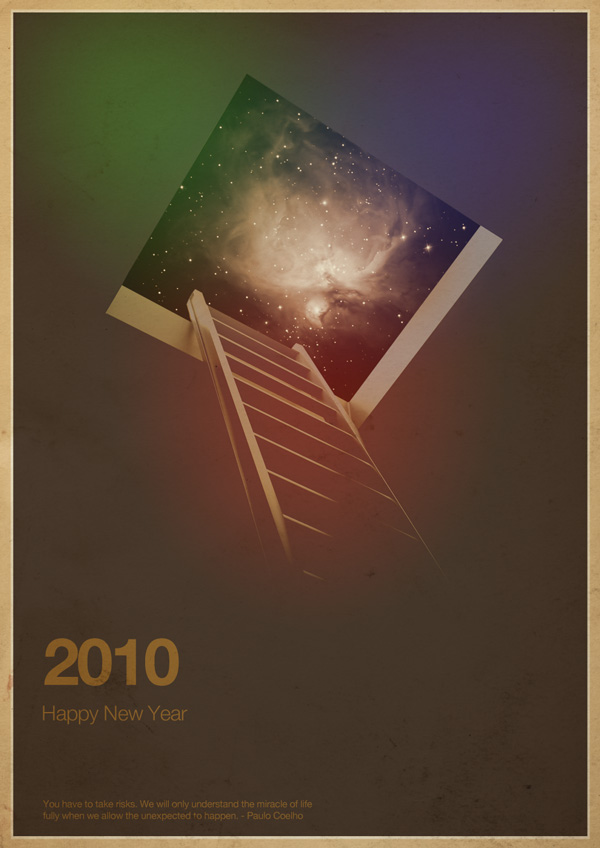
Now let's add some text. I added 2010 using Helvetica Neue Bold, 107pt using brown (9e7539) for the color. Below the 2010 I added "Happy New Year" using Helvetica Neue Light, 33pt with the same brown. At the bottom of the page I added a quote by Paulo Coelho using Helvetica Neue Regular, 16pt. Use the image below for reference.
Step 13
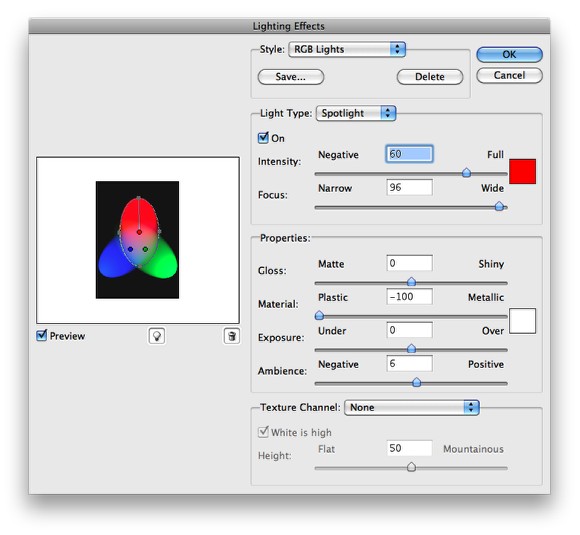
Add a new layer on top of the others and fill it with white. Then go to Filter>Render>Lighting Effects. For the Style select RGB lights and leave the other values the same.
Step 14
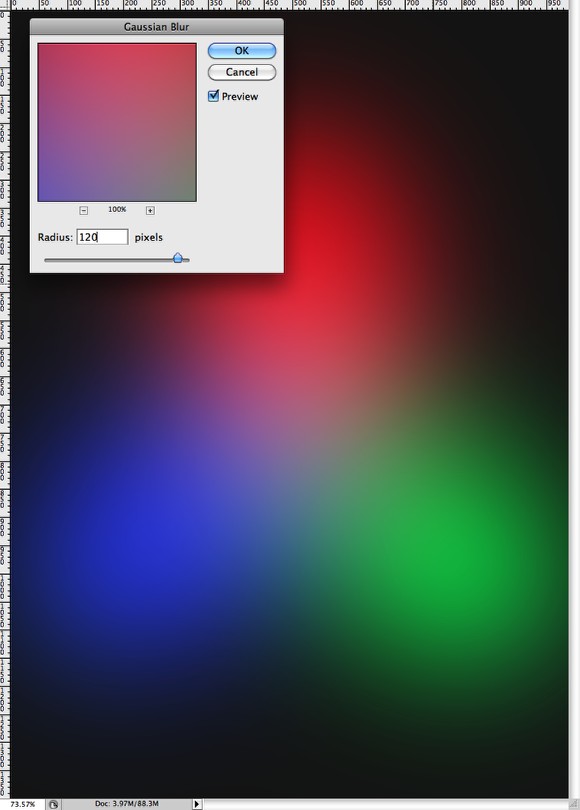
Go to Filter>Blur>Gaussian Blur. Use 120 pixels for the Radius.
Step 15
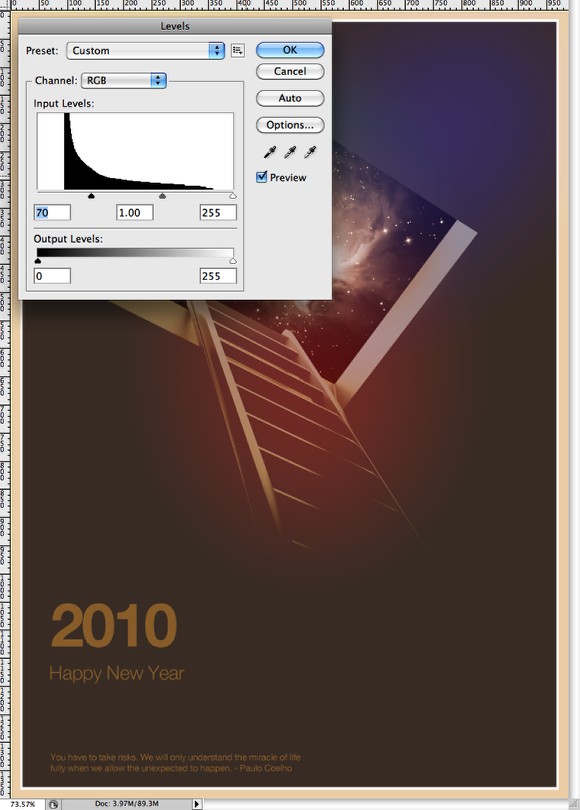
Reduce the Opacity of the layer to 30% and also go to Edit>Transform>Rotate. Rotate the image so the red will be at the bottom. After that go to Image>Adjustments>Levels. Increase the Black input to 70.
Step 16
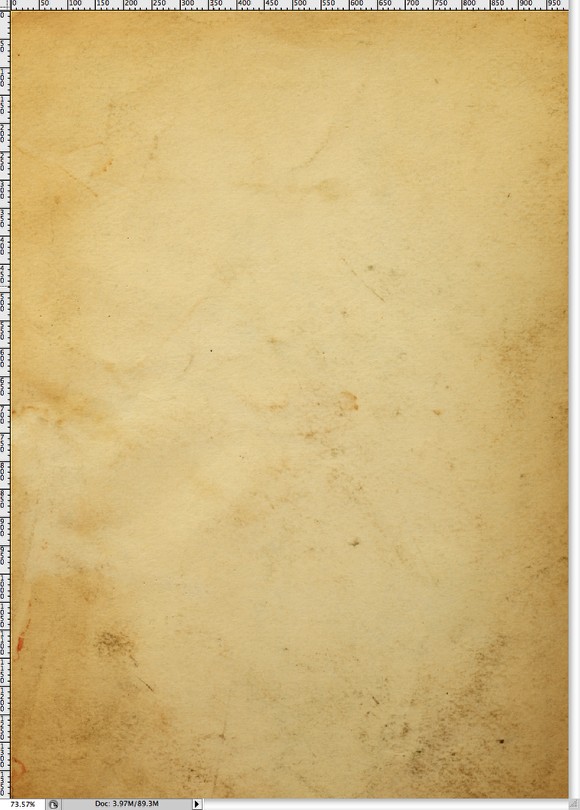
Let's use another stock photo, now a paper texture. Once again the one I used was courtesy of Shutterstock and can be found at http://www.shutterstock.com/pic-20845342/stock-photo-old-yellow-paper-b…
Step 17
Change the Blend Mode of the paper texture to Multiply. This layer will be on top of the others.
Step 18
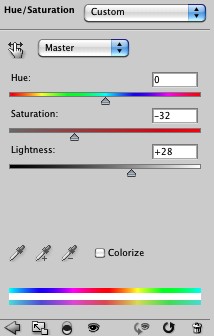
Go again to Layer>New Adjustment Layer>Hue and Saturation. This adjustment layer will be on top of the other layers. Reduce the Saturation to -32 and increase the Lightness to +28.
Conclusion
In this tutorial we played only with Blend Modes, masks, and basic filters. The idea was to create something minimalistic but beautiful and with a retro feel. It'll also make for a really cool New Year's card!
We, here at Abduzeedo, wish you all a Happy New Year! 2009 was super awesome and we've learned a lot from you guys. Thanks a lot for the great year and let's make this next one even better!
Download the Photoshop File
Click here to download the Photoshop file used for this tutorial


