by abduzeedo
Color Dodge is one of the Blend Modes I use the most. It's in my opinion the easiest and best way to create light effects, and, even though I have already written quite a few tutorials showing how to use it, I decided to write a quick tips all about this very useful blend mode.
Because of that in this Quick Tips I will show you how it works. You can use this technique in all programs that have Color Dodge, such as GIMP, Pixelmator, Fireworks, and others.
Step 1
Open Photoshop, the size of the document is not important because the idea is to learn how the Blend Mode works. So the first thing is fill the Background with Black.
Step 2
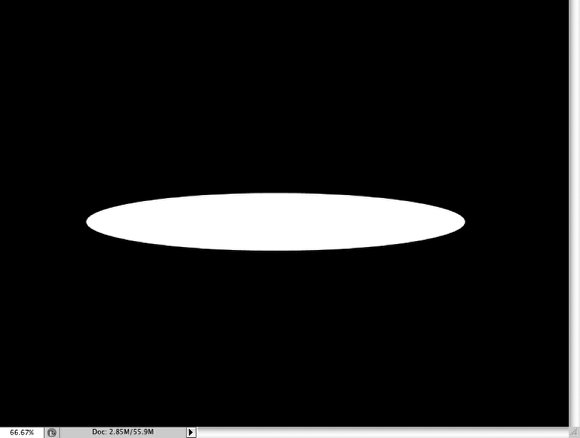
With the Ellipse Tool (U) create an ellipse in white. Then go to Filter>Convert to Smart Filter. That's available in Photoshop CS4, if you're not using the CS4 just skip this part.
Step 3
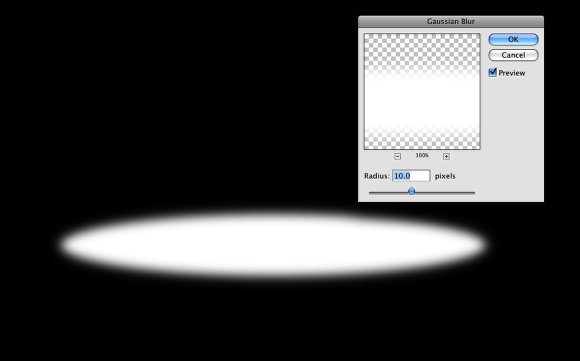
Go to Filter>Blur>Gaussian Blur. Use 10 Pixels for the Radius.
Step 4 - Understanding the Color Dodge Blend Mode
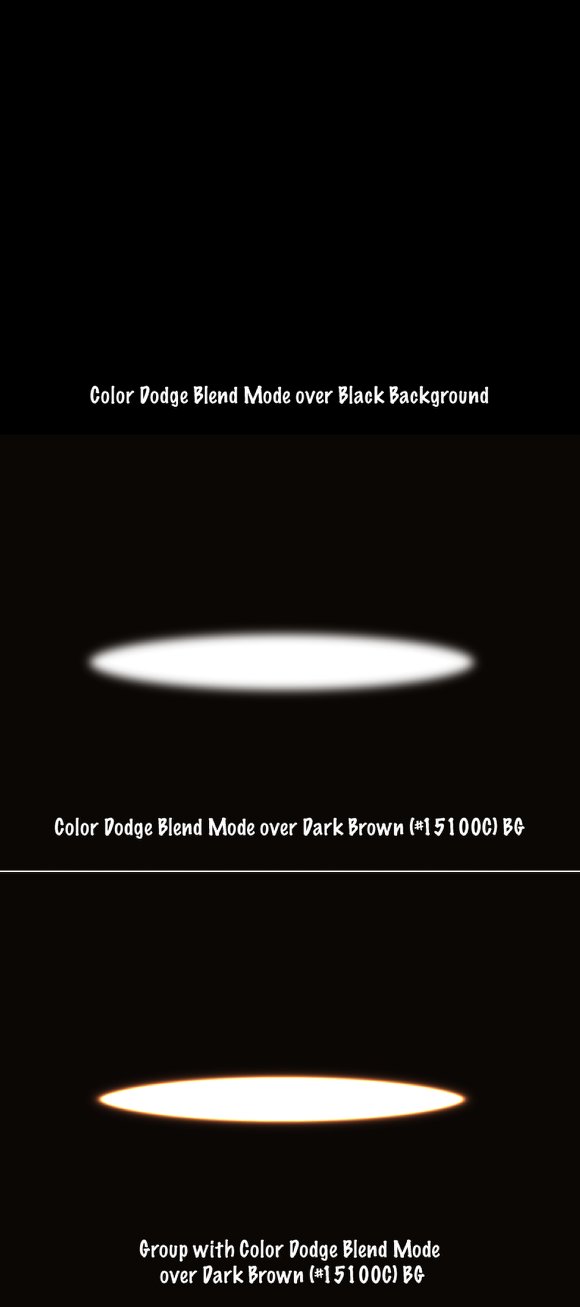
First change the Blend Mode of the Ellipse layer to Color Dodge. You will notice that the layer simply disappear. That happens because the color dodge doesn't work over Black. Change the color of the background to a very dark brown (#15100c). You will see that the ellipse will be visible, but without the effect we want. Now add a folder, or group the ellipse layer in a folder, and change the Blend Mode of the folder to Color Dodge. That's the effect we want.
In Photoshop that's the best way, in my opinion, to use the Color Dodge for light effects. Another way, and that works for the different apps is to create the ellipse in a layer with black background. For example:
- Add a new layer and fill it with black
- Create an ellipse in the black layer and fill it with white and apply the Gaussian Blur.
- Change the blend mode to color dodge
When you have a layer filled with black with white objects, it's not necessary to group them and apply the Color Dodge.
Step 5 - Real Example
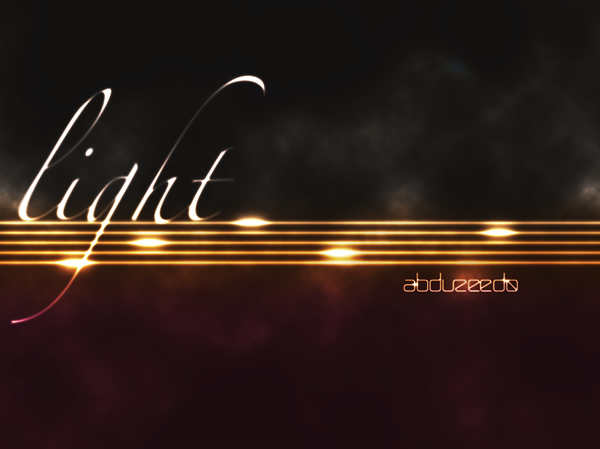
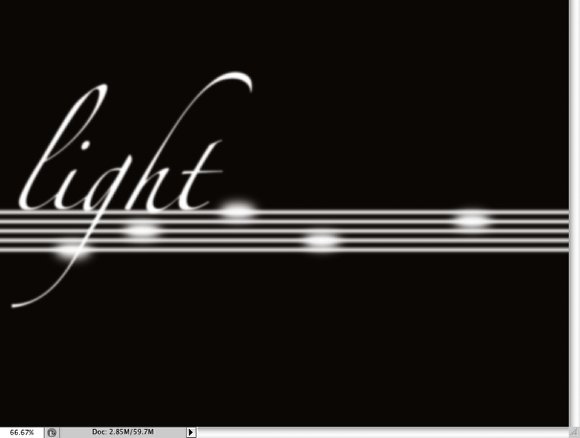
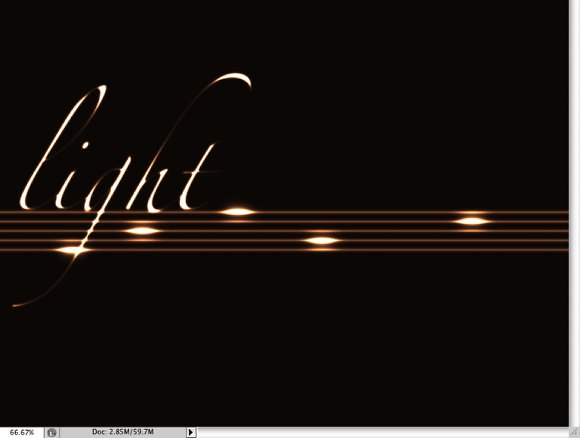
Create a group and rename it to Light. In this folder create 5 lines using the Rectangle Tool (U), then apply a Gaussian Blur to them. Use 2-3 pixels for the Radius only. Right after that with the Ellipse Tool (U), create some ellipses and apply a Gaussian blur to them. Use a much bigger value, 15-20 pixels for the radius. After that add a text. I used Zapfino for the font. Again apply a Gaussian blur to the word layer. Use a small value, 2 pixels for the radius. Use the image below for reference.
Step 6
Now, change the Group Blend Mode to Color Dodge. You will have a very nice light effect.
Step 8
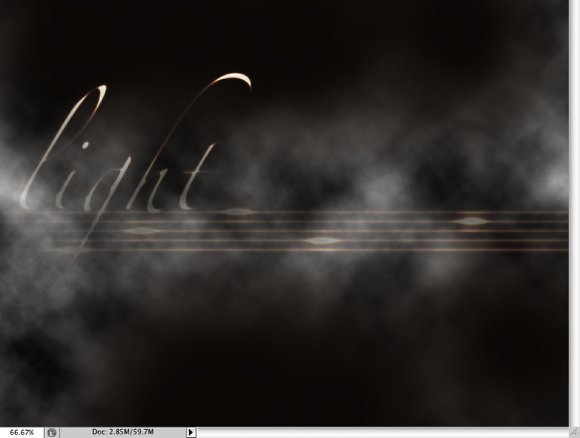
Create a new layer on top of the others and not inside the Light folder. Make sure you have black and white for the background and foreground colors, then go to Filter>Render>Clouds. With the Eraser Tool (E) delete some areas like the image below.
Step 9
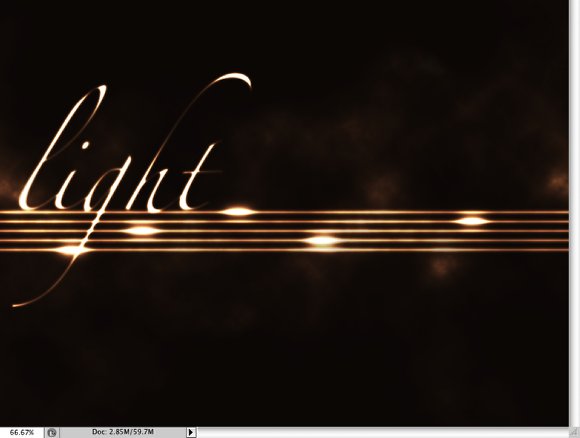
Change the Blend Mode of the Clouds to Color Dodge and you will add a nice smoke effect.
Conclusion
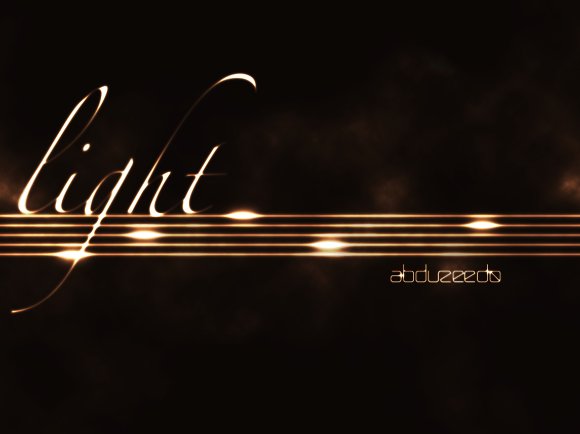
You can create all sorts of light effects, glows, stars and many more using the Color Dodge. But remember it won't work over black backgrounds, so for example if you want to make it work over black you will have to create another layer between The color dodge layer and the black layer with another color. Also if you want to try different colors, just create another layer on top of the others using the Overlay Blend Mode, but that's for another Quick Tips.
Another Example
