by abduzeedo
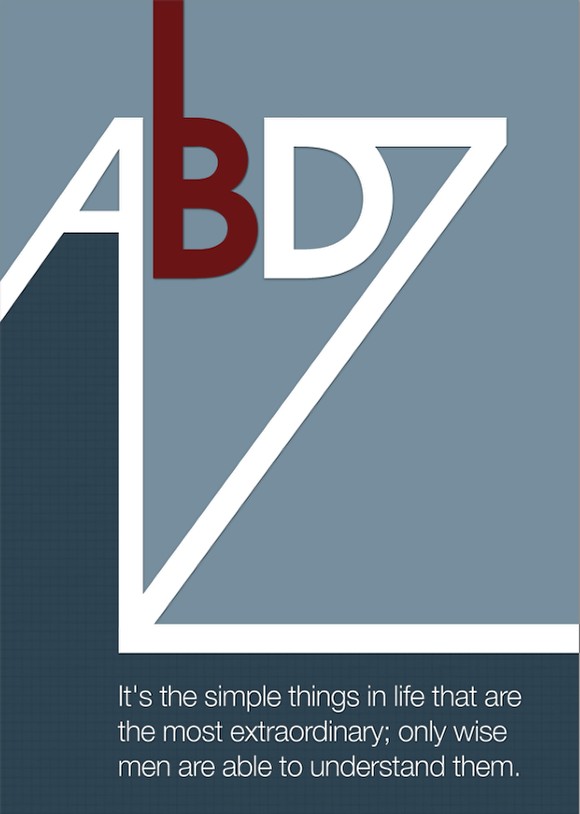
A couple of weeks ago Amanda (@amlight) published a few articles showing stylish posters and albums with a very retro style, very simple but at the same time really cool. The articles really inspired me so I decided to create an Abduzeedo poster for myself just to play with Illustrator and Photoshop.
So in this tutorial I will show you how to create a very cool poster in just 10 steps. We will use Adobe Photoshop and Illustrator, but you may use other tools. I'm working on the Pixelmator version as well.
Inspiration and Sketches

Step 1
After a few ideas on paper it's time to start designing it. For the base of the typography I used Illustrator. So I searched on Google Images for "Avant Garde" and select an image that had the "A" with the style I wanted. Then in Illustrator, using the Pen Tool (P) create the "A". You can hold the SHIFT key to make sure the lines are straights.
With the "A" done, select the Type Tool (T) and type the BDZ using the font Avant Garden.

Step 2
Select the text created and go to Type>Create Outilines. Then with the Direct Selection (A) select the vertices of the base of the Z and the move them down like the image below.

Step 3
Now open Photoshop and create a new document, I used A4 for the size. Then fill the Background layer with a brown (#573E2A). After that copy the text created in Illustrator and paste it in Photoshop as Shape Layer. That way we can keep playing with the vectors using the Path Selection Tool (A) and Direct Selection Tool (A).
With the Direct Selection Tool (A) move the base of the A, the straight one move all the way down until it reaches the base of the "Z" (1) and the other move all the way to the edge of the document (2). Using the Pen Tool (P) and create some points at the top of the B and make it go all the way to the top (3).

Step 4
With the Direct Selection Tool (A) select the B element and copy and past it in a new layer. Then with go to Layer>Layer Style>Color Overlay. Use #FC9E1D for the color.

Step 5
With the Lasso Tool (L) select the area below the A exactly like the image below. Then create a new layer and fill it with white. Just the selected area.

Step 6
Go to Layer>Layer Style>Color Overlay. Use green for the color #6F7A38 and Multiply for the Blend Mode. Then select Pattern Overlay. For the Pattern select the Graph Paper. It's under the Color Papers preset. Also increase the Scale by 300%.

Step 7
Now let's add some text. For the font I used Dirty Headline, you can find it at dafont.com. Place the text in the green area like the image below. Also you can add a very subtle shadow. Go to Layer>Layer Styles>Drop Shadow. I used 35% Opacity, 2 pixels for the Distance and 10 pixels for the Size.

Step 8
It's time to add some textures. The one I used is from Shutterstock and you can download it here http://www.shutterstock.com/pic-35221027/stock-photo-old-paper.html
Place it in your document on top of the other layers, then change the Blend Mode to Multiply. Also go to Image>Hue and Saturation and reduce the saturation so the image won't get it to yellowish.

Step 9
Now you may add some dirty elements using Brushes like to make the lines less uniform for example. I used some brushes from Eduardo Recife's Misprintedtype site. http://misprintedtype.com

Conclusion
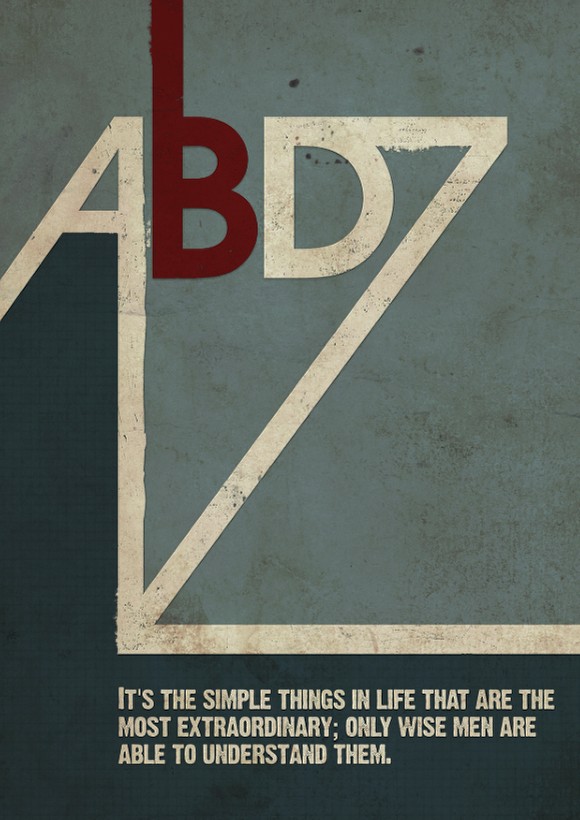
In less than 10 steps we're able to create a really cool retro style poster, very stylish. The secret is simplicity, color and textures. Of course you might like it without the brushes and dirty effects, or you want to try different colors, I created 2 other versions with cold colors and also playing with a photo in the background. Now it's all about playing and testing different variations. I'll print a copy for me, and hang it on my wall. :)

Version 1
Version 2
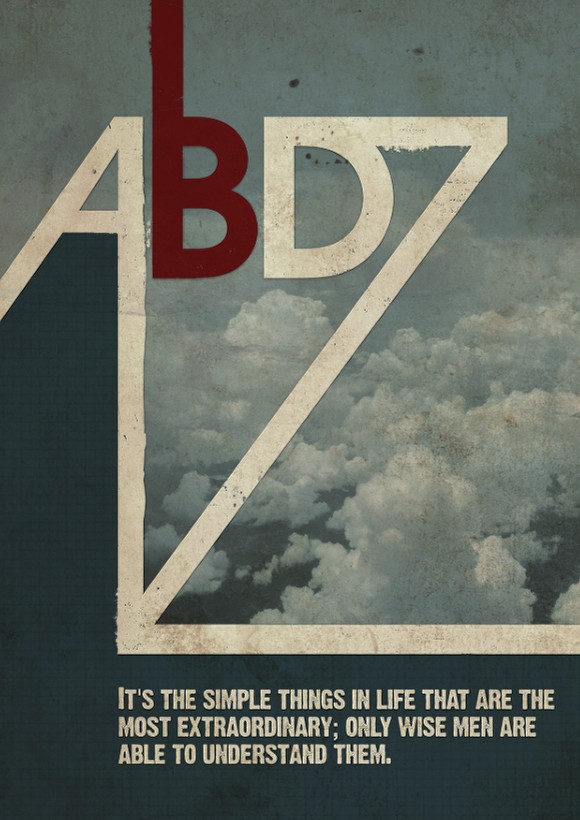
Version 3
