by abduzeedo
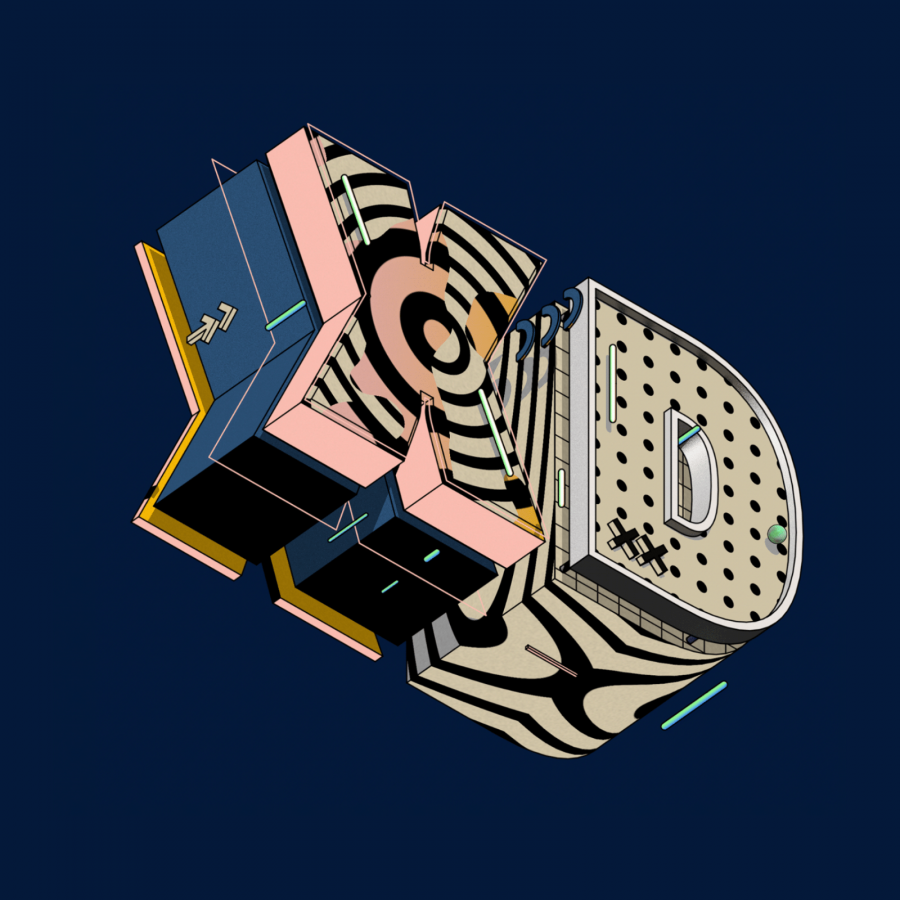
We have a great tutorial sent by one of our readers, Chanito from Panama. In this tutorial he will show you how to create a good 3D type explosion with Adobe Illustrator, Cinema 4D and Adobe Photoshop. We will use basic tools to make this artwork. Good Luck!!!
For more information visit Chanito's Deviantart at http://chanito.deviantart.com/
Step 1
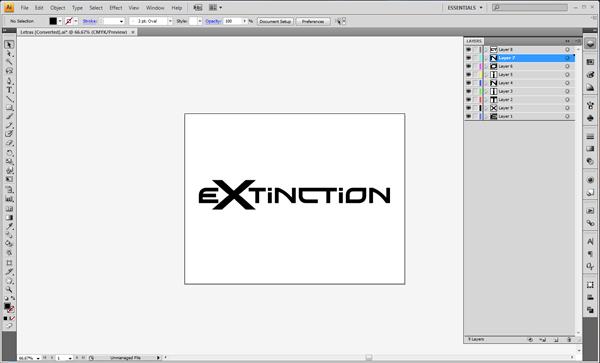
Open Adobe Illustrator and find the font that you want to use in your artwork, in this case I used Xirod Font and tweaked it a little. Make it outline and save it in Adobe Illustrator 8. (Cinema 4D just open vectors in this Adobe Illustrator version).
Step 2
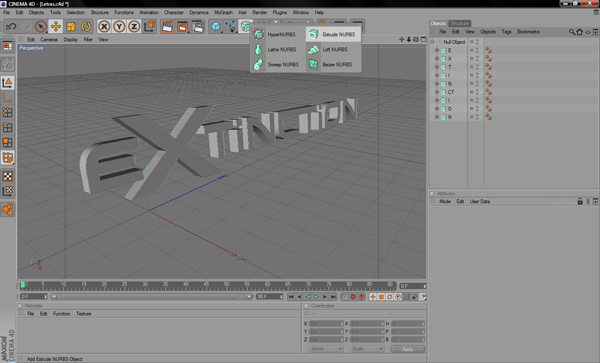
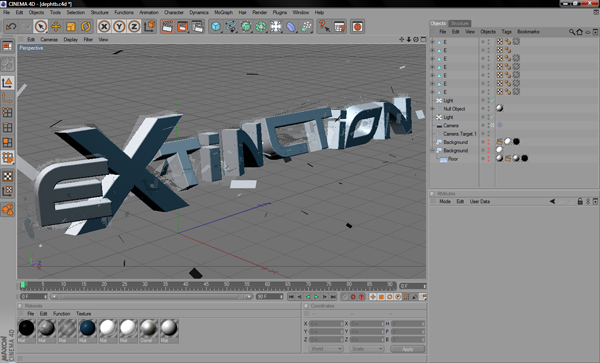
Go to Cinema 4D and open your Illustrator file, when you open it in Cinema 4D you can see that it is inside of a group. You need to ungroup them and add the extrude NURBS to each letter of your word. Then when you have each letter with extrude you need to add lights (I used 2 area lights, in the front and the left side) and target camera (optional, you can use whatever you want).
Step 3
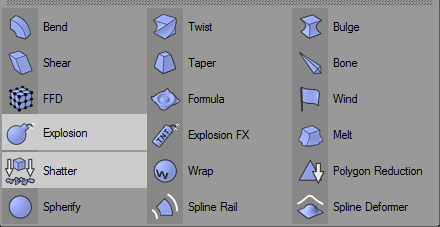
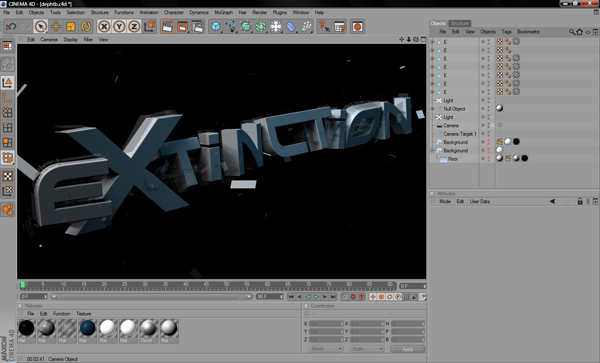
Well, we have our 3D text and we need to add more details before we go over to Photoshop. We're going to duplicate our 3D object 8 times to make it editable and we are going to add explosion and shatter. You need to play with the settings to see how you want your 3D text to look like. Just apply 3 explosions and 3 shatters to it and make a preview, you will see where to add more details and where not to.
Step 4
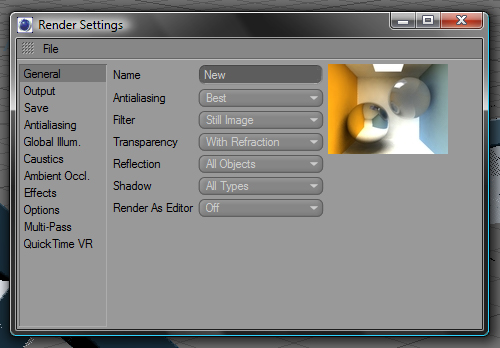
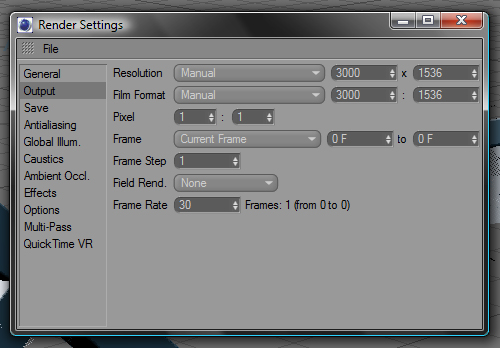
Go to render settings and put these following settings. Make the render and save in 300 DPI TIFF format with Alpha Channel.

Step 5
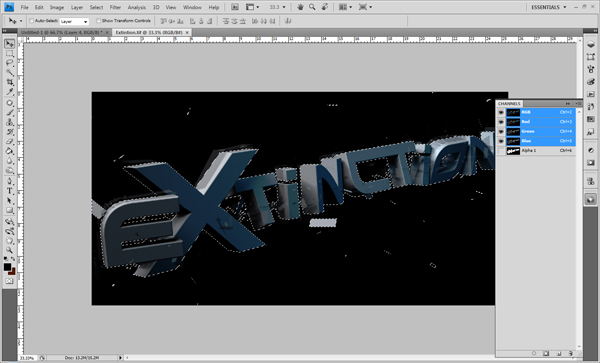
Take the render into Photoshop, go to the Channels windows and choose the Alpha Channel. Make your selection, cut your 3D text and paste it in another layer. Then you can work just with your 3D text and after, with your background.
Step 6
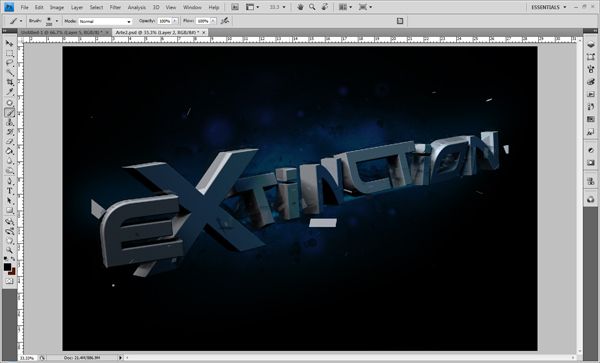
We're going to create the background and paint some areas with dark blue. I used the basic soft brush and 50% opacity to achieve the effect that I wanted.
Step 7
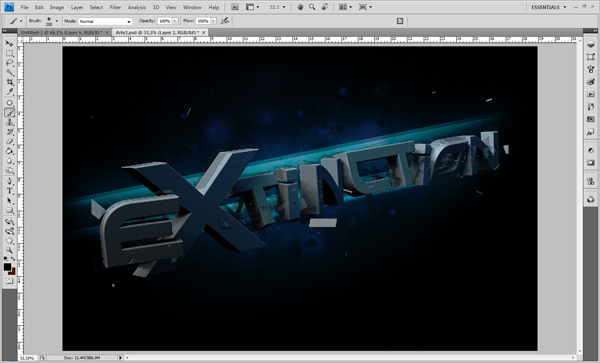
Now we're going to add more details to the background and we also need to create some highlights behind the 3D text to make it stand out.
Step 8
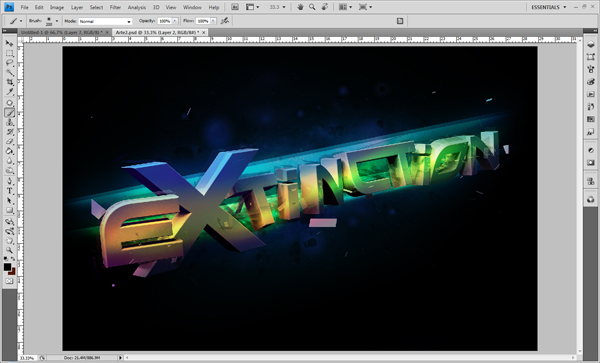
Time to add some color to our 3D text. You can do this in different ways. I just used the basic soft brush and painted over the 3D letter and made some masks.
Step 9
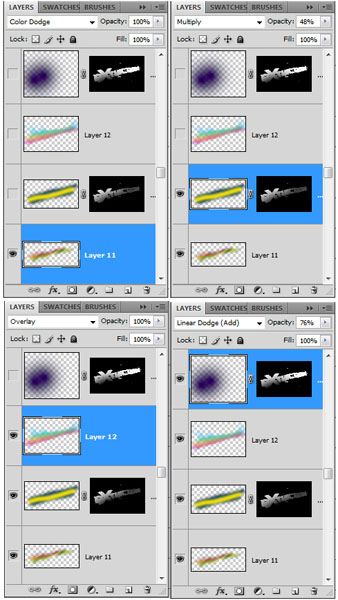
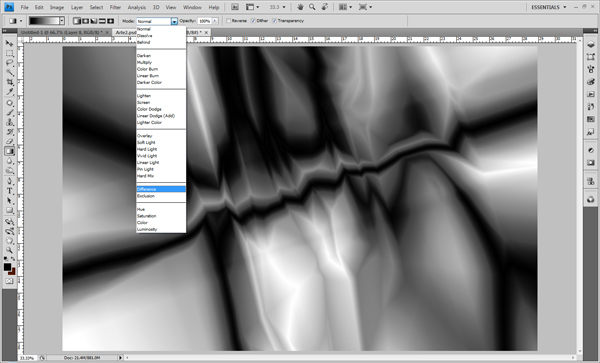
We need to do a special effect to apply in front of our 3D letters. To do this, choose the Gradient Tool and change the mode to Difference. Make gradients in different directions. After, select the text and make a layer mask in this effect layer. Change the blend mode to Soft Light and Opacity to 70%
Step 10
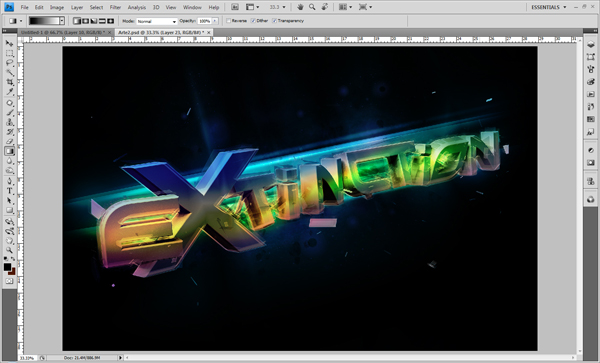
Next, select the 3D text, go to Modify - Contract and use 10 to 20 pixels. Delete then deselect and go to Effects - Blur - Motion Blur use Angle: 15 and Distance between 60 to 70 pixels.
Step 11
Now we'll add more detail to our 3D text. Choose a good splatter brush and paint wherever you want. To generate the back of the explosion you need to add broken glasses behind text. (http://psdtuts.s3.amazonaws.com/208_Break_Down/pieces.png). Add some highlights to make it stand out.

Step 12
Add some shadows inside of the 3D text with the Polygonal Lasso Tool and the Gradient Tool in Black to Transparent.
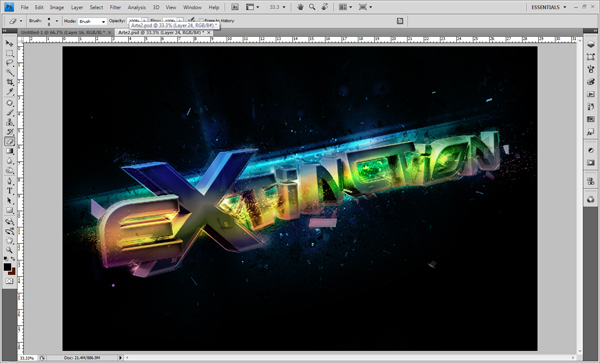
Step 13
Now add some crack brushes in the 3D text to make the explosion more real. Put a crack on the letter you want to brake, in my case, the x.
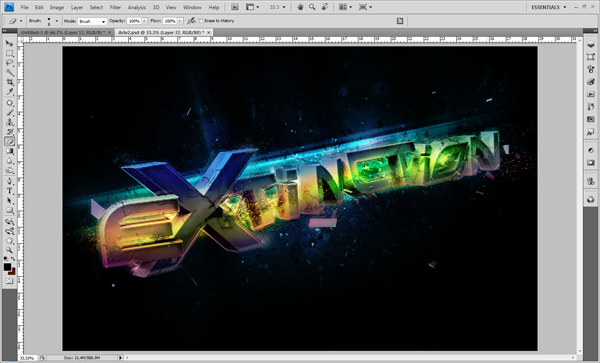
Step 14
Add highlights on the border of each letter to give it a real explosion feeling. To create the beginning of the explosion add a mini explosion brush to the inside corner of the x.
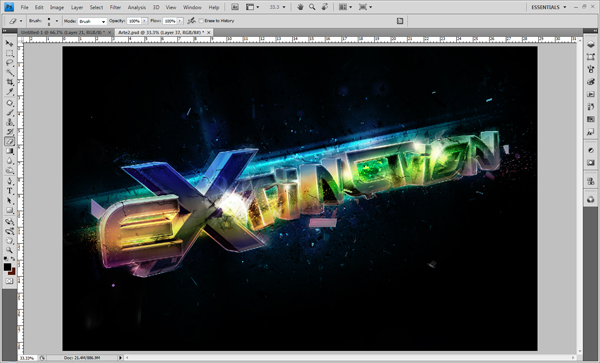
Step 15
Make some lines and flares in the explosion point in different ways. Use different colors to give it a great look.
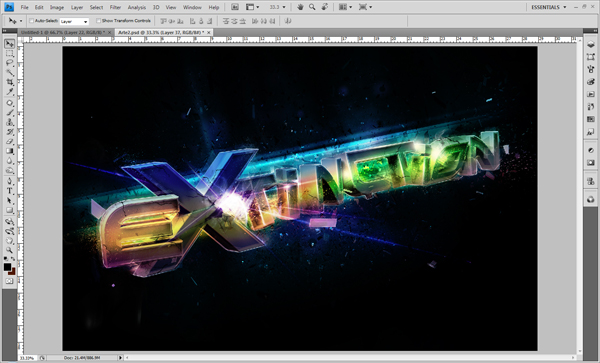
Step 16
Add the broken glass image on top of your 3D text and change the Blend Mode to Overlay. Duplicate it, go to Edit - Transform - Flip Horizontal and change the Blend Mode to Normal.
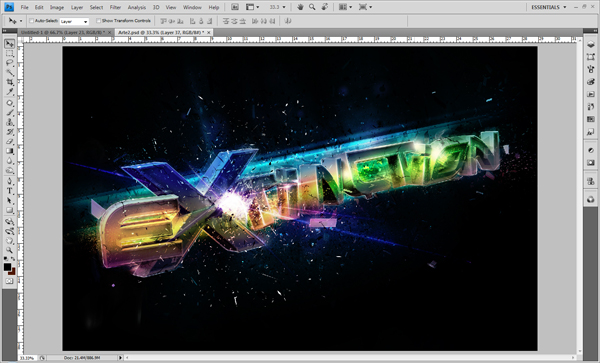
FINAL
This is the final image. Hope you enjoyed this tutorial!
