by abduzeedo
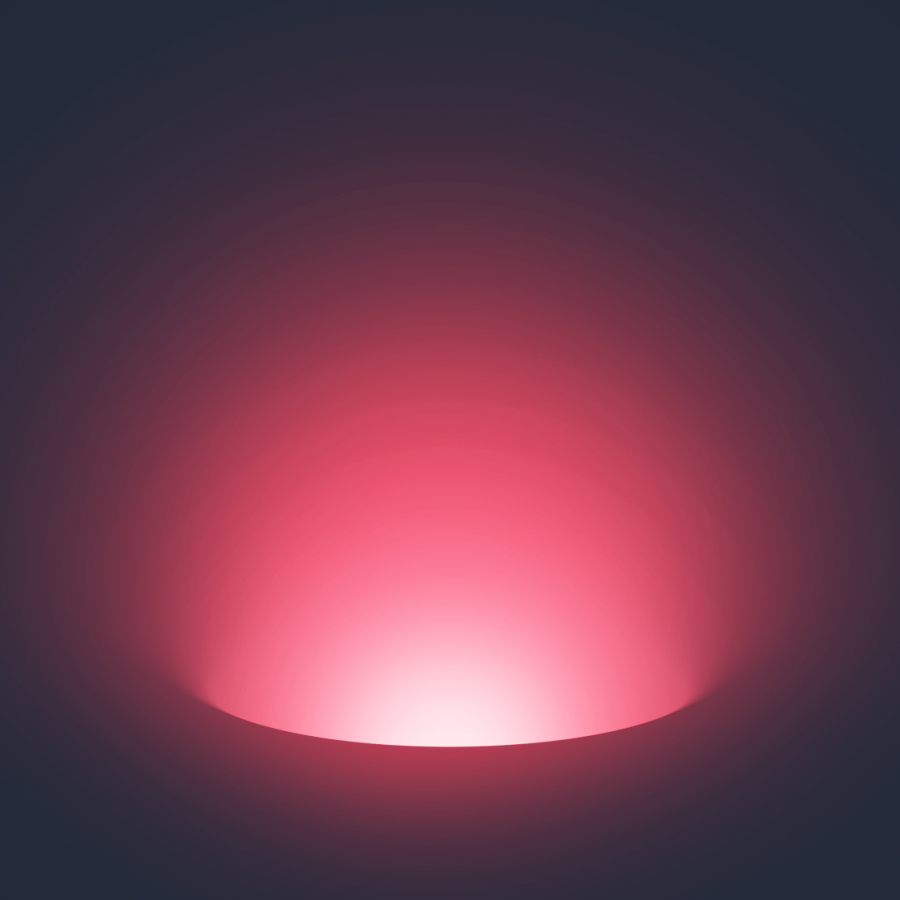
Finally Apple will release their new OS called Leopard. One of the things I like the most with Apple, and probably everybody loves too, is that they always release tons of beautiful stuff. From the package box to the t-shirt. Yeah there is a very cool t-shirt as well. And now it’s not different. I loved the space feeling of the new wallpaper with that sort of aurora borealis effect.
Besides that, this week the new version of GIMP was released. The 2.4 version has a renewed interface, with new icons, and much more stable, at least running on my mac it has not crashed yet.
Anyways, what I want to show on this tutorial is how to create that Aurora Borealis effect using the new GIMP. Basically I used the Leopard’s wallpaper as my reference. I have to say it was easier than I thought.
Step 1
Open GIMP 2.4 and if you don’t have it, download it and give it a try.
Create a new document, in my case I used 1600x1200, and using the Bucket Fill Tool (Shit+B), fill the background layer with a very dark purple.

Step 2
Using the Free Selection Tool (F), draw a shape like the one I did. That will be the source of our light, so the position here is very important. Try to place it more at the bottom of the image. After that, fill it with white. Tip you can add a blur or a feather to the selection.


Step 3
Go to Filters>Render>Clouds>Difference Clouds and apply the filter. Select Randomize, Turbulent and Tileable.

Step 4
Go to Filters>Blur>Motion Blur and change the settings to: Blur Type ZOOM and the length to the maximum. It will take a little bit to generate the effect.
This will generate that light burst.


Step 5
After that go to Colors>Colorize. Now we will add colors to our light. Change the hue, saturation and lightness settings until you get a sort of dark pink.


Step 6
Now lets just duplicate layers, scale and rotate them. The shape you use will define how many times you will have to do that. In my case I had to duplicate and rotate twice. Besides that, I duplicated each layer once to make the light stronger with the Blending mode.
I have in my file 6 layers and the blending mode for each in order is: Screen, Hard light, Normal, Normal, Screen, and Screen.

You can use the erase to correct some issues with the layers.
Step 7
Here I changed the color of the second layer to a red using the Colorize again.

Step 8
Duplicate one layer, and using the Colorize again, lets create the blue light. As in the step 4, just change the hue, saturation and lightness until you get a blue color. Don’t worry if the color is not strong enough, we will duplicate the layer to make it stronger. For the blue light I duplicated the layer twice, so I have 3 layers for that light. The order of blending options is Normal, Dodge, Dodge.

Step 9
Now lets add the stars. Create 2 new layers and fill them with black. One will be for the small stars; the other for the big ones. Change their blending mode to Dodge. Set white for the foreground color and select the Paintbrush Tool (P).
When you select the Paintbrush the Tool Options will open. There you will change the parameters. Specially the Apply Jitter. The image below shows the values for the big and small stars.

Final Result
I know that it does not look exactly as the Apple's wallpaper, but it's pretty close. However the most important thing here is that the new GIMP is an excellent tool, we can create all sorts of effects with it and it's free. The only thing that bothers me is that it still needs the X11 to run on my mac.

Click on the Image to to see it bigger.
![Neon light effect in Photoshop [revisited] Neon light effect in Photoshop [revisited]](/sites/default/files/styles/square_1x1/public/originals/hero_neon.png?itok=lP4mbIak)
