by abduzeedo
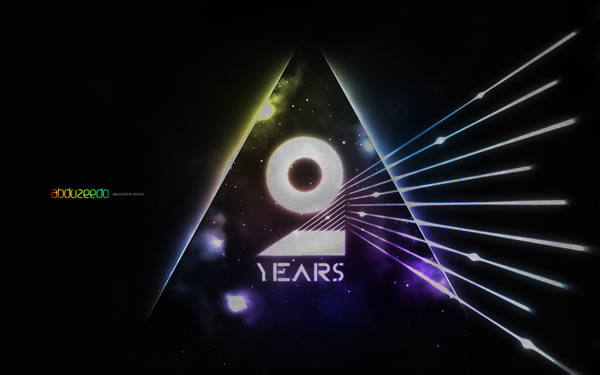
A few weeks ago I did a wallpaper for the Abduzeedo's second anniversary. It had a very 80's style from the colors to the theme that, of course, was space. In that image we had a sort of A of light, some nebulas and more rays of light. I did everything in Photoshop CS4.
So, in this tutorial I will show you how I created that image in Photoshop, it's really simple and it uses some tricks from other tutorials such as the Retro 80's Inspiration in Pixelmator, Beautiful Fluffy Clouds in Photoshop, Space Light Effects in 10 Minutes, and others.
Step 1
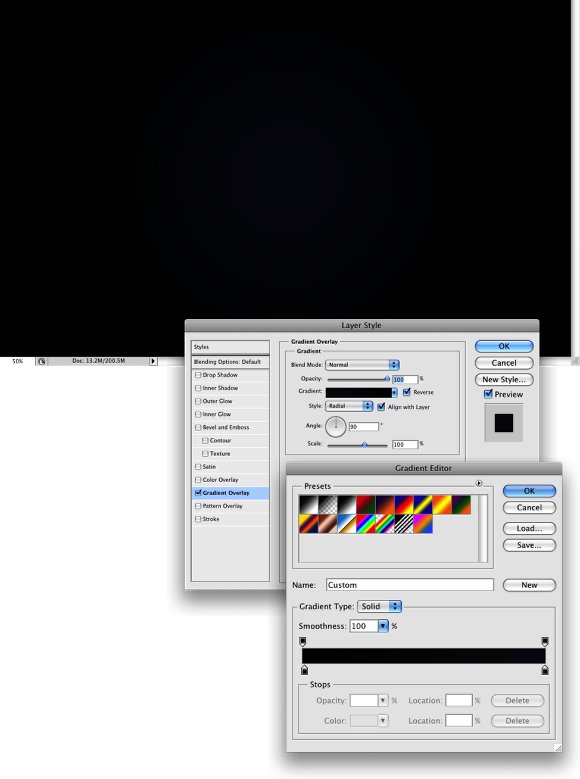
Create a new document in Photoshop. I used 1920x1200 pixels. Then in the Background layer add a Gradient Overlay via Layer Styles. Use #020202 and #131622 for the colors, Radial for Style and 100% Opacity.
Step 2
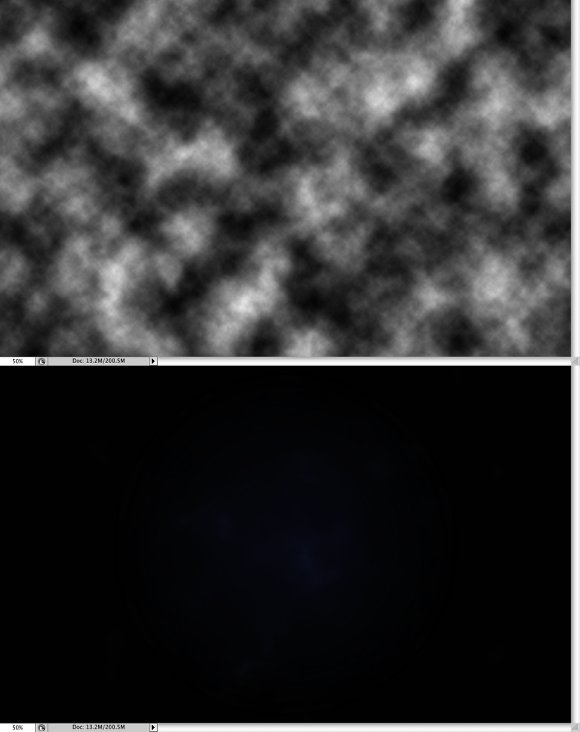
Now a classic step, I think I always do that when creating light effects. It's good because it adds some noise to the effect, like make it not so linear. Anyway, add a new layer and go to Filter>Render>Clouds. Just make sure you had black and white for the colors. After that change the layer's Blend Mode to Color Dodge.
Step 3
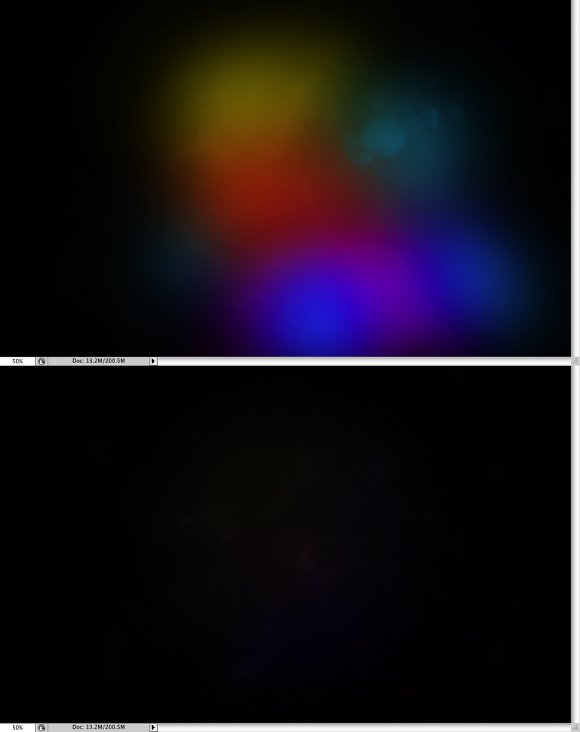
In this step we will add some colors to our effect, select the Brush Tool with a big and soft brush. Make sure that the hardness is 0%. Then paint with different sizes and colors some areas, use the image below for reference. For the colors use Red, Yellow, Blue and Green. After that change the layer's Blend Mode to Overlay.
Step 4
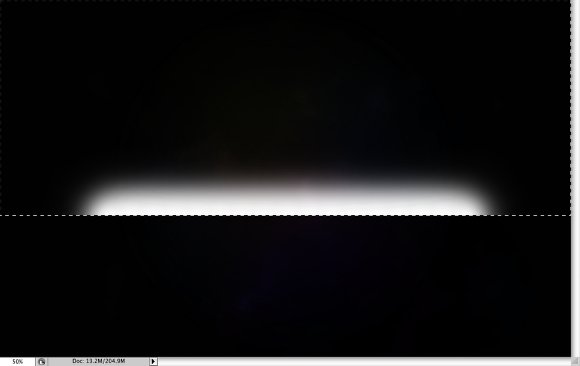
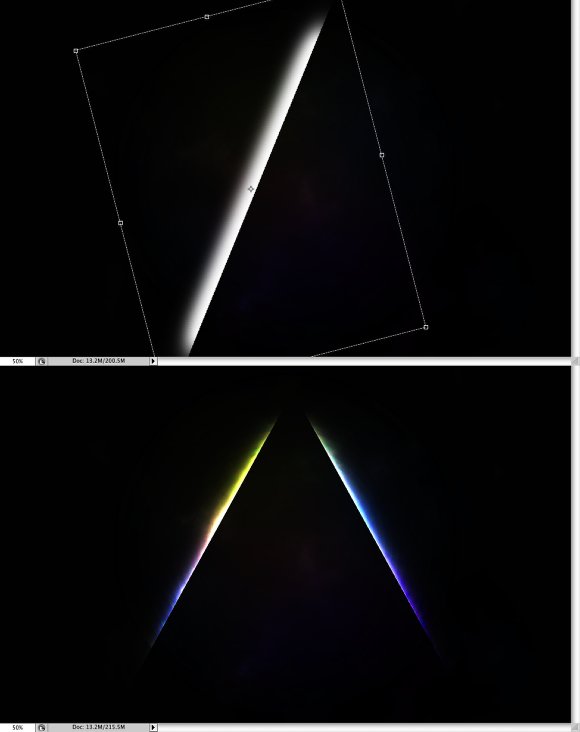
To create the first light effects, select the Rectangular Marquee Tool (M) and make a rectangle selection. Then select the Brush Tool (B). Use white for the color with a soft rounded brush. Paint a horizontal line, half out of the selection, exactly like the image below.
Step 5
Now rotate and resize the first streak of light. After that duplicate the layer and go to Edit>Transform>Flip Horizontal. Group both layers, rename the group to light effects, and change the Blend Mode to Color Dodge.
Step 6
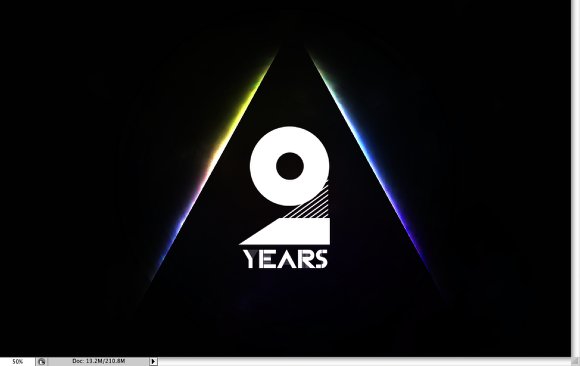
For the 2 Years I used a font called CassandraTwo, you can download it at http://www.dafont.com/cassandra.font. Basicaly what I recreate the font for the number 2 using the Rectangle Tool (U), Ellispe Tool (U), and Pen Tool. That way I was able to apply different effects to the each part of the number.
Step 7
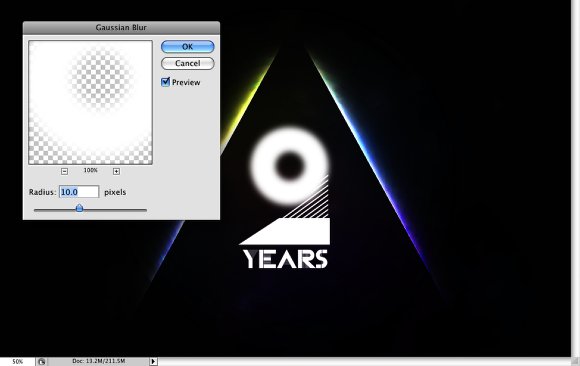
Select the circle part of the number 2 and go to Filter>Blur>Gaussian Blur. Use 10 pixels for the Radius.
Step 8
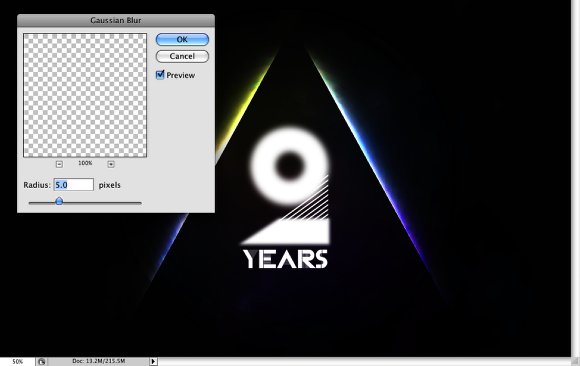
Here, select the bottom part of the number and again go to Filter>Blur>Gaussian Blur. This time however use 5 pixels for the Radius.
Step 9
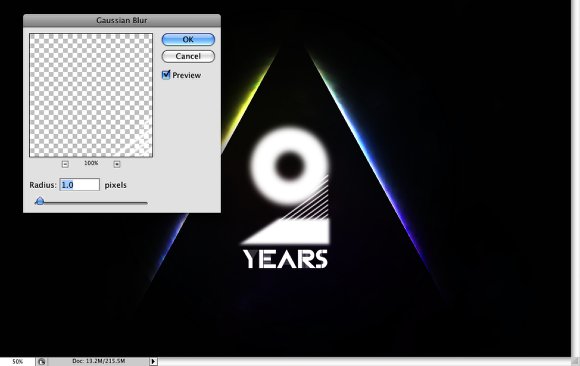
For the lines use apply a Gaussian Blur again, but for this part, as the lines are very think, use a 1 pixel for the Blur Radius.
Step 10
For the word year, apply a Gaussian Blur too and use 2 pixels for the Radius. After that group all elements, rename to group to "2years" and change the Blend Mode of the group to Color Dodge.

Step 11
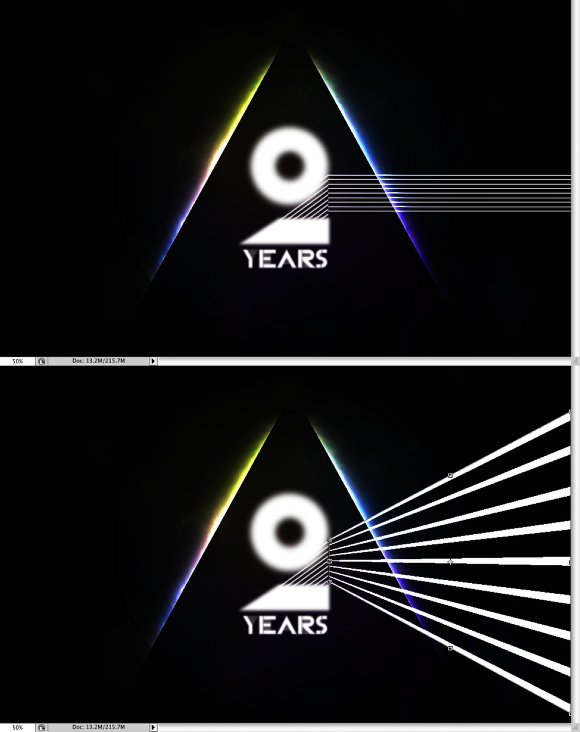
With the line tool create some lines following the lines of the number 2. Then convert them to Smart Objects, or if you prefer, just merge them to a layer. After that go to Edit>Transform>Distort. Add a perspective to the lines as they are coming towards the screen. Use the image below for reference.
Step 12
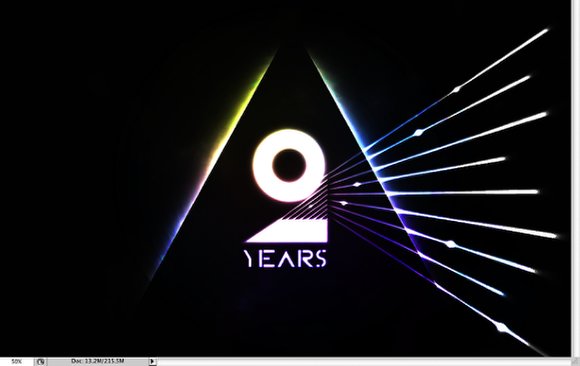
Group the lines and rename the group to "lines". Change the folder's Blend Mode to Color Dodge. With the lines layer selected go to Filter>Blur>Gaussian Blur. Use 3 pixels for the Radius. The go to Layer>Layer Mask>Reveal All. Select the Brush Tool with black for the color and erase the end part of some lines. After that add a new layer inside the group and with the Brush Tool (B) and white for the color with a very soft brush, paint some rounded light spots.
Step 13
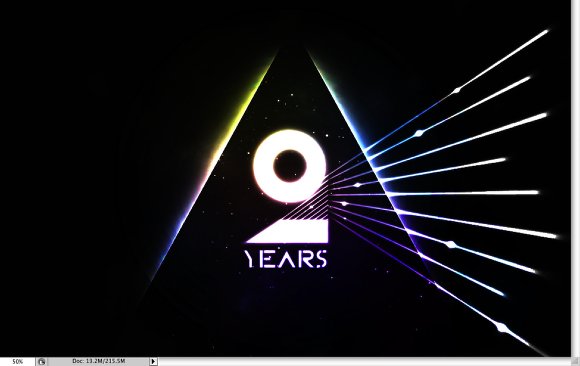
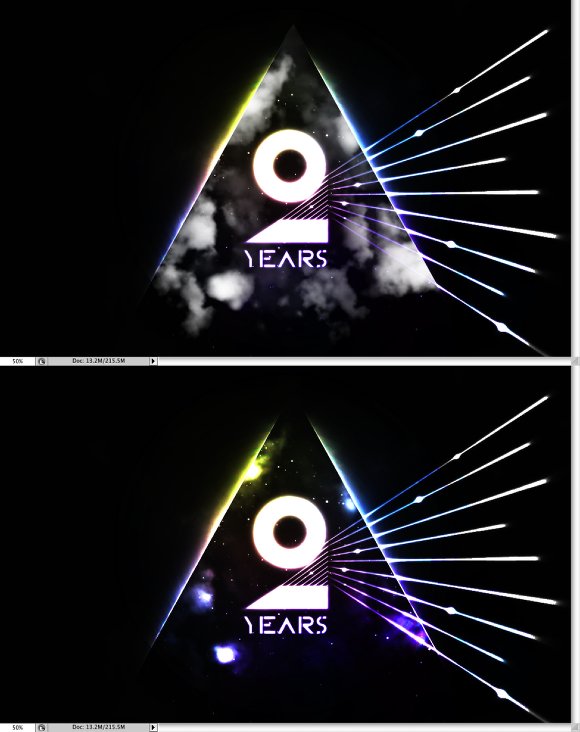
Let's use a photo to create the stars, you can download it here. Change the photo's blend mode to Color Dodge, and with Mask or Eraser Tool (E), start deleting some areas of the layer, leave only the area inside the triangle of light. The idea is that the triangle is a window to the space.
Step 14
Now let's add some clouds, I used the same technique I used for the Beautiful Fluffy Clouds in Photoshop - Christmas Tutorial (http://abduzeedo.com/beautiful-fluffy-clouds-photoshop-christmas-tutori…). With the layer with the clouds, group the layer to a new folder and change the Blend Mode to Color Dodge. Repeat the same thing we did for the start, delete or mask the layer so only the area inside of the triangle is visible.
Conclusion
You can group all layers, duplicate the group and merge it to a new layer, then add a gaussian blur and change the blend mode to Screen to add a nice glow effect. Also you can add another layer on top of the others and place a photo of an old paper or other textures to make the image look old. It's all about playing, trying different combinations with blend modes and masks, and that's why it's really fun to play with Photoshop.
Download the Photoshop File
Click here to download the Photoshop file used for this tutorial.
![Neon light effect in Photoshop [revisited] Neon light effect in Photoshop [revisited]](/sites/default/files/styles/square_1x1/public/originals/hero_neon.png?itok=lP4mbIak)
