by abduzeedo
Adobe has just released the CS5 family and you can download the trials including the new Photoshop CS5 Extended. With this new version we have the Repoussé feature which allows us to create 3D objects in Photoshop. The last tutorial I showed you how to create a simple extruded text, now in this tutorial I will show you the Inflate option in Repoussé.
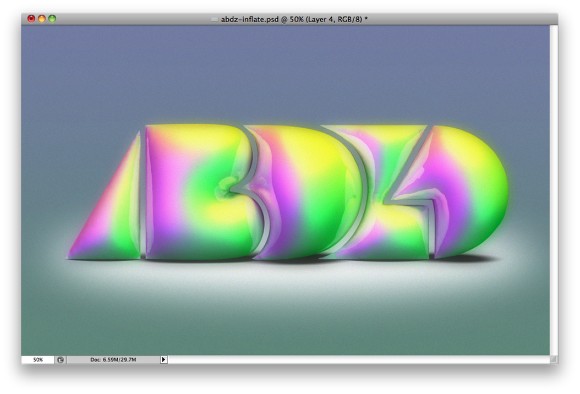
With the Inflate we can create really cool 3D objects by inflating the front and back faces of the 3D objects, the result is very cool and reminds a lot the work of Jeff Koons with the metallic balloons sculpture.
So in this tutorial we will use Repoussé with the Inflate options to create a metallic inflated text. The effect is pretty simple and it won't take more than 20 minutes to achieve the effect.
Step 1
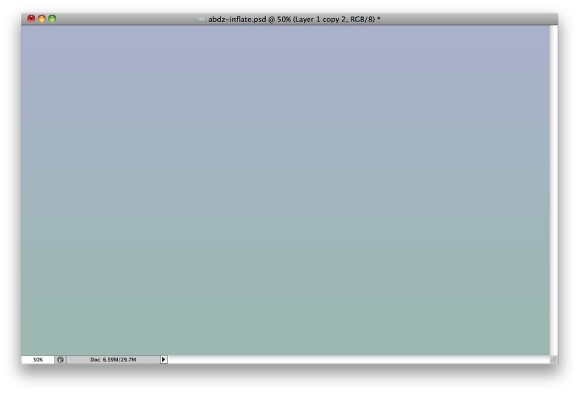
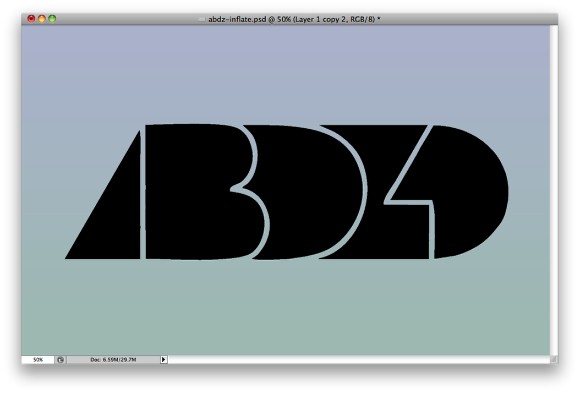
Open Photoshop CS5 Extended and apply a gradient on the background layer. I used #afc7c0 (bottom) and #bac1d7 (top) for the gradient colors.
Step 2
Here I pasted a vector from illustrator to transform it into a 3D object using the Repoussé tool. Tip: I pasted the vector as Shape Layer.
Step 3
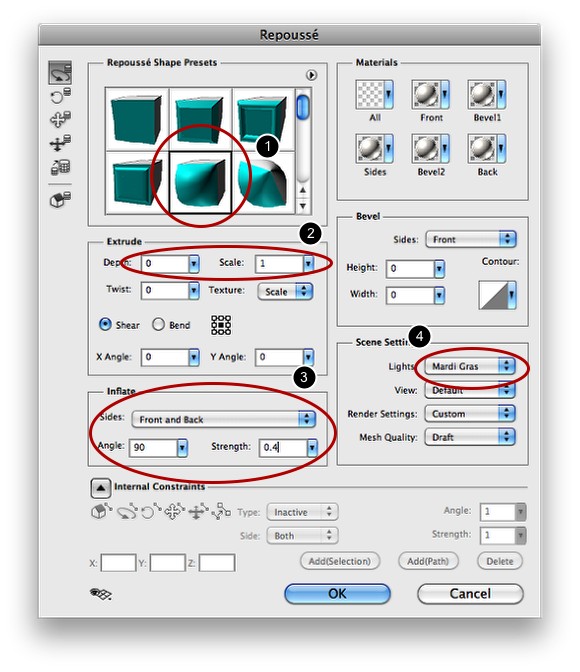
Go to 3D>Repoussé>Selected Path. Select the 4th preset called Inflate (1). Over the Extrude options use 0 for Depth and 1 for Scale (2). Over the Inflate options change de Slides to Front and Back, the use 90 for the Angle and 0.4 for the Strength. After that over the Scene Settings change the Lights to Mardi Gras.
Step 4
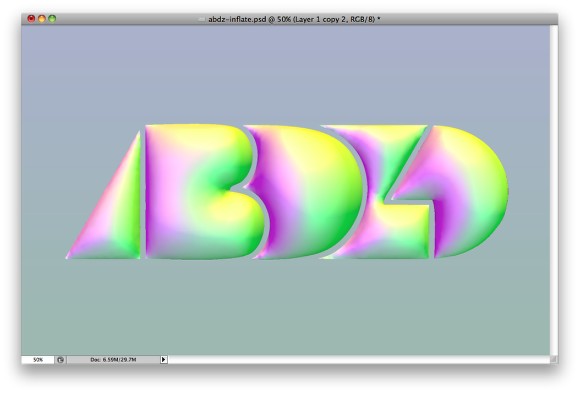
The Mardi Gras will create 3 very colorful light on the scene. But now let's do some adjustments and apply a nice material on the object.
Step 5
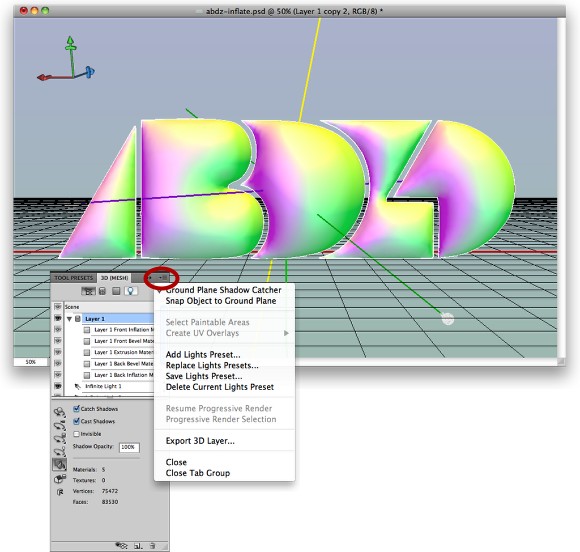
Click on the the Icon at the top right hand corner of the 3D palette and then select Ground Plane Shadow Catcher and Snap Object to Ground Plane as well. That will create a shadow as the object is on a floor.
Step 6
Go to 3D>Browse 3D Content Online... You will be redirected to the Adobe Photoshop website where there will be the Material Downloads box with a big blue Download button. Click there to download some Fabrics, Glass, Metal, Stones and other cool materials to be used in Photoshop. Just download and install the materials using the Extension manager.

Step 7
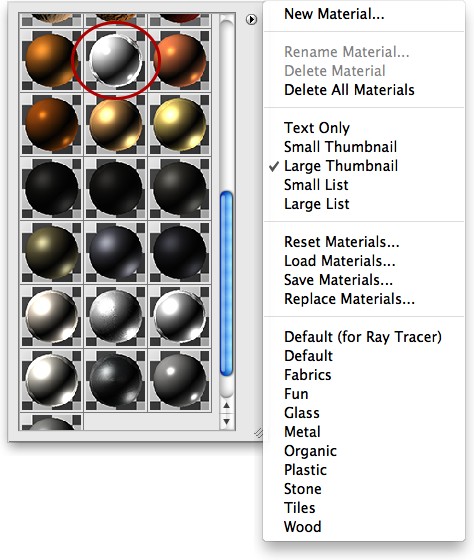
After you install the materials, just click on the little icon at the top right hand corner of the materials window and you will have some new options like I mentioned before, there will be Fabrics, Fun, Glass, Oragnic... select Metal then pick the first chrome material, the Metal Chrome 2.
Step 8
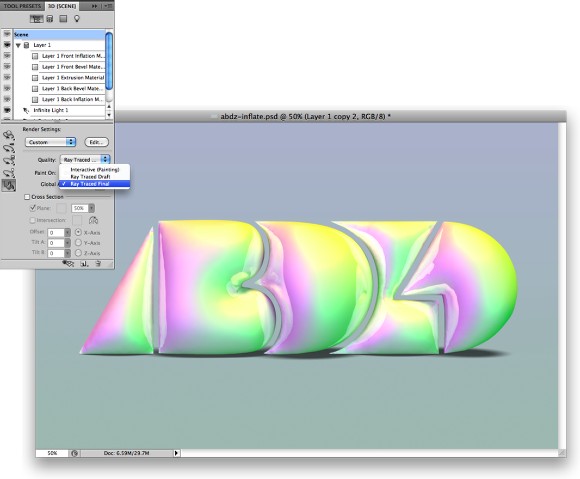
Now that we have selected the right lights and materials we have to render the 3D. Click on the Scene in the 3D Palette and then over Quality select Ray Traced Final. It will take some time to render the whole scene but the result will be really good.
Step 9
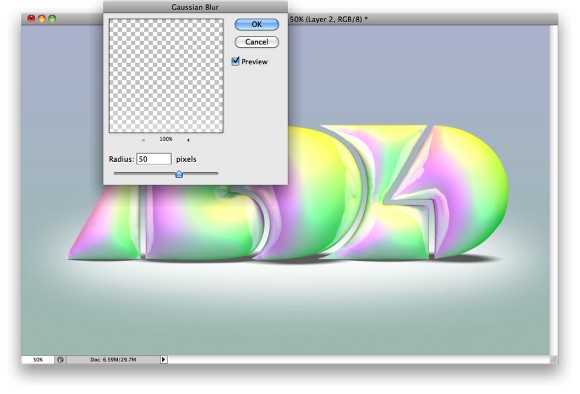
With the Ellipse Tool (U) create a white ellipse below the object as if it was a spotlight. Then go to Filter>Blur>Gaussian Blur. Use 50 pixels for the Amount.
Step 10
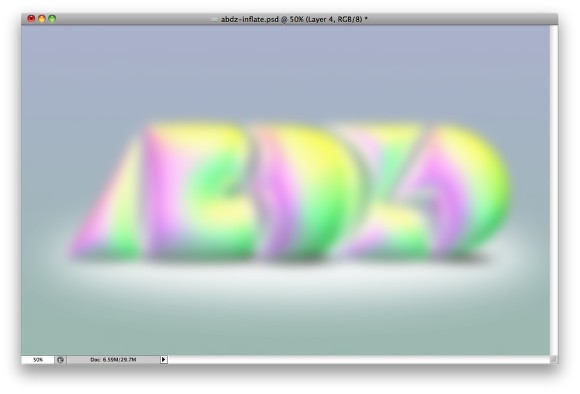
Select all layers and duplicate them, after that go to Layer>Merge Layers, or simply press Command(MAC) or Control (PC) + ALT + Shift + E to create a layer with all layers merged into it. After that go to Filter>Blur>Gaussian Blur. Use 30 pixels for the Amount, then just change the layer's Blend Mode to Multiply.
Click on the image for full preview
Conclusion
The Repoussé feature in Photoshop CS5 Extended has a lot of settings and we can create really cool effects using it, in this tutorial I played a little bit with the Inflate option, and as you could seem, I used just the presets of lights and materials. You can try different light colors and settings as well as shapes to create your own effect.
Download the Photoshop File
Click here to download the Photoshop file used for this tutorial

