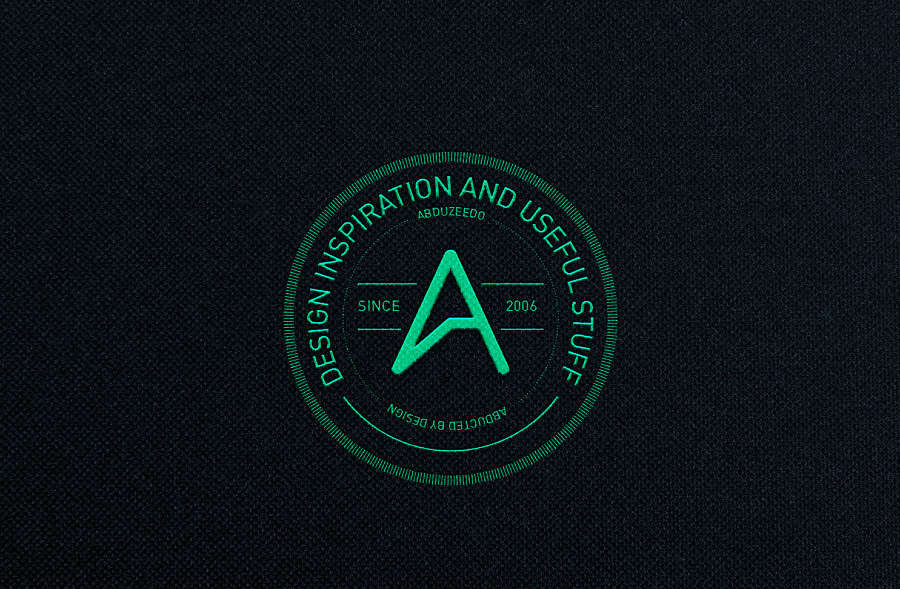
by abduzeedo
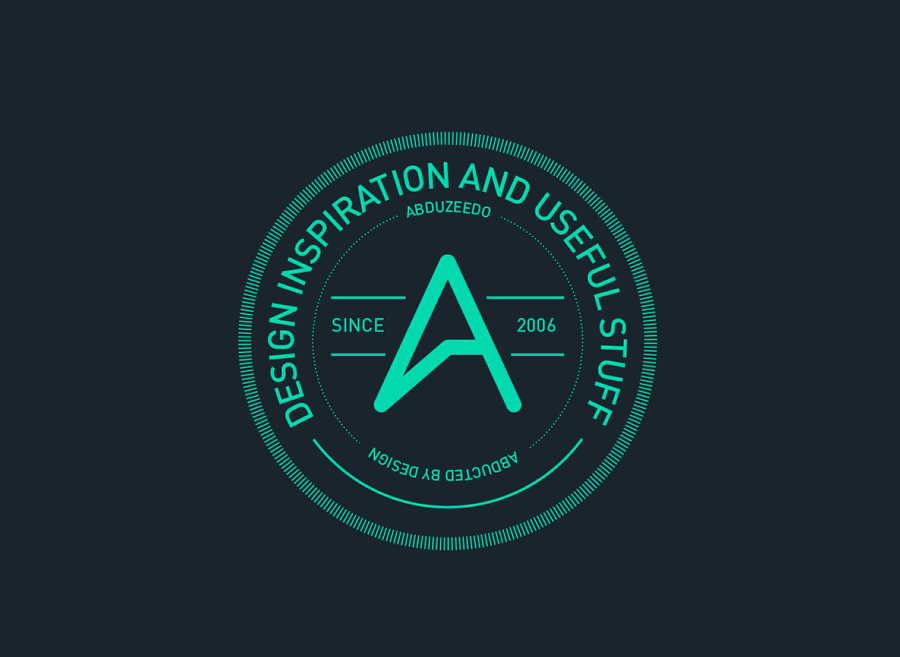
Week 6 and here we go again. This morning while I was looking for some references or inspiration on what to do I saw a post on Instagram from the Street League, it's the league of street skateboarders. I loved the logo and decided to try to create something with the same style in Illustrator to learn how to do that. After that I just went to Photoshop to add some flare.
Below you can see the behind the scenes on how I achieved this effect.
Step 1
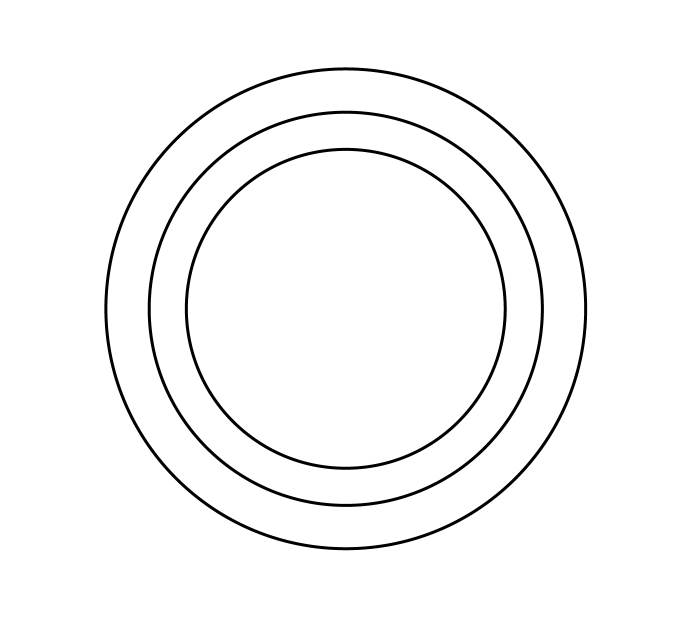
I started in Illustrator with 3 circles with 1pt for the stroke.
Step 2
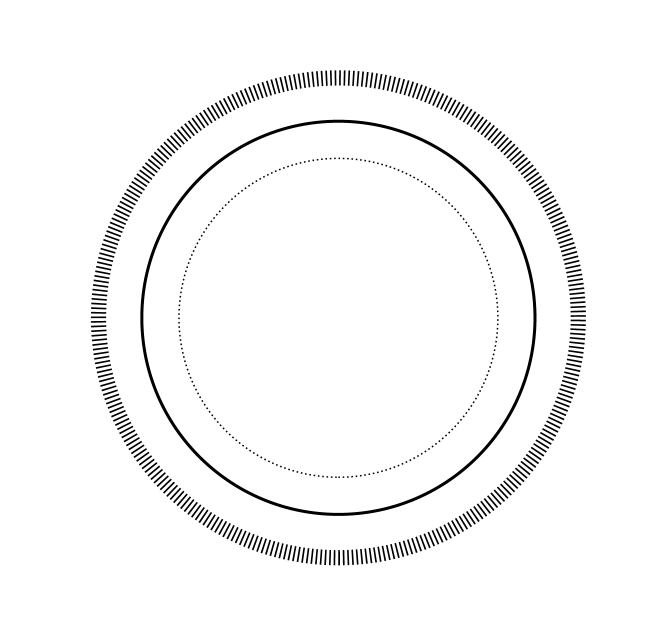
For the outer circle I changed the stroke to be 5pt for the Weight and Dashed Line with 0.5pt for the dash and 1pt for the gap. For the inner circle, change the Weight to 0.5pt and for the dashed line use 0.5pt for the dash and 1pt for the gap as well.
Step 3
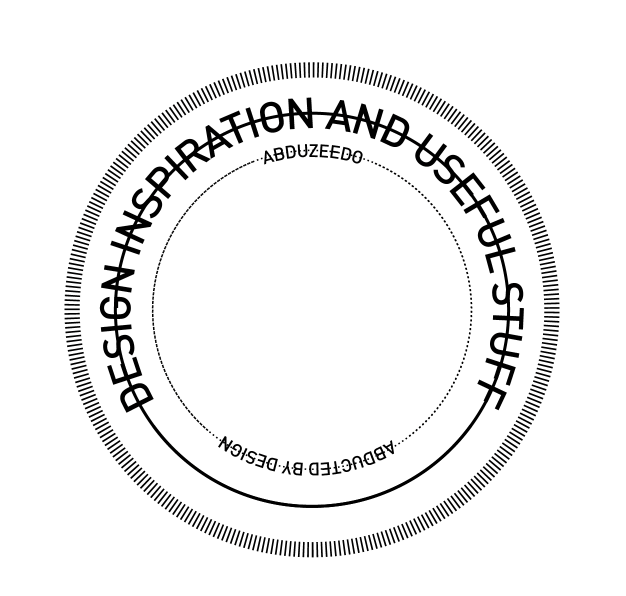
With the Type on Path Tool I added the text you want using the Type on a Path Tool.
Step 4
Here I cut the parts of the circles/paths that went over the text and then added the Abduzeedo symbol and with some paths I added the Since 2006.

Step 5
Now in Photoshop I pasted the vectors and changed the color to #04D9AE using the layer styles. For the background I used #19242D for the color.
Step 6
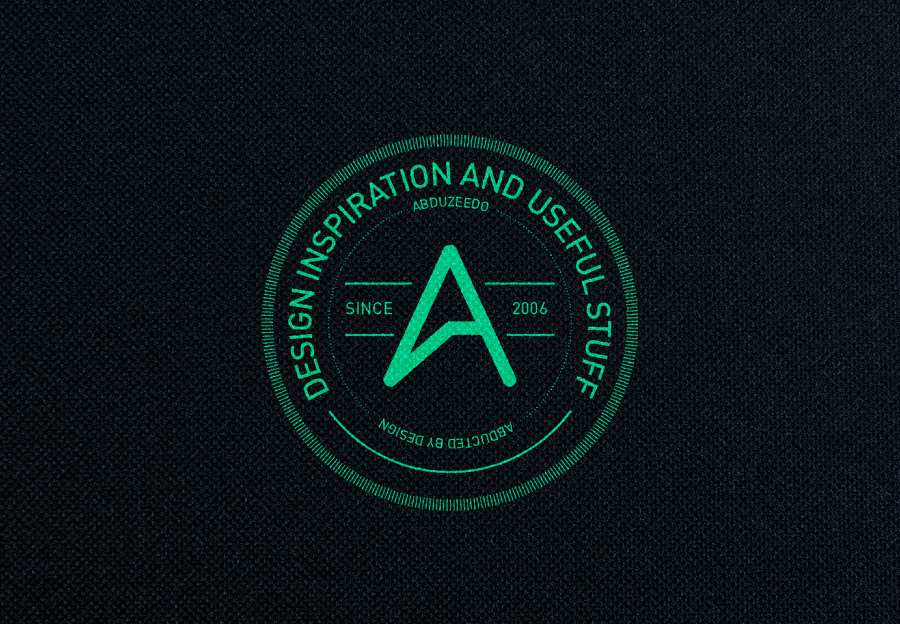
Here I added a stock photo from Shutterstock titled Black textured background by Valzan. I put it on top of all other layers and used Overlay for the Blend Mode.
Step 7
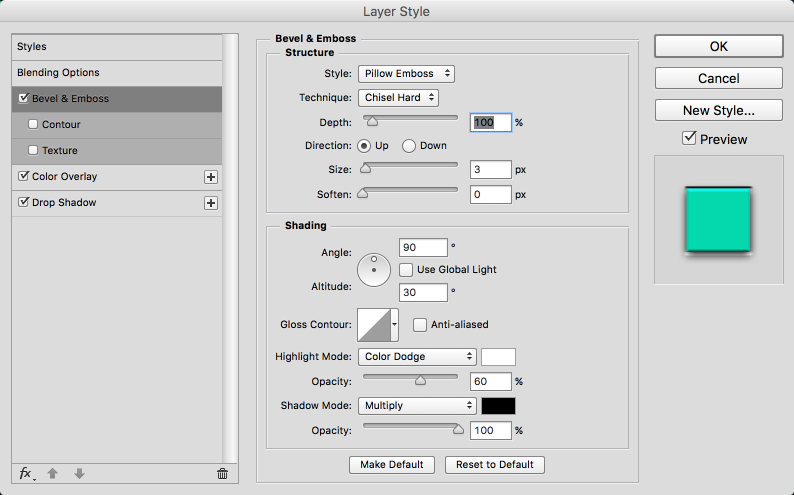
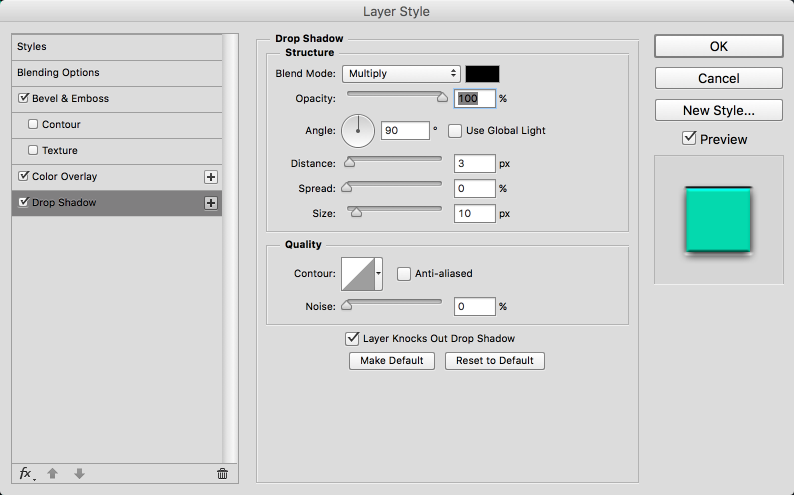
Now to add some more realism and old school effects I used the Layer Styles in Photohsop. I added Bevel & Emboss and Drop Shadow. The values are below.
Conclusion
Here's the final result. It feels quite cool for my new hat. Maybe it will be available at the Abduzeedo store very soon.
