by abduzeedo
The past week we posted an article titled Eerie Futuristic Digital Art by Cristian Chierici. It was a series of awesome compositions mixing photography and light effects. If you follow Beeple you will know the type of effect I am talking about. So I always wanted to recreate that type of composition using Photoshop only and this weekend I took some time off to do that. It’s still an early stage image but I'm excited to share this Photoshop tutorial on how I did this first proof of concept.
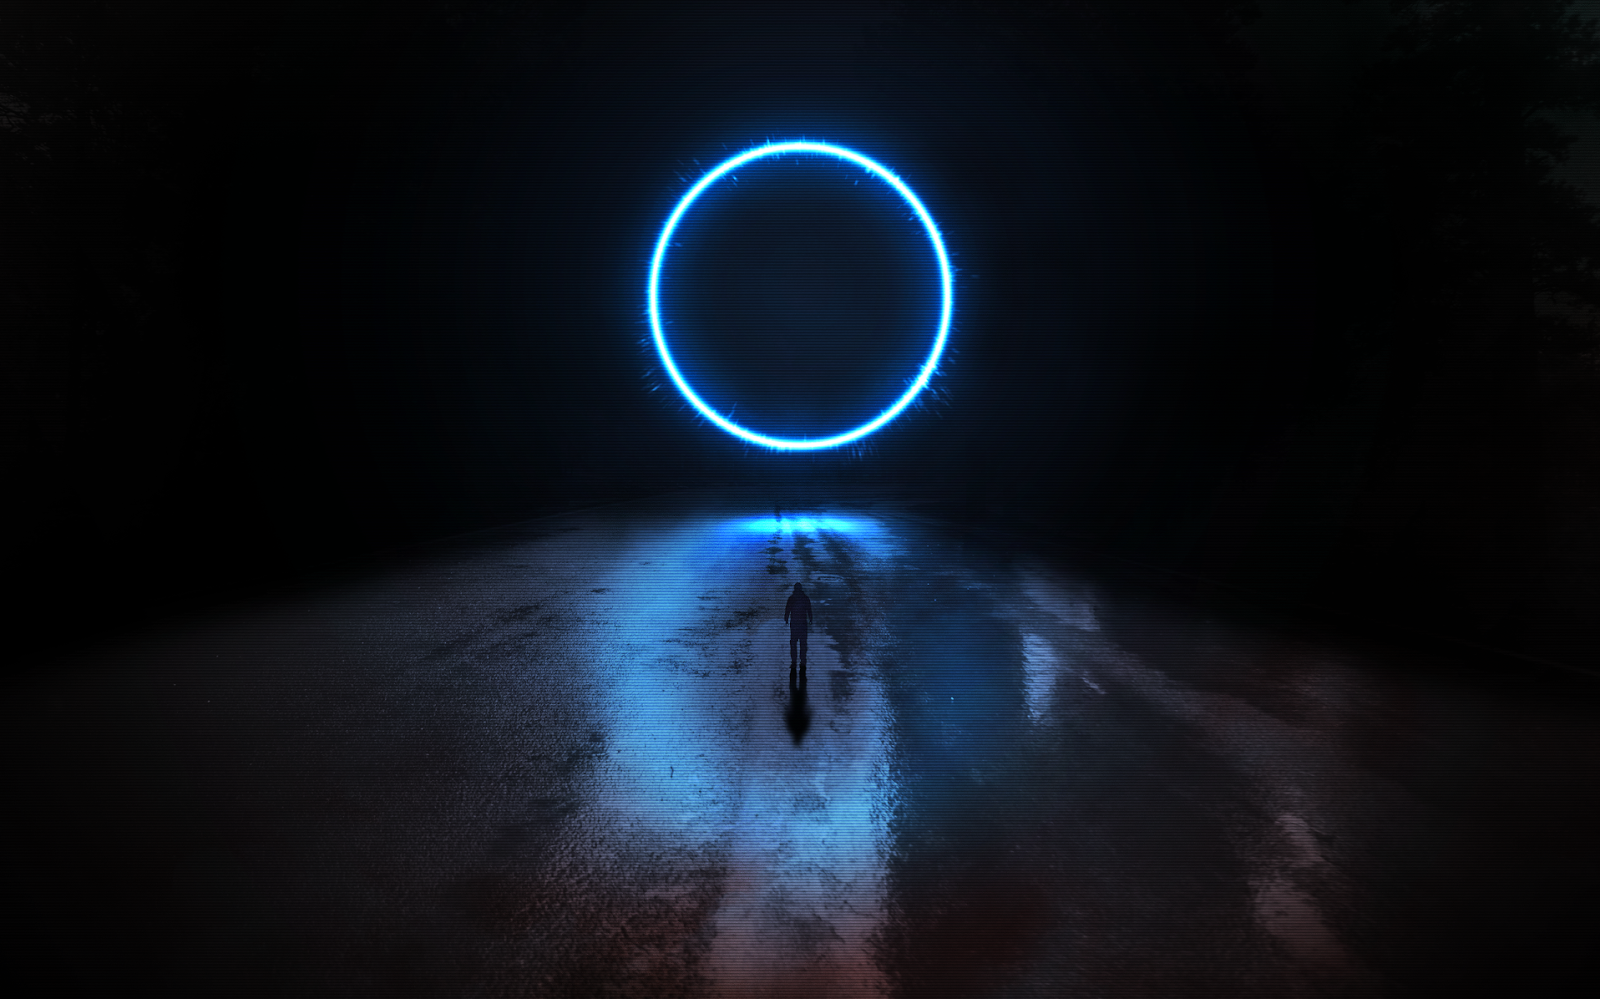
Basically, the idea behind this digital art is to illustrate a person walking towards a portal that could lead her/him to a different dimension. To do that we will use Photoshop, a few images, layer styles, and blend modes.
Step 1
In Photoshop create a new document. I am using 2880x1800 for the resolution. Right after that fill the background with #020203
Step 2
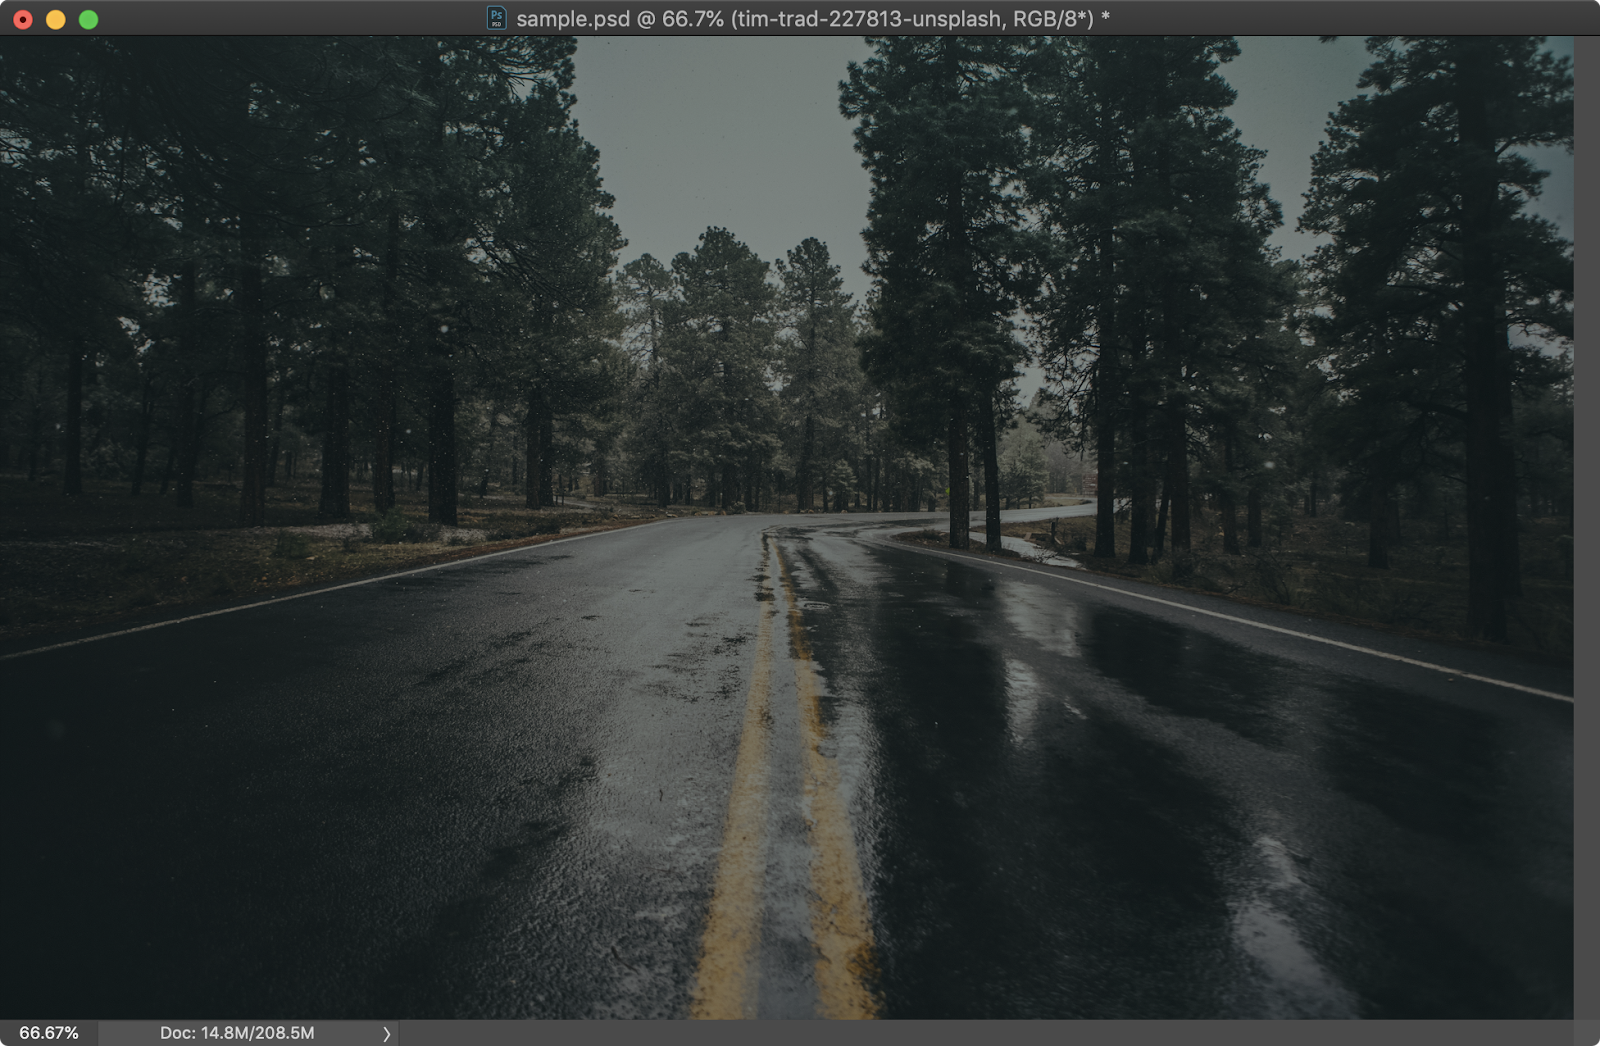
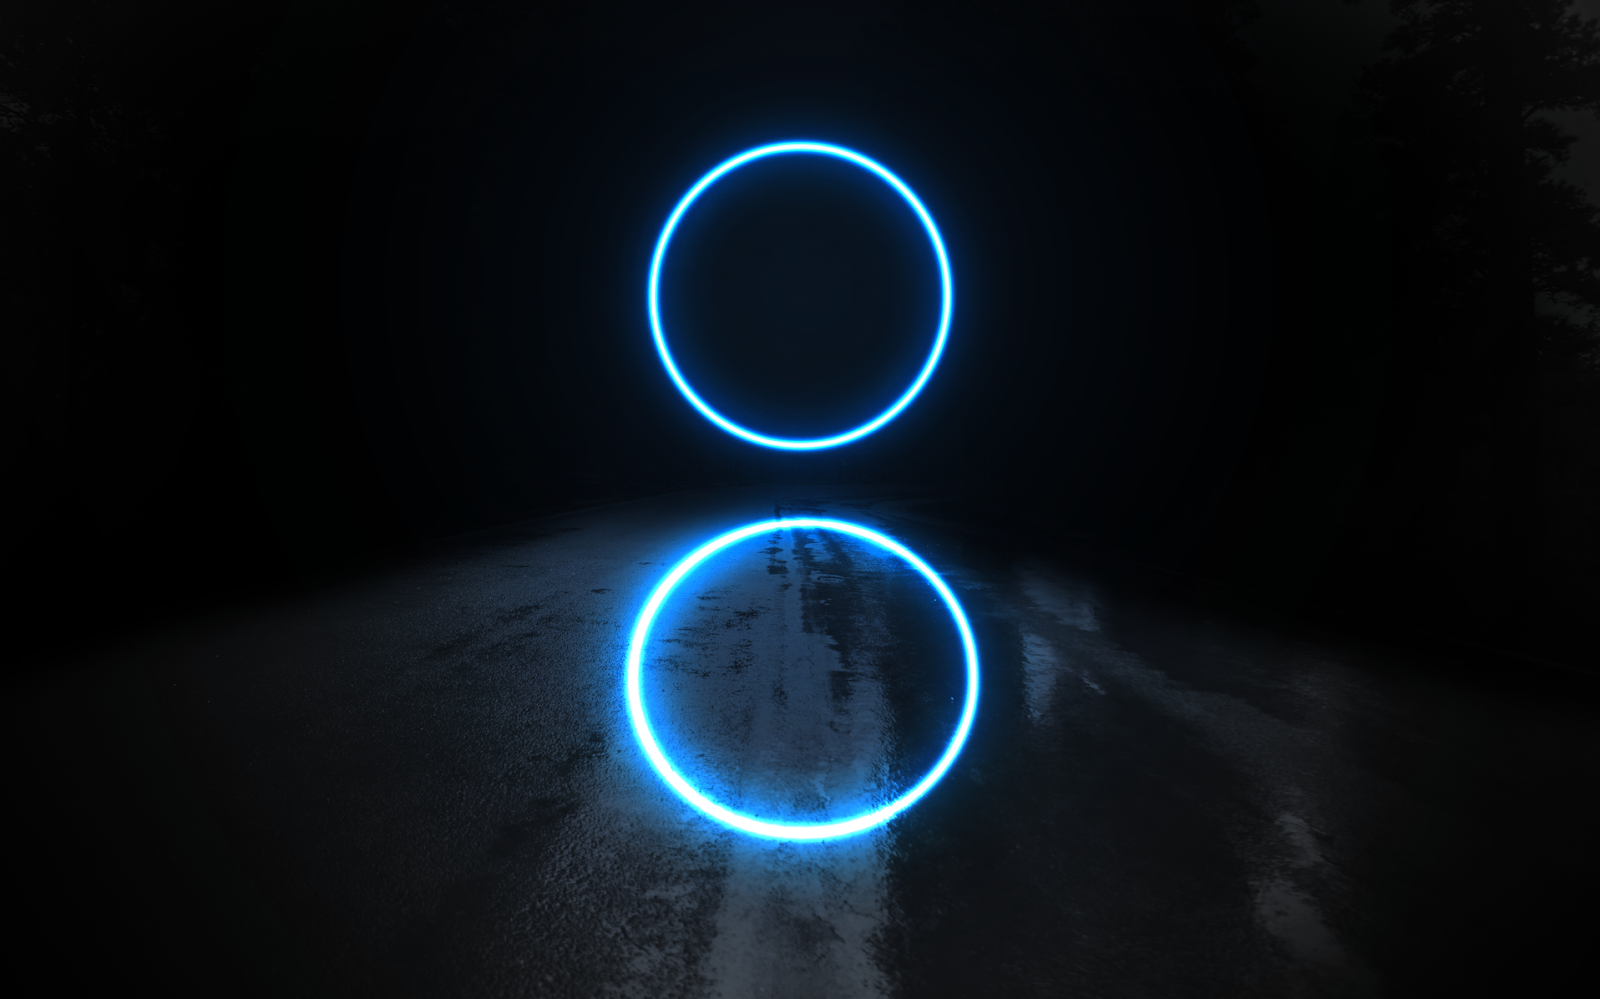
Let’s import some images so we can manipulate them to create the effect we want. The first image is a photo by Tim Trad on Unsplash of a wet road. I chose this image because of the wet floor. It’s perfect for the effect I want to create.
The last thing to do in this step is to change the opacity of this layer to 60%.
Step 3
Select the image and go to Layer>New Adjustment Layer>Vibrance. Use -100 for Vibrance and -2 for Saturation.
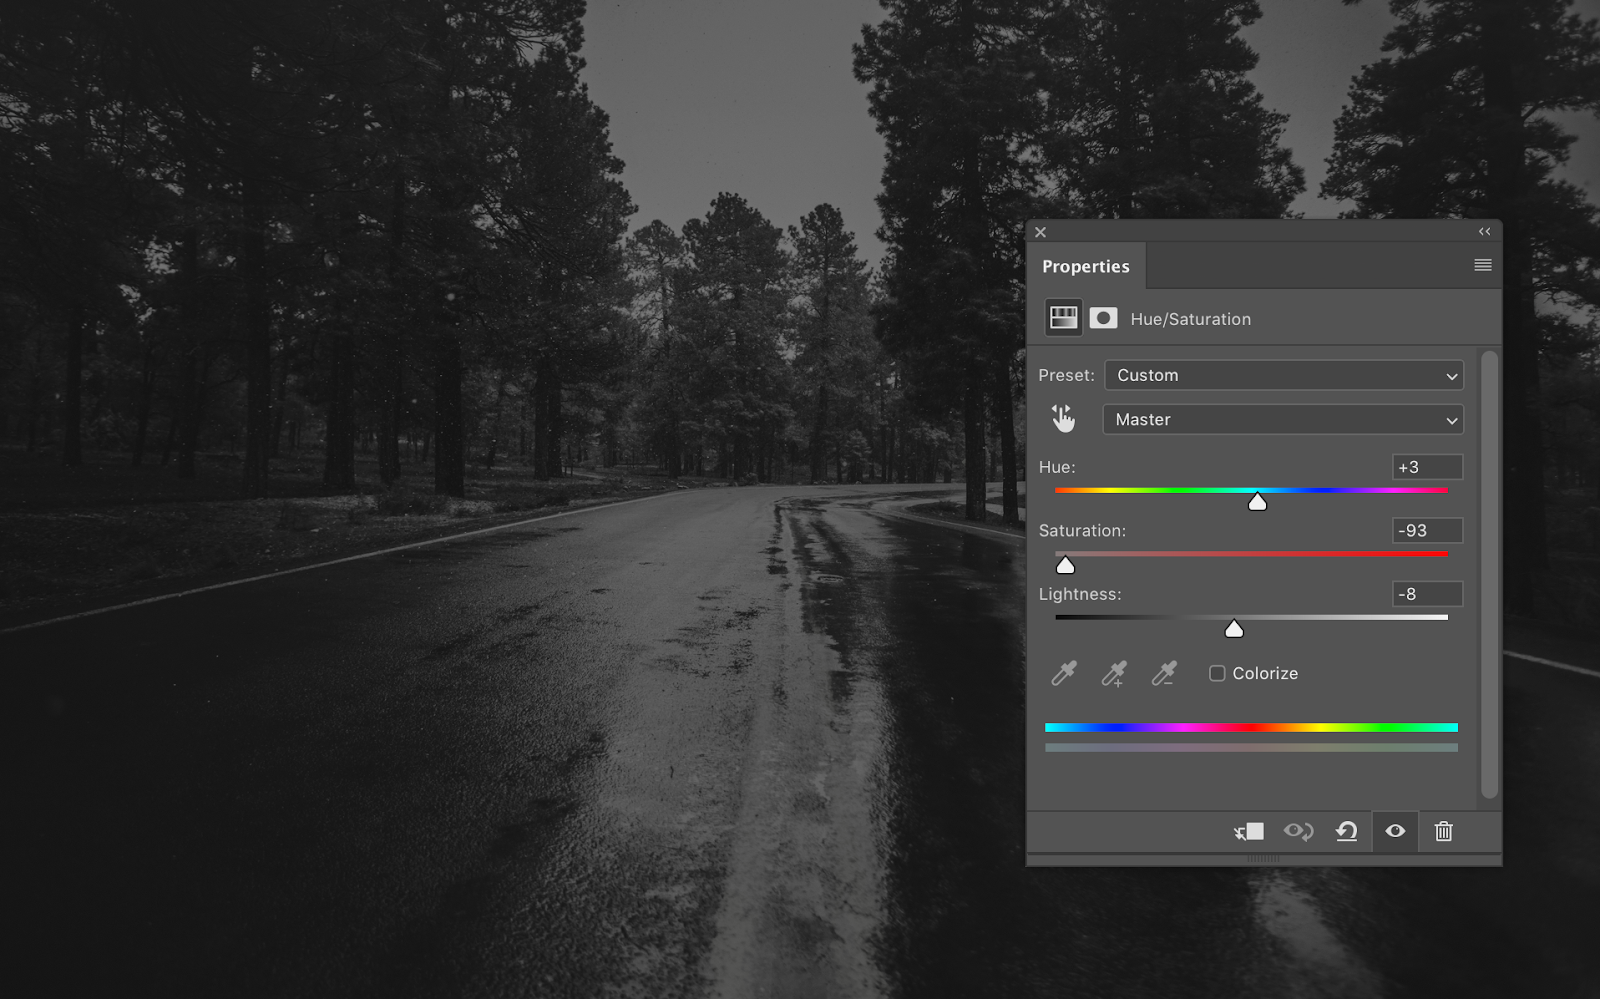
After that go to Layer>New Adjustment Layer>Hue/Saturation. Change the values of Hue to 3, Saturation to -93 and Lightness to -8.
The last thing to do on this step is to use the clipping mask for these two adjustment layers.

Step 4
Add a new layer and select the Brush Tool (B). Make sure you are using the default brush with maximum value for Softness. Then start painting on the sides to hide the trees.
Group all these layers and name the group to Floor.

Step 5
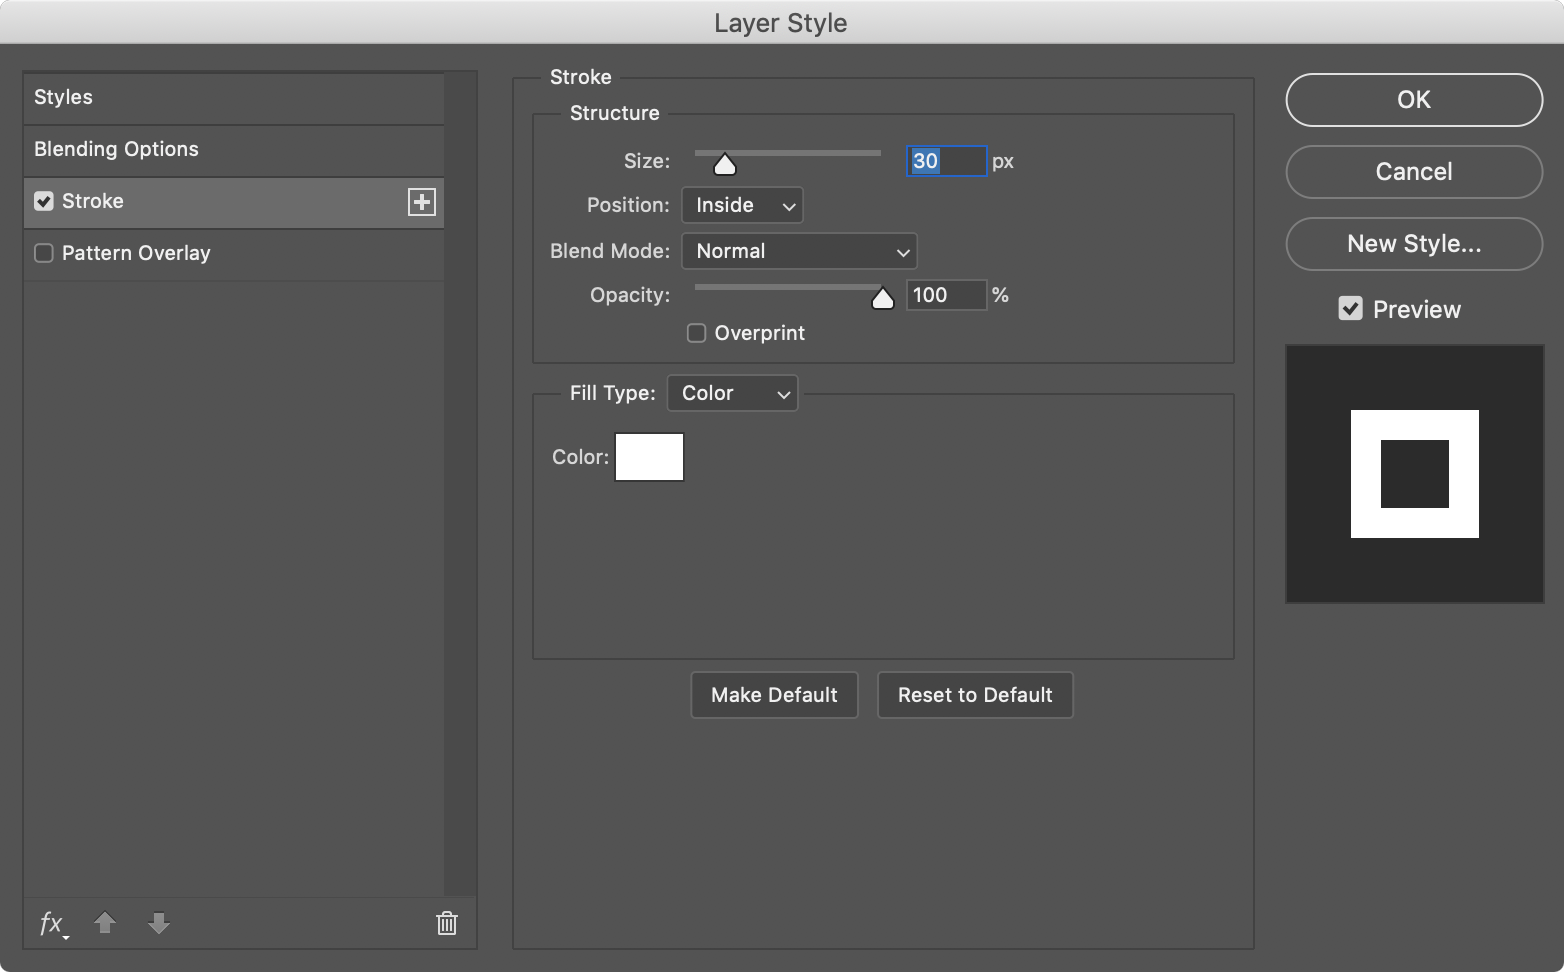
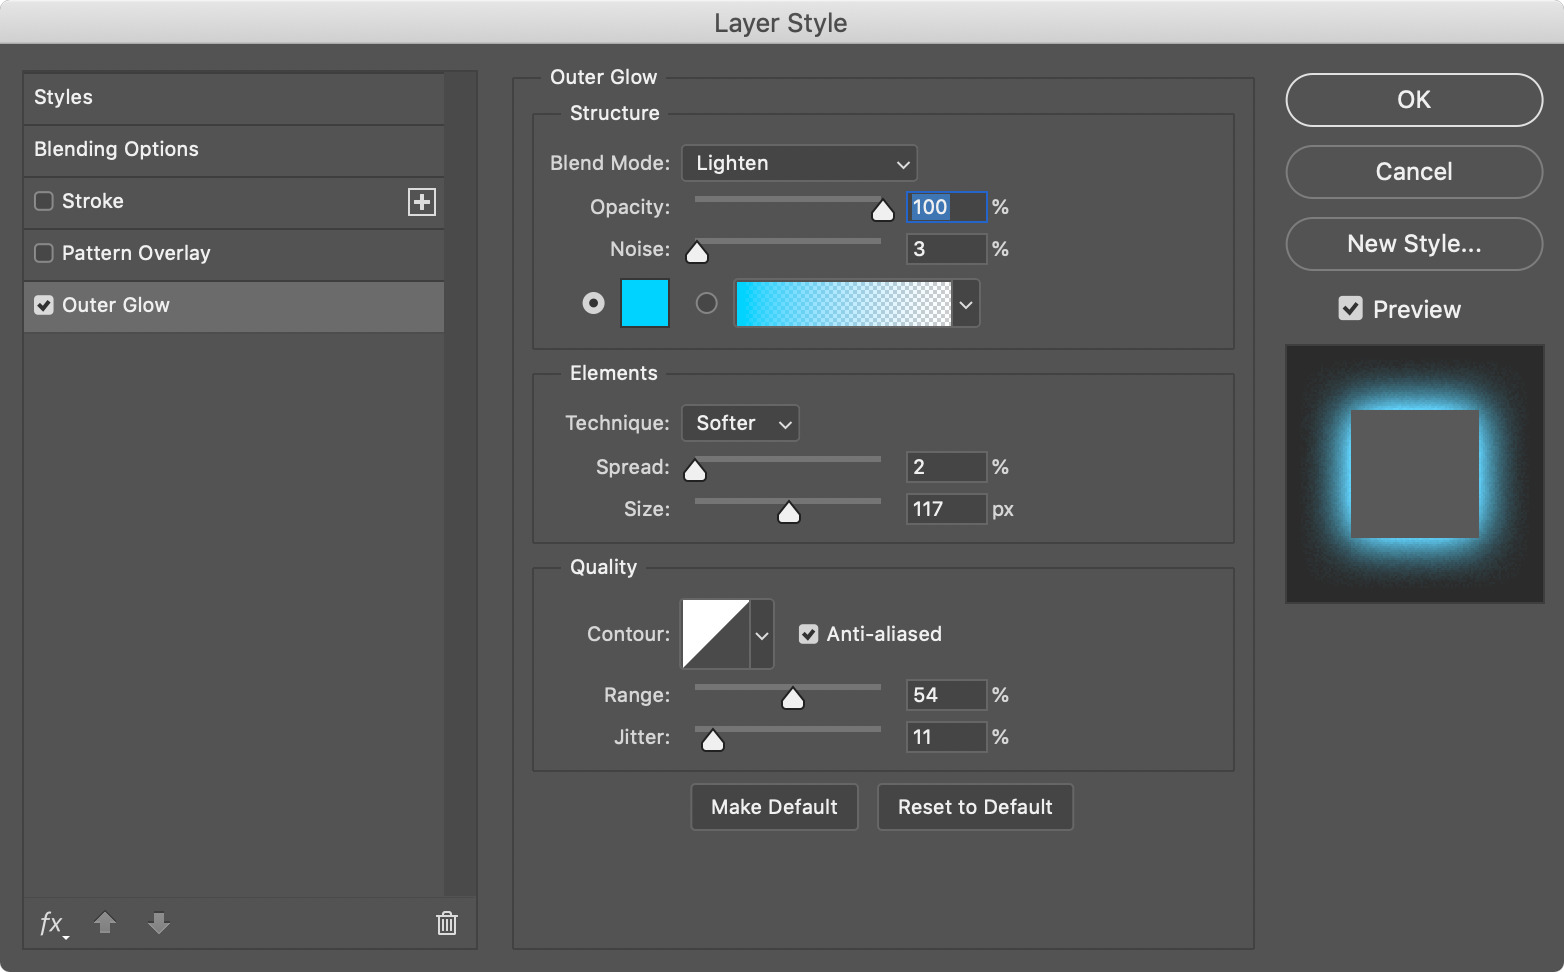
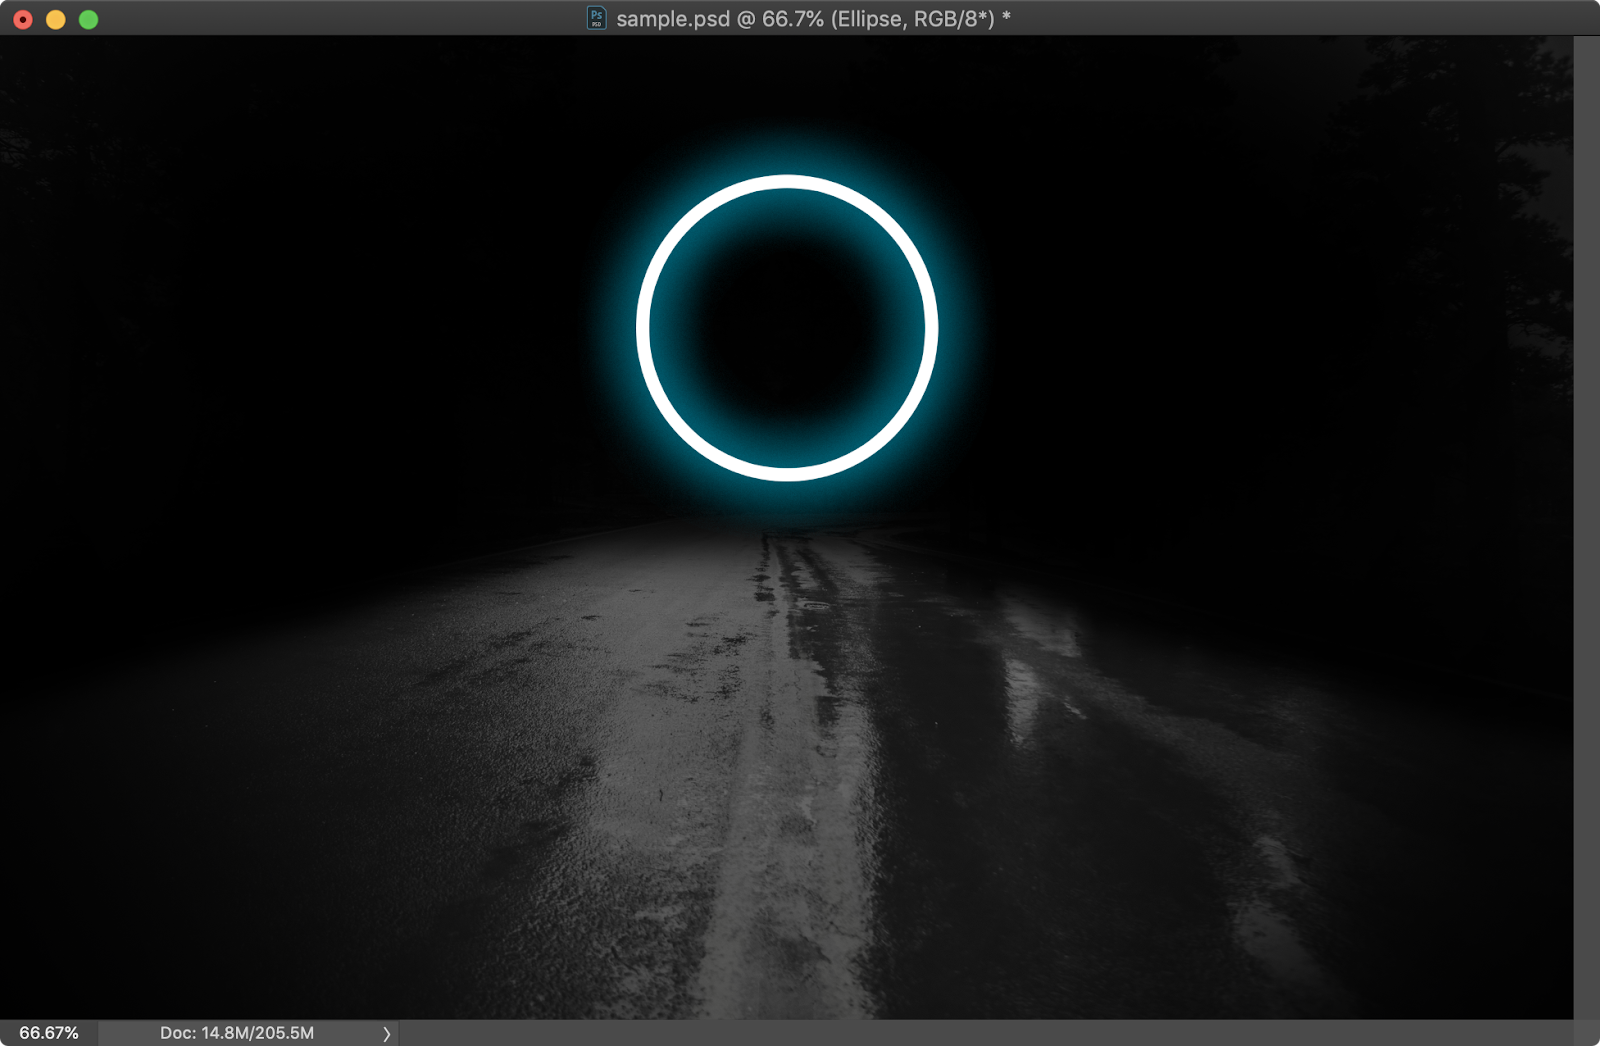
Add a new layer and with the Ellipse Tool (U) create a circle. After that go to Layer>Layer Style>Stroke. Use 30px for the Size and white for the Color.
In the Layer, Styles pane select Outer Glow. Use a light blue for the color and use the values below.

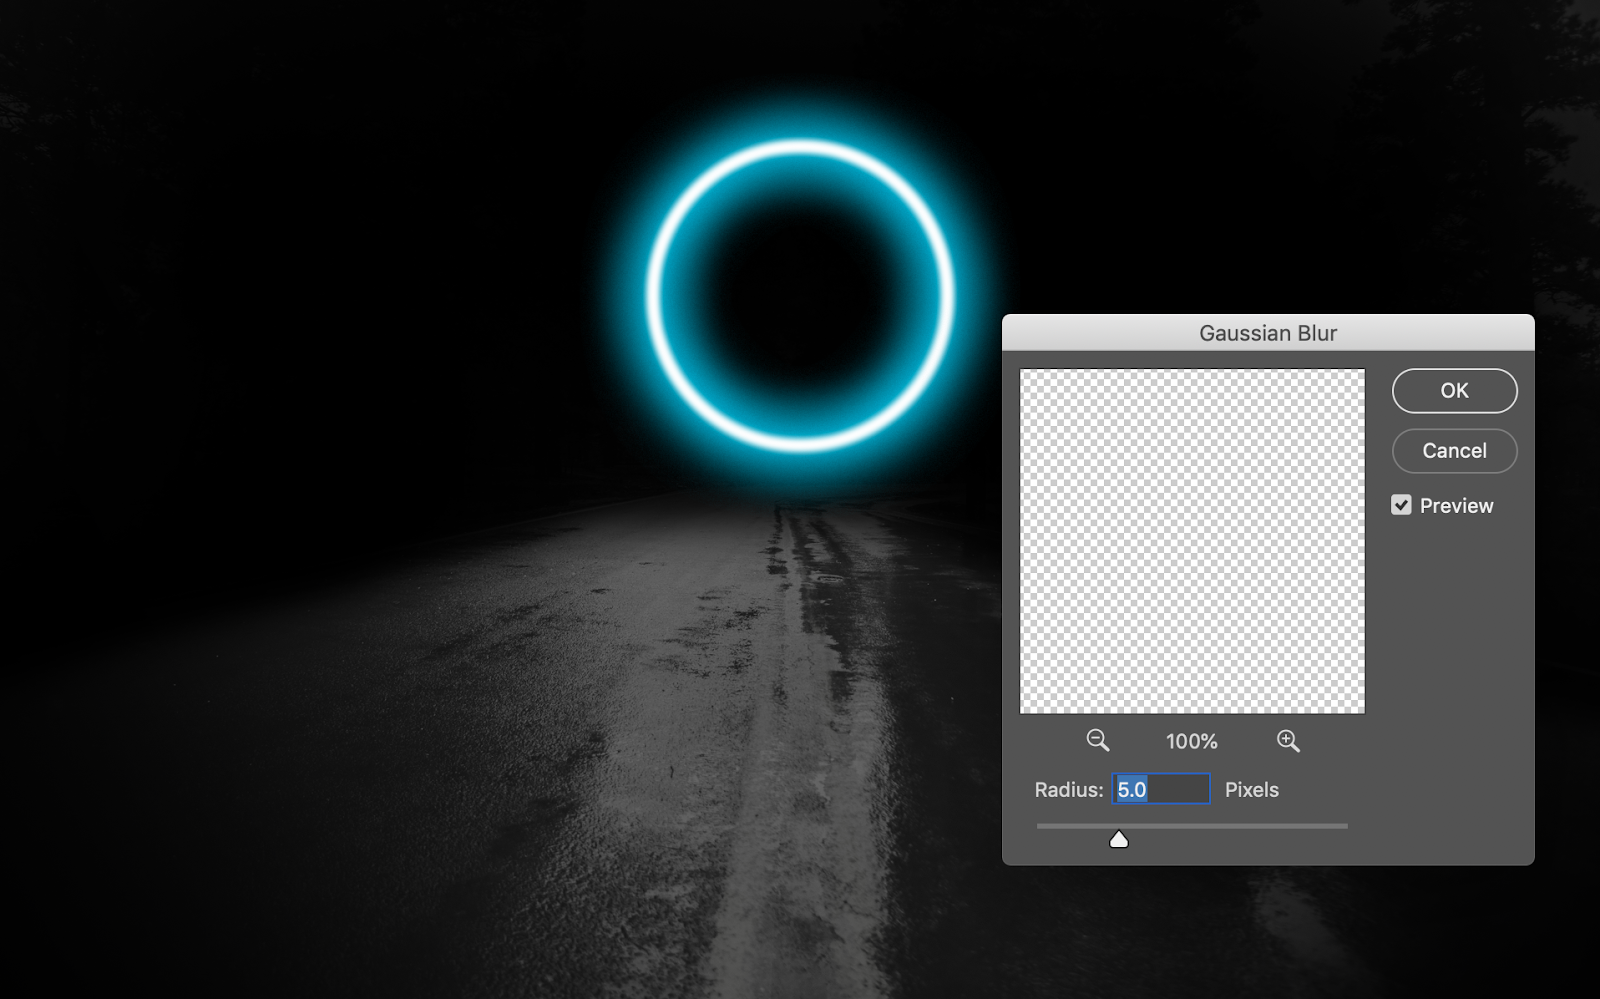
Step 6
Select the layer and convert it to Smart Objects. After that go to Filter>Blur>Gaussian Blur. Use 5.0 Pixels for Radius.
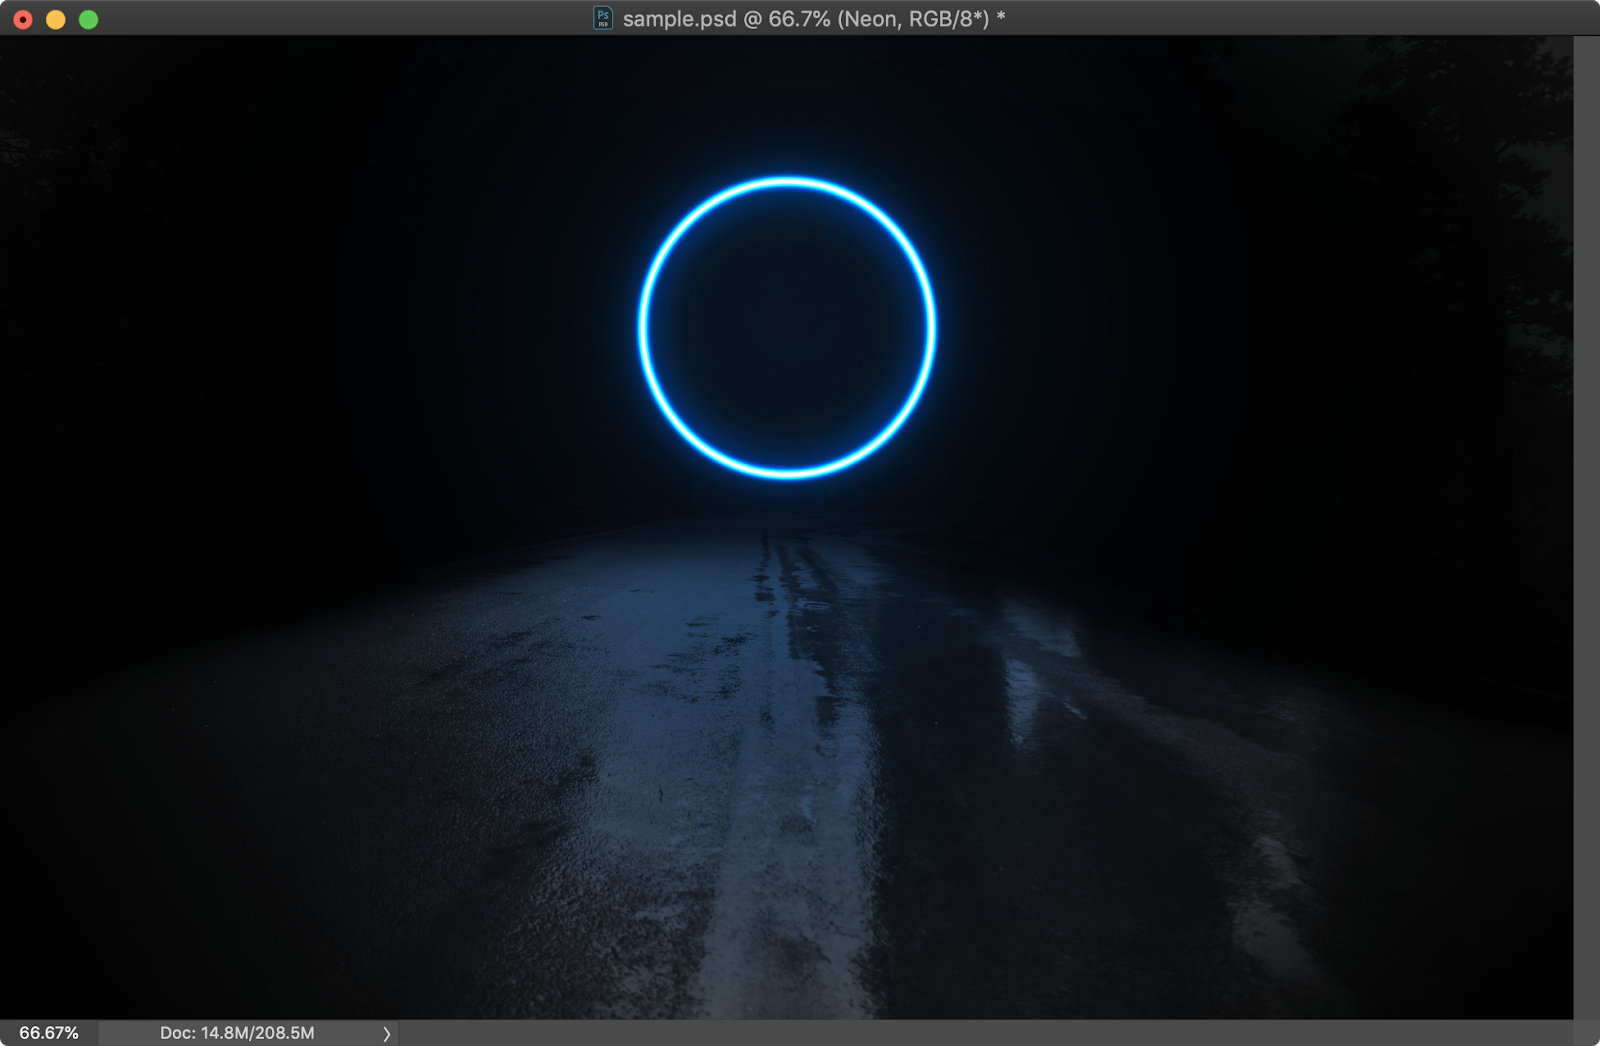
Step 7
Add a new layer and make sure it’s underneath the circle one. Fill this new layer with black using the Paint Bucket Tool (G). Group the two layers and change the Blend Mode of this group to Color Dodge. Also, rename it to Neon.

Step 8
Create a new group and call it Glow. Add a layer, change the Blend Mode to Screen and with a dark blue color and a very soft brush paint on the center of the circle. Keep painting to expand the color effect like the image below.

Step 9
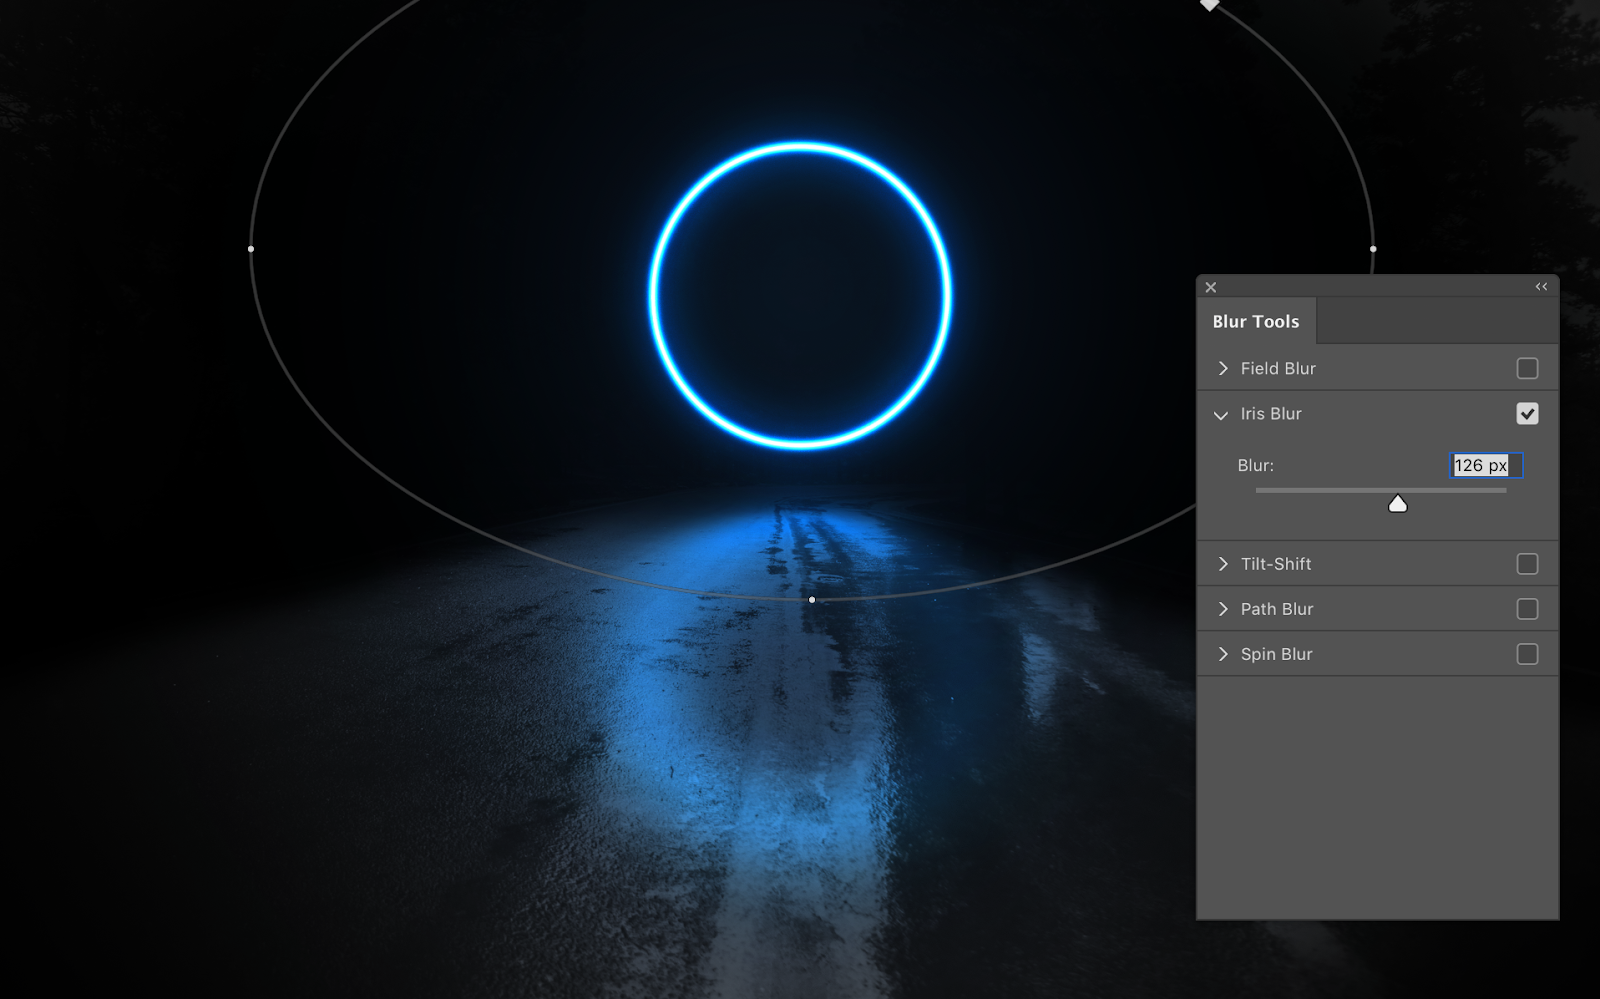
Duplicate the circle layer and move it to create a reflection on the wet floor. Use the scale tool to make it bigger. After that go to Filter>Blur Gallery>Iris Blur. Use the values below. Group this layer with the Neon group and name it Portal.
Step 10
Let’s add some extra light effects using the Brush Tool (B).


Step 11
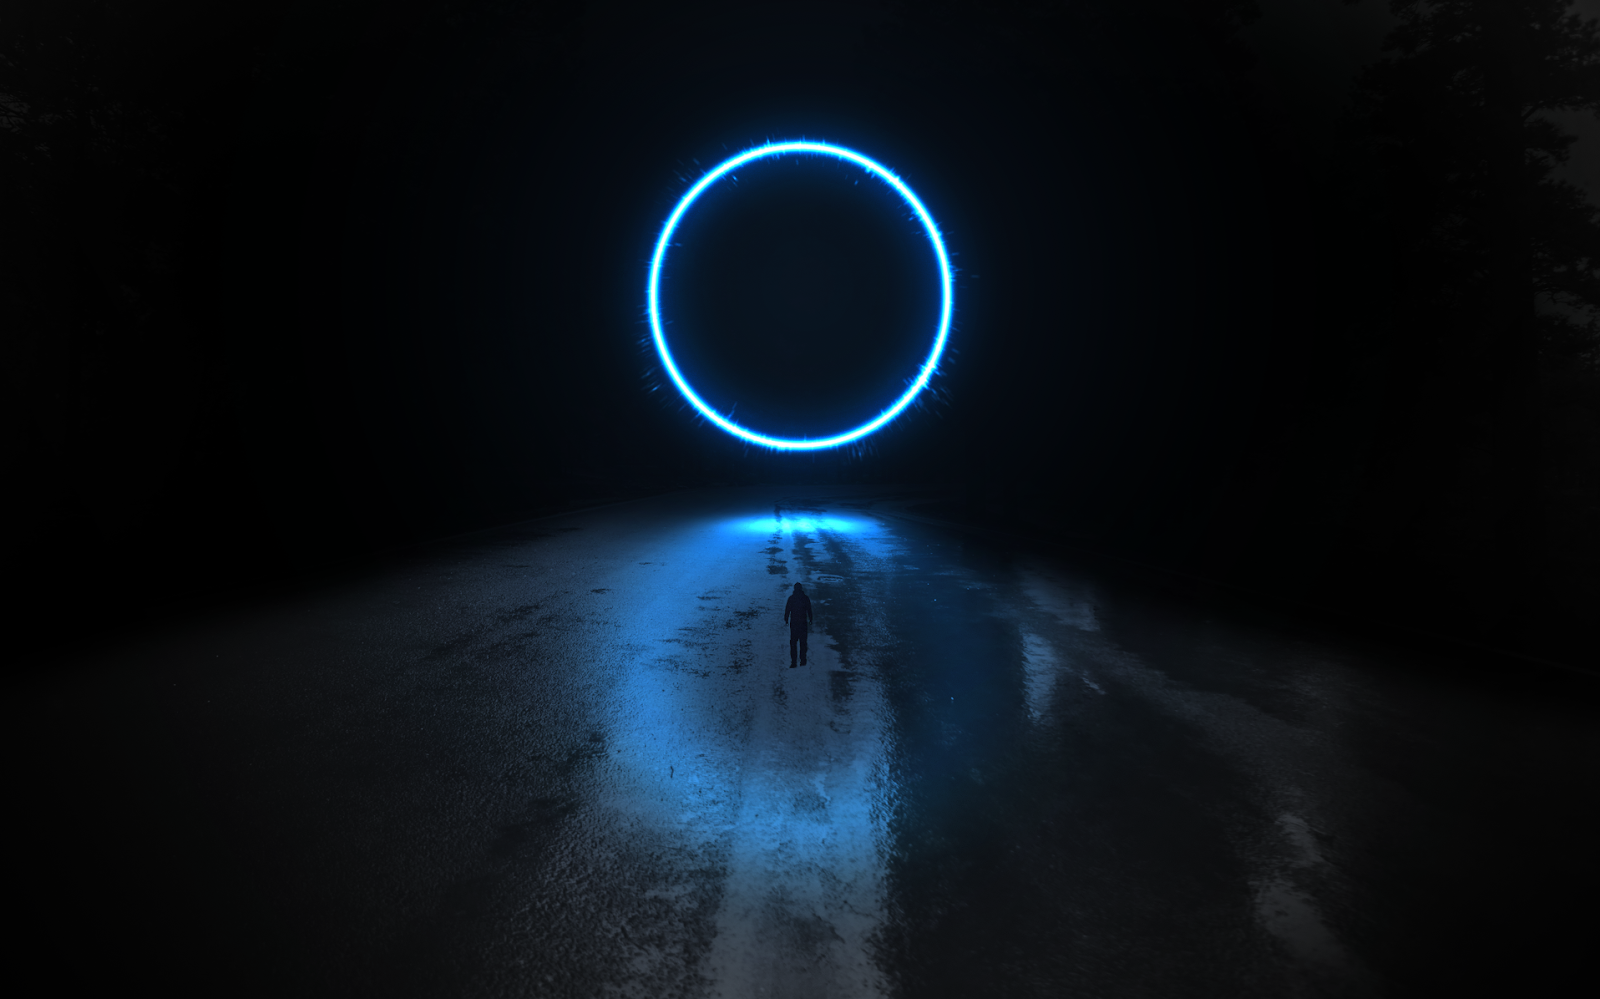
Let’s add a person to our composition. The image I am using is a photo by Joshua Earle on Unsplash.
Use the Lasso Tool (L) to remove the background. Duplicate the layer of the person and flip it vertically to create a shadow.

Step 12
Convert the layers to Smart Object. Then with the shadow layer selected go to Layer>Blur>Gaussian Blur. Use 5px for the Radius Size.
Also, you will notice that there’s a Smart Filter mask in the layer. Use the Gradient Tool (G) with black and white to fill that in order to mask the effect. The goal is to make it more blurred as the shadow gets far from the person.

Conclusion
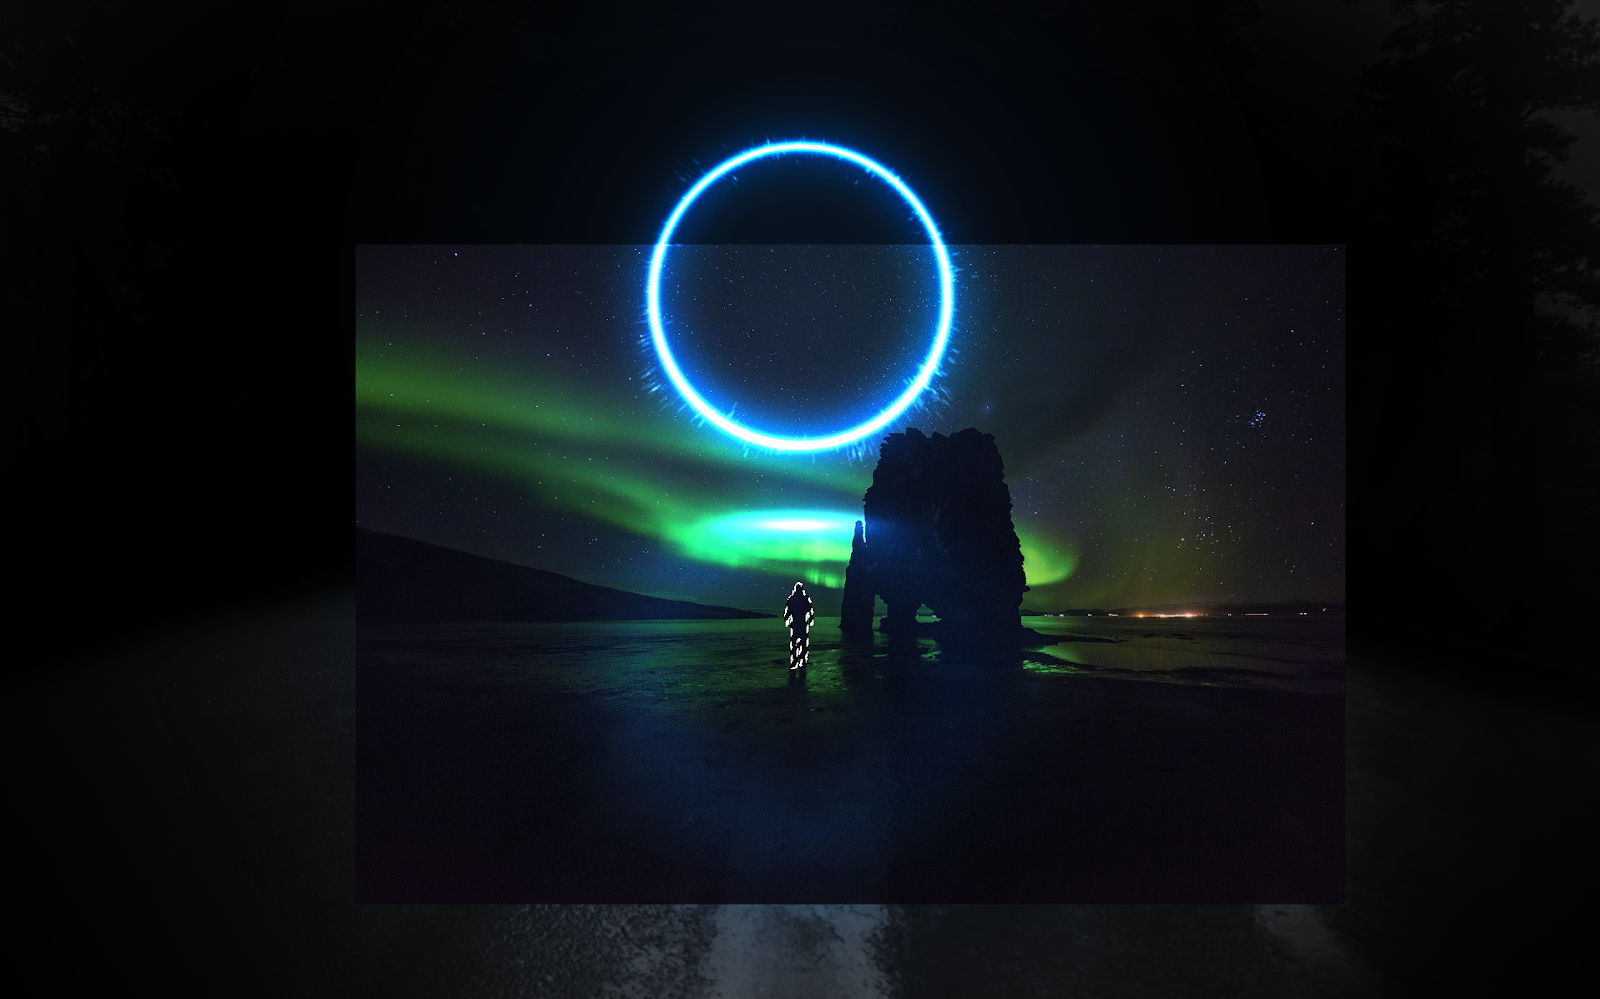
And here you have it. A very simple way to create a nice light effect composition using Photoshop. You can add more details. I didn’t have much time to elaborate on mine. One thing I did was to add another image on top of all of the layers. I used a photo by eberhard grossgasteiger on Unsplash and changed the Blend Mode to Overlay. You can see the details in the source code.

Get the Photoshop source file
Get the source file for this Photoshop tutorial and see all the details. You can also use it for any commercial or personal usage.


")

