by abduzeedo
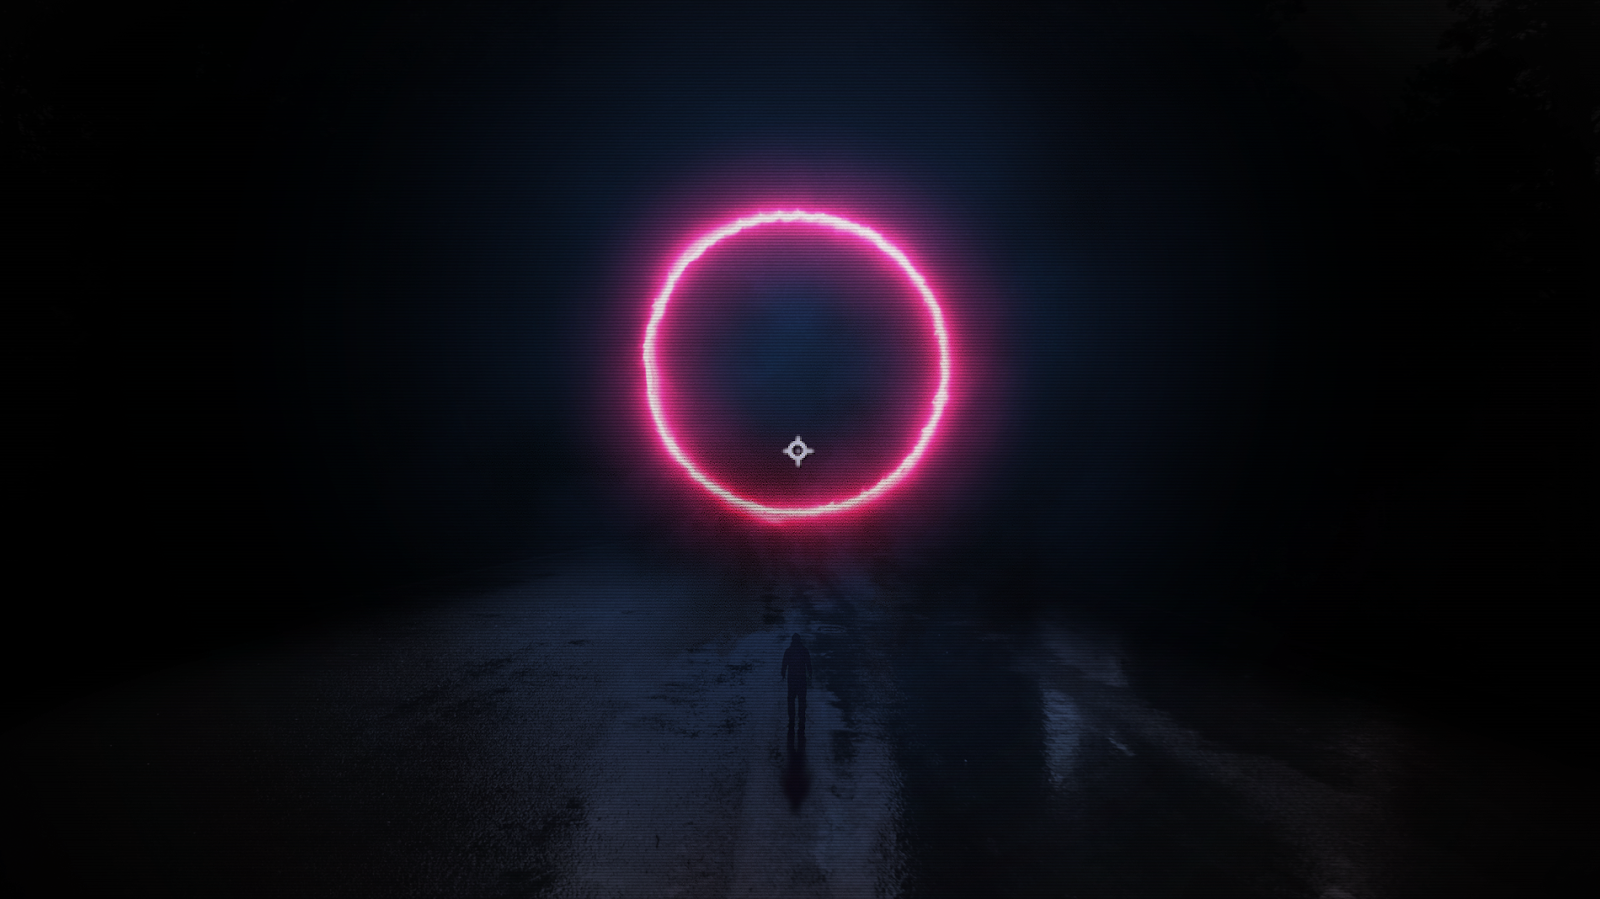
Last week we posted a Photoshop tutorial on how to create a trendy digital art style that mix images and light effects. For my image, my goal was to simulate the idea of having a portal in front of a person on a dark road. Quite X-Files inspired theme, to be honest. After finishing the image I decided to look for some ways to bring it to life with some motion. I suck at motion design, however, I really want to learn, so I decided to check out some easy ways to achieve the effect I want or the first steps to get there.
To my surprise, there are so many amazing motion design resources online. It’s quite incredible. During my search for answers, I found this incredible After Effects plug-in from VIDEO COPILOT called Saber.
Saber, as the name suggests, recreates a ton of amazing light effects from classic lightsabers, to neon, to fire, and all sorts of energy type of effects. I'm really loving how everything is highly customizable and quite easy to use. I was able to add some motion to my composition in literally 20 minutes. It’s been taking me over 4 hours to adjust things, render and adjust again and render again.
So, without further ado, here's a little bit of what I have done to add some motion to my composition.
After Effects
Step 1
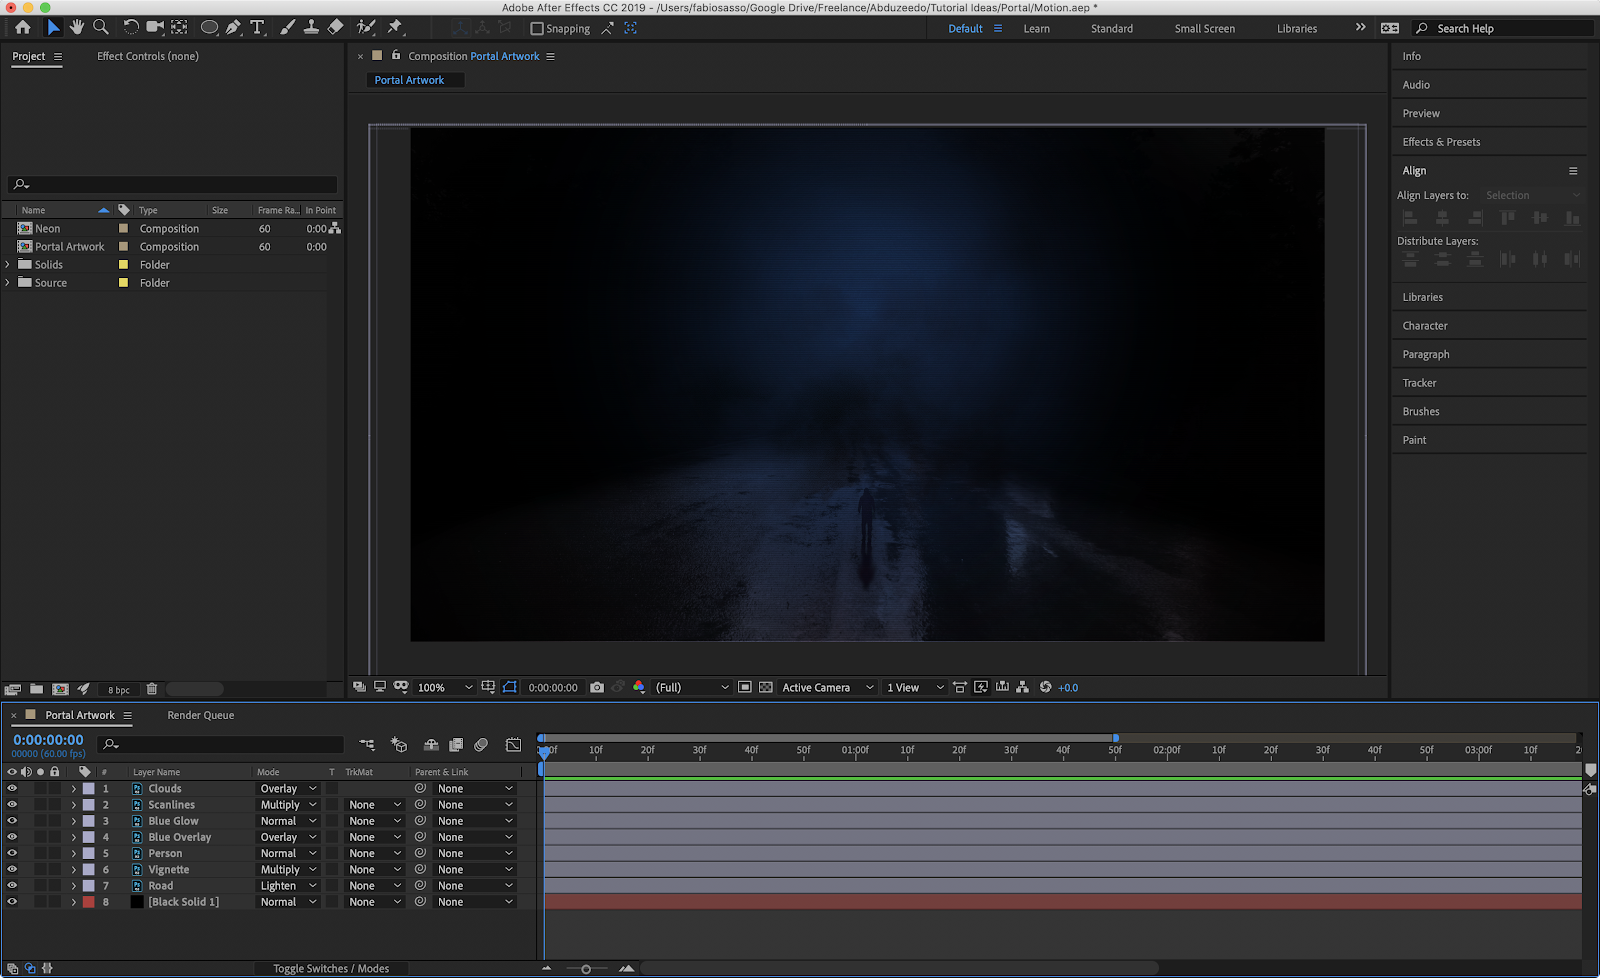
Import the Photoshop for the Portal composition in After Effects. It’s super straightforward but you might have to adjust some layers in Photoshop to make sure they are merged.
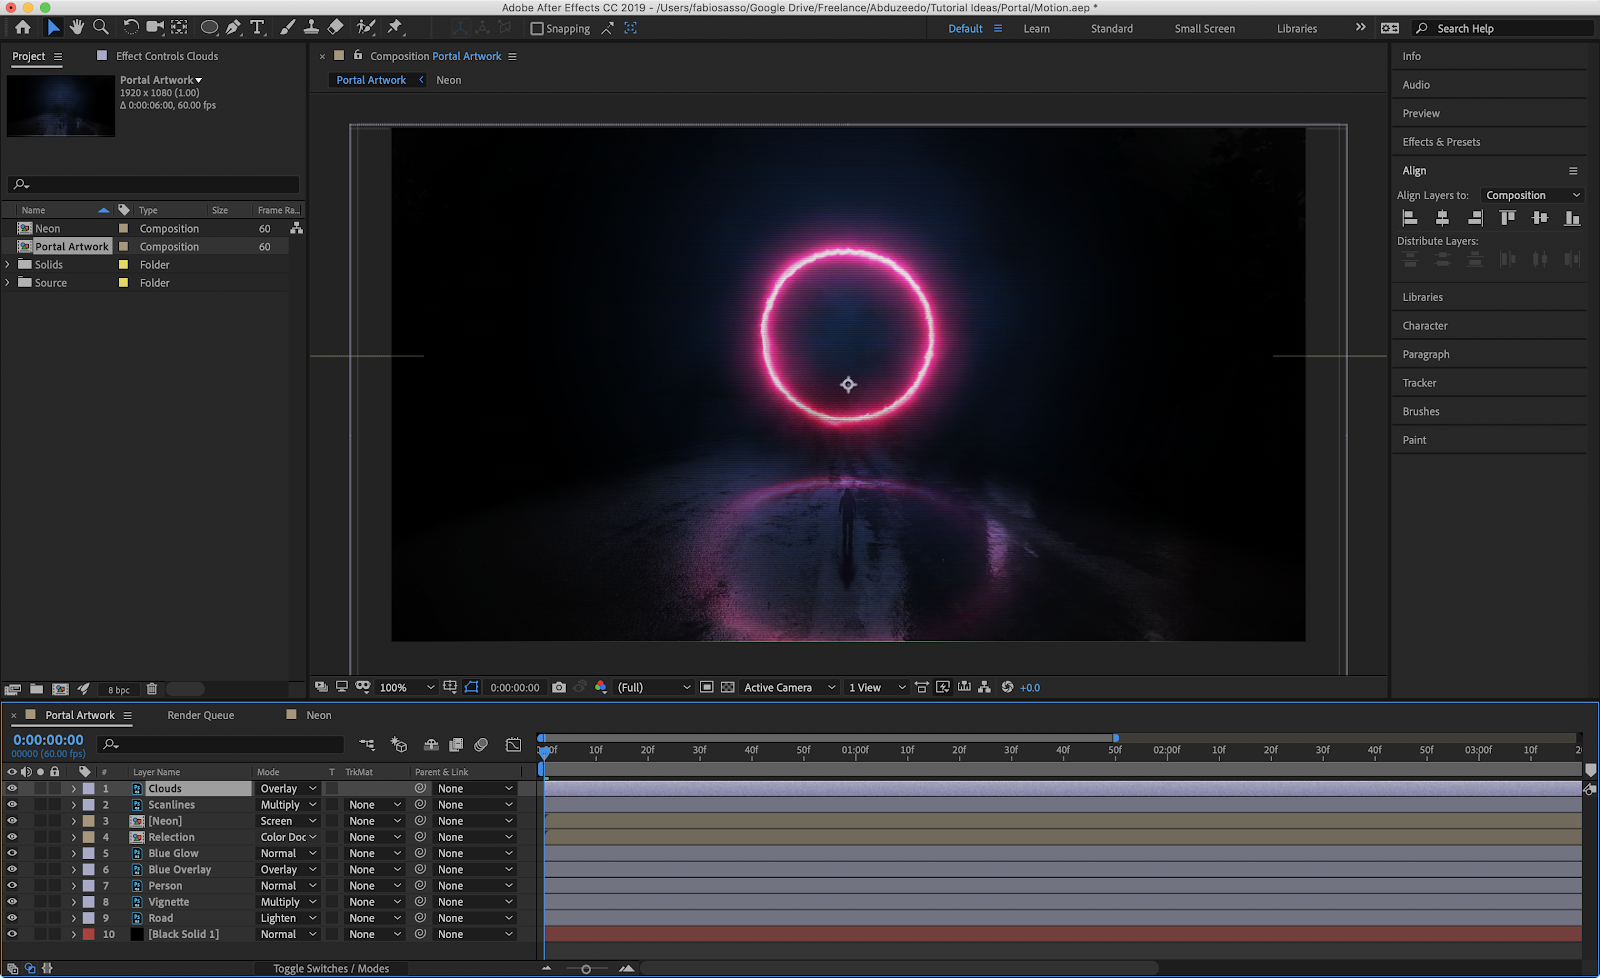
Here’s my After Effects first composition. Noticed I didn’t add the light effect from Photoshop. Just the road, the clouds, and the person layers.
Step 2
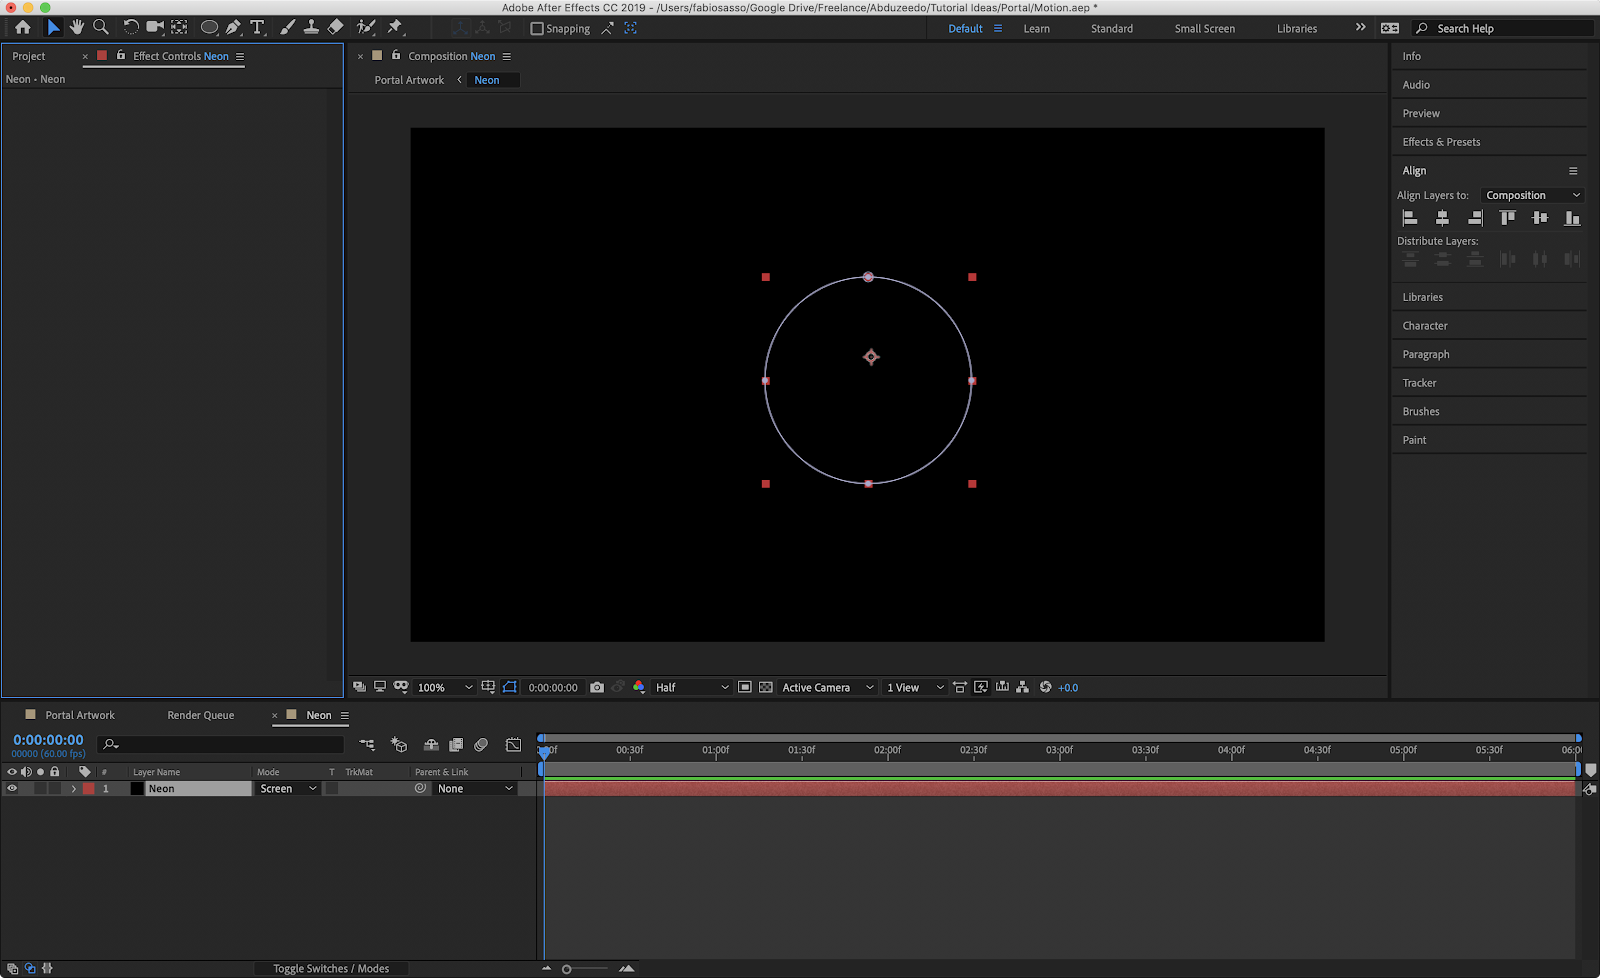
Add a new Composition. Composition>New Composition. Then with the Ellipse Tool (Q) add a circle in the center of the composition.
Step 3
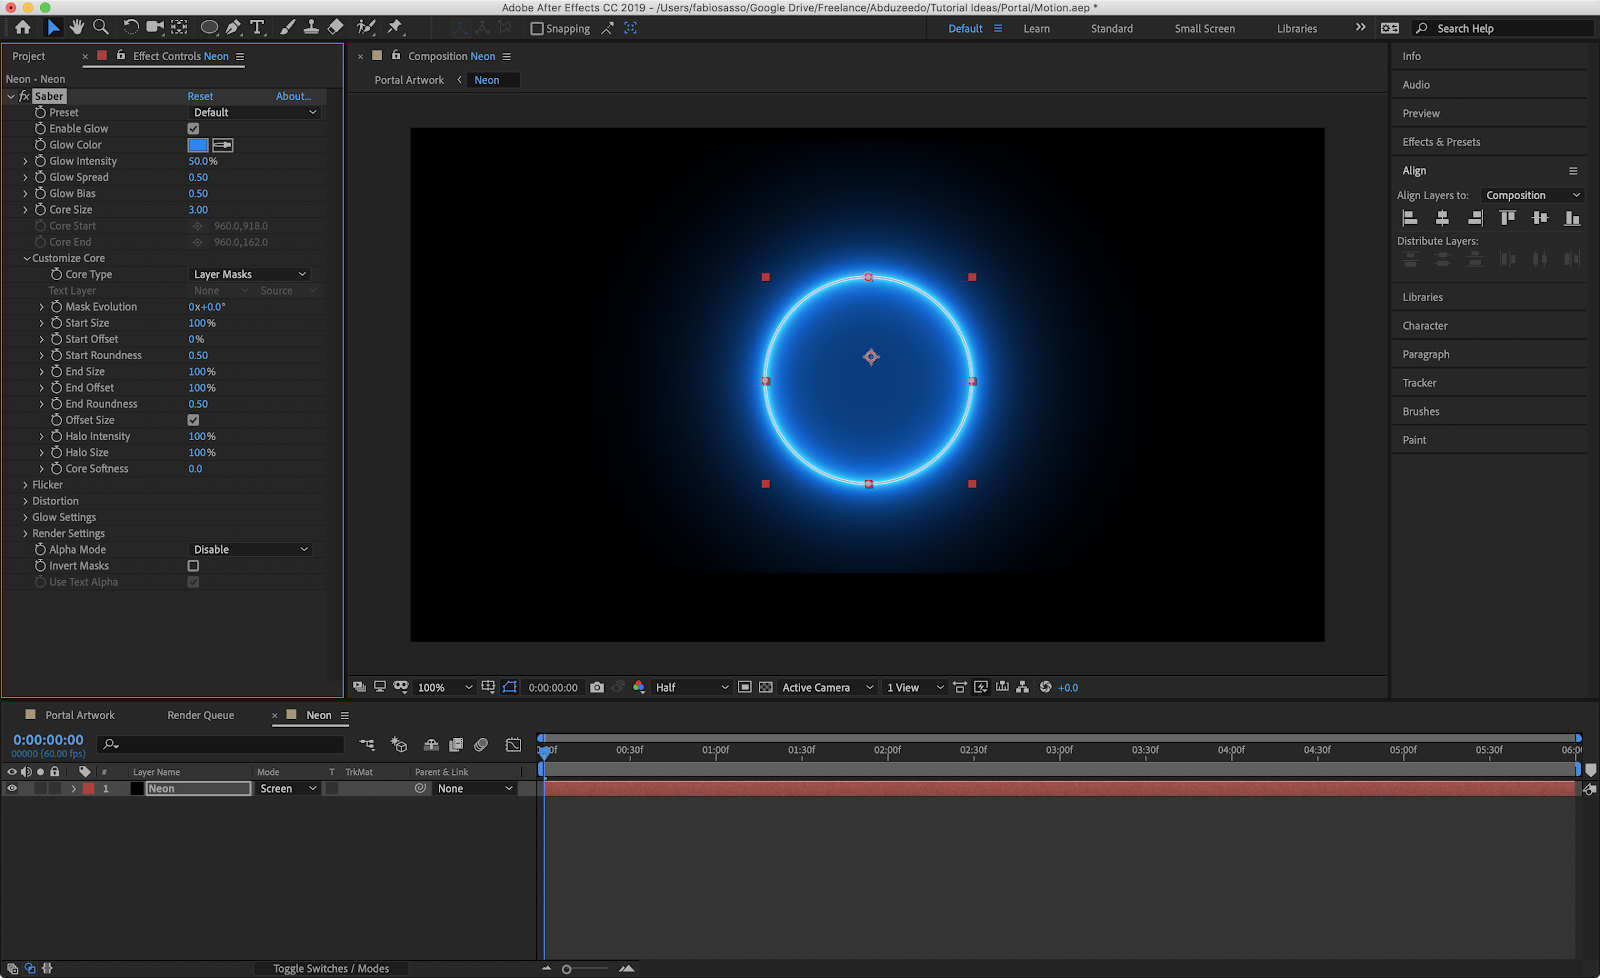
Install the Saber plugin and go to Effect>Video Copilot>Saber. You will notice that a line with a light effect is added. We need to link the effect with our Layer Mask. To do that just go to Customize Core. Under Core Type select Layer Masks. Now it goes around our circle.

Step 4
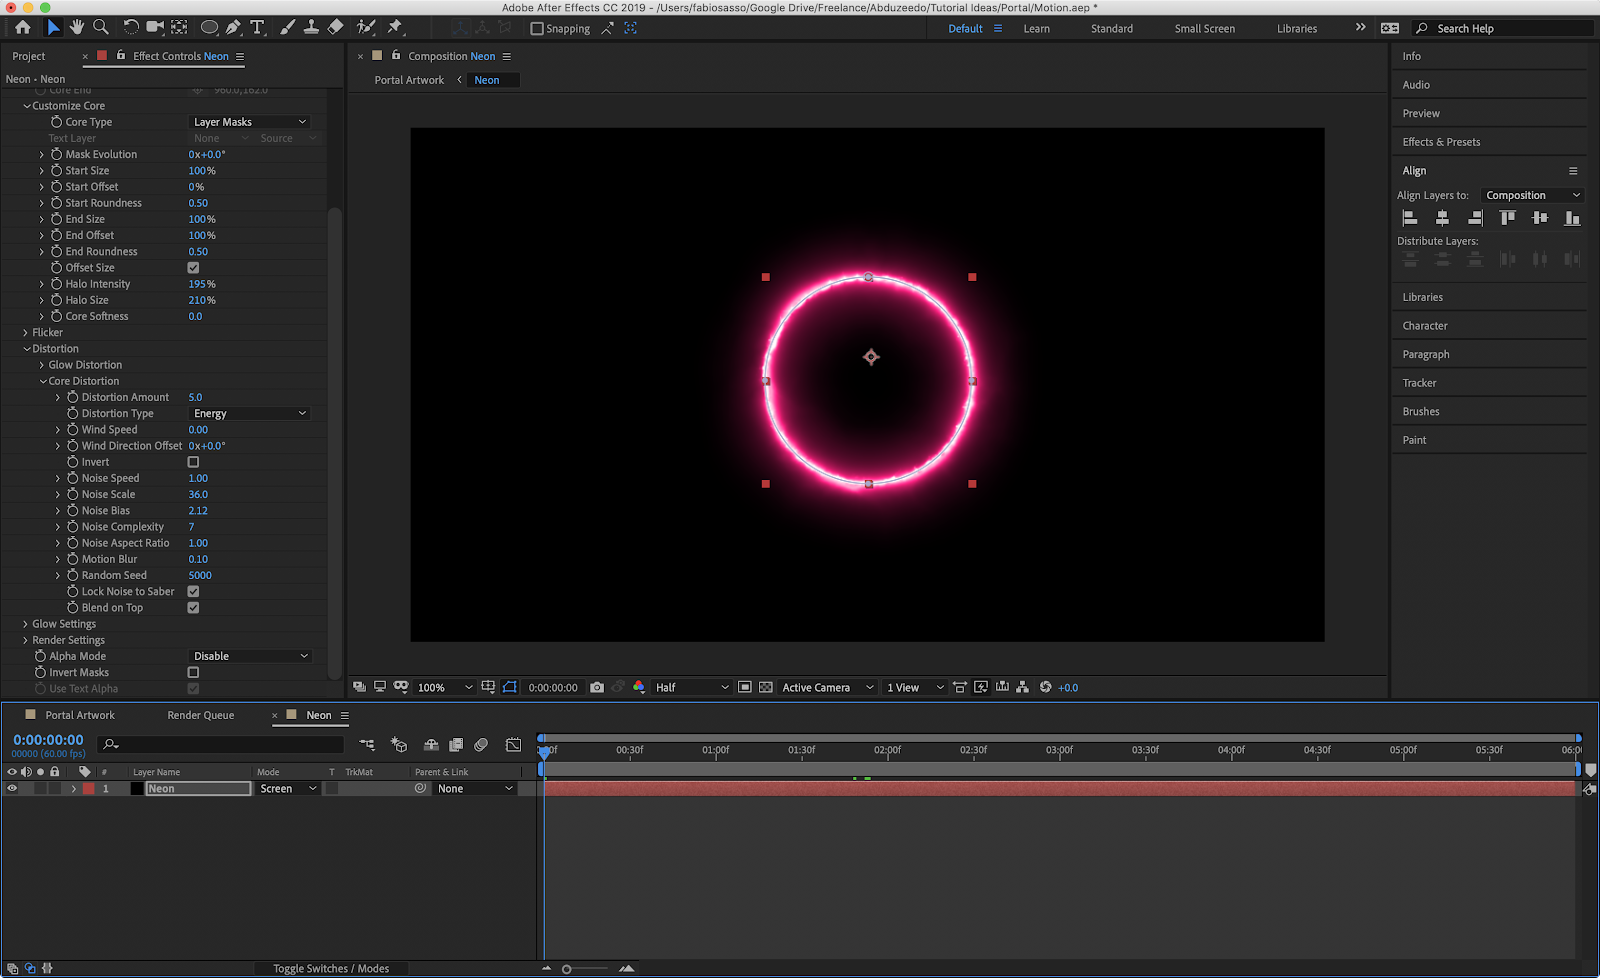
There are so many different presets and ways to animate. You can animate the way the circle is formed by playing with the Start Offset or End Offset.
For my image, I just wanted a simple way to add just some flickers and energy type of animation. If you select Distortion you will have those options :)
Also, for my composition, I used Patronus for the preset. Then in Distortion/Core Distortion, I changed the Distortion Type to Energy and the Amount to 5.
Step 5
Back to my main composition. I added the circle with the Saber Effect. Then I duplicated the composition to create a reflection.
The amazing thing about After Effects is the way you can play with the Masks. I just added some Mask Feather and changed the mode to Subtract.
The reason for that was that I wanted to add a Gaussian Blur to the composition, that way the blur gets less strong closer to the part under the main circle.
Conclusion
After some explorations and a lot of renderings, I got to a satisfactory result. There are so many things to learn in After Effects, but I am already excited. I will probably spend more time with this plug-in alone and try to improve. So stay tuned for the continuation of the series, getting into motion.


