by abduzeedo
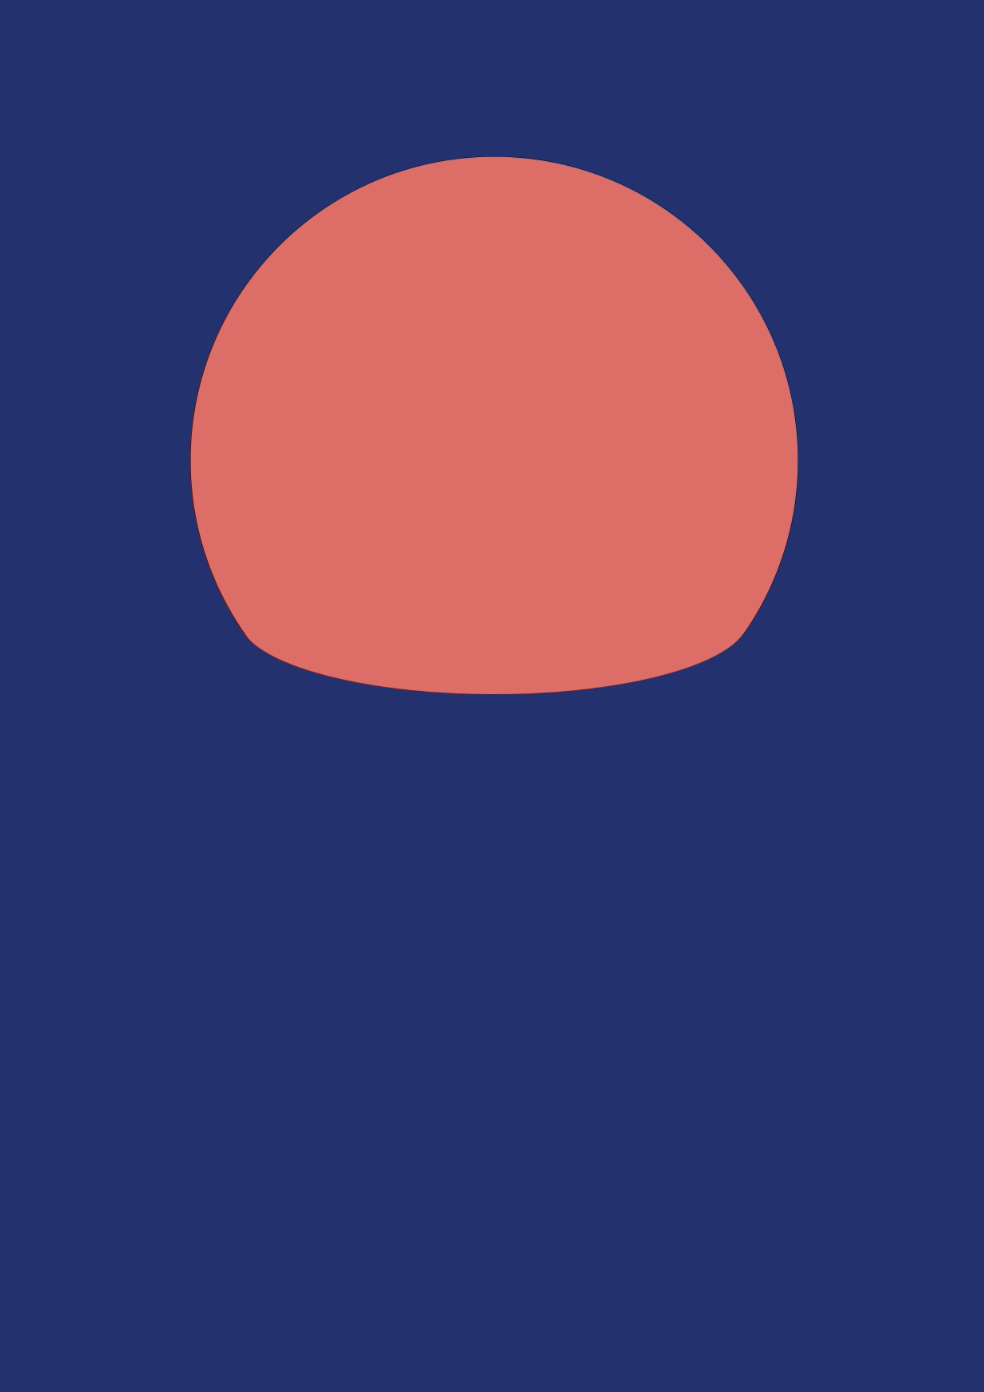
The other day I saw a tweet by Ryan McLeod asking an easy way to create what he called deliciously fat gradients. I remember doing a similar effect back in the day I used to play and write Photoshop tutorials every week so I decided to create a simple example. I assume there are tons of ways to achieve the result, also you can make it more or less blurred, but here’s my simple or as Ryan asked “sneaky and clever” way. Well, I don’t think it’s clever, sneaky? Perhaps!
Is there a sneaky clever way to make deliciously fat gradients like this? pic.twitter.com/uH3BlDyMiI
— Ryan McLeod (@warpling) April 8, 2021
Step 1
Open Photoshop and create a new document. I used A4 for dimensions, but you can choose whatever you want. After that fill the background layer with a blue color using the Paint Bucket Tool
Step 2
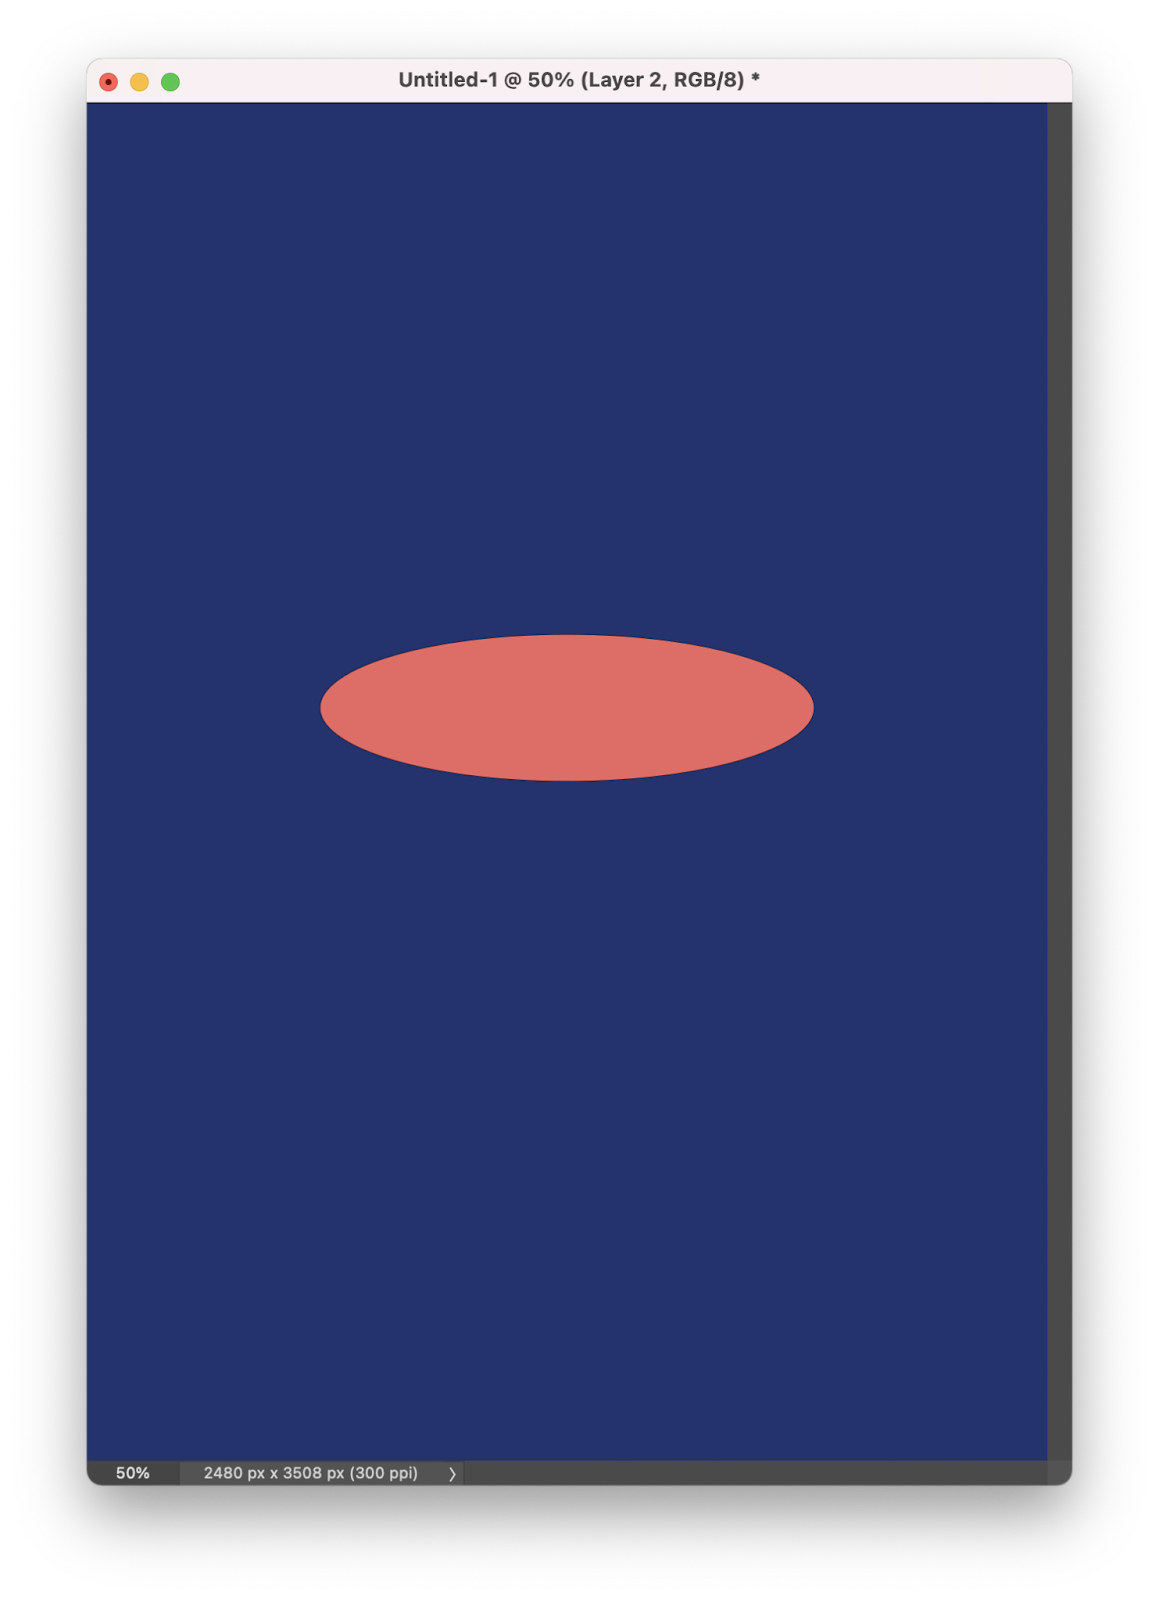
With the Ellipse Tool U create an ellipse to be the reference for the hole in the ground.
Step 3
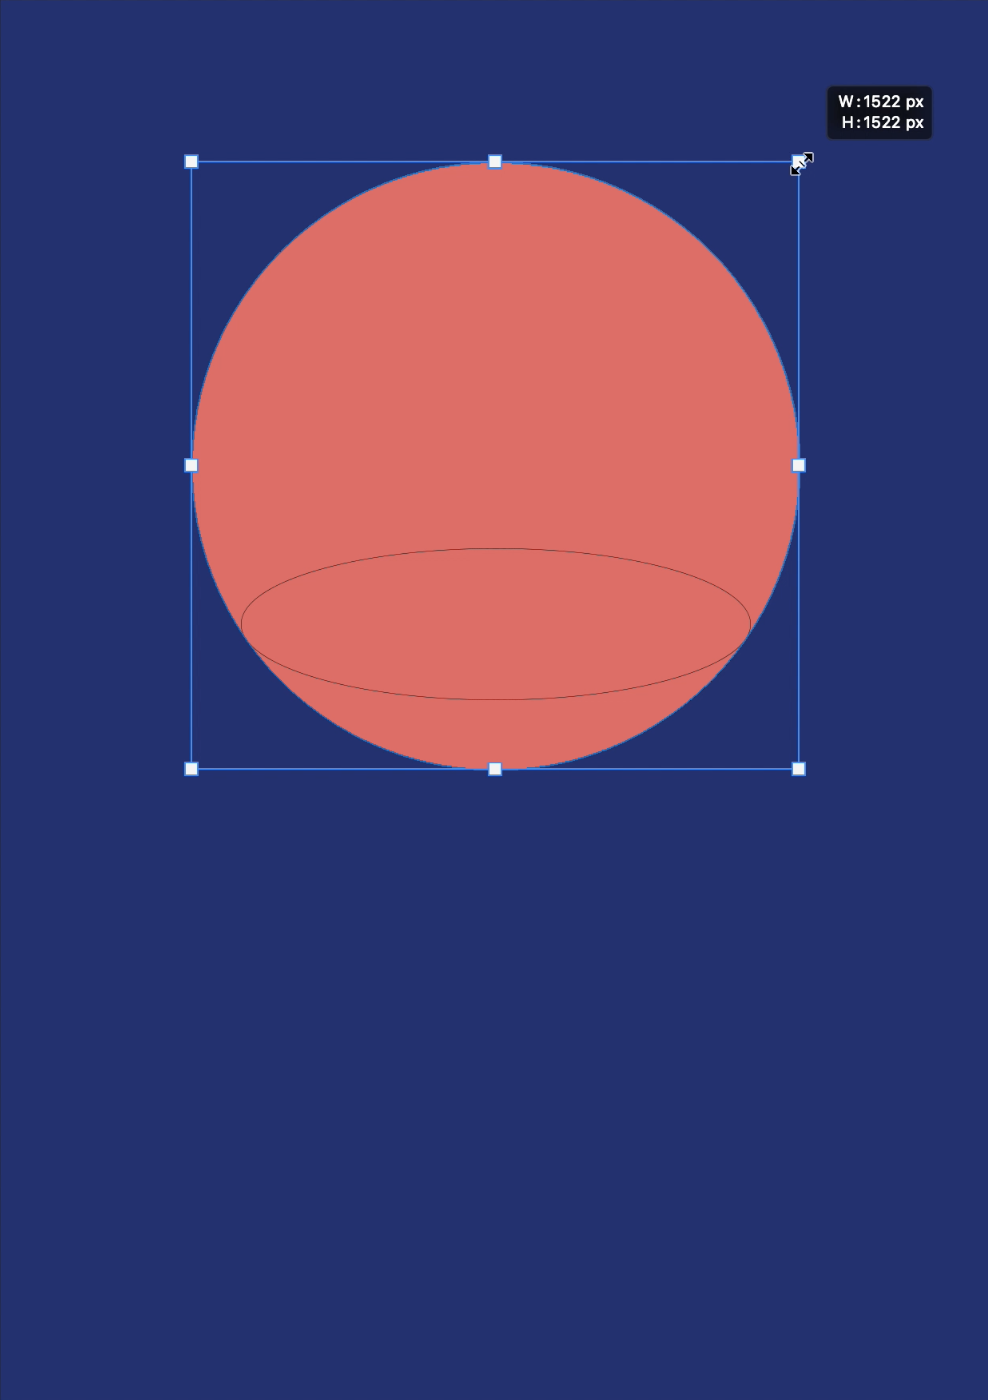
Create a circle now using the Ellipse Tool U to be the glow emanating from the hole.
Step 4
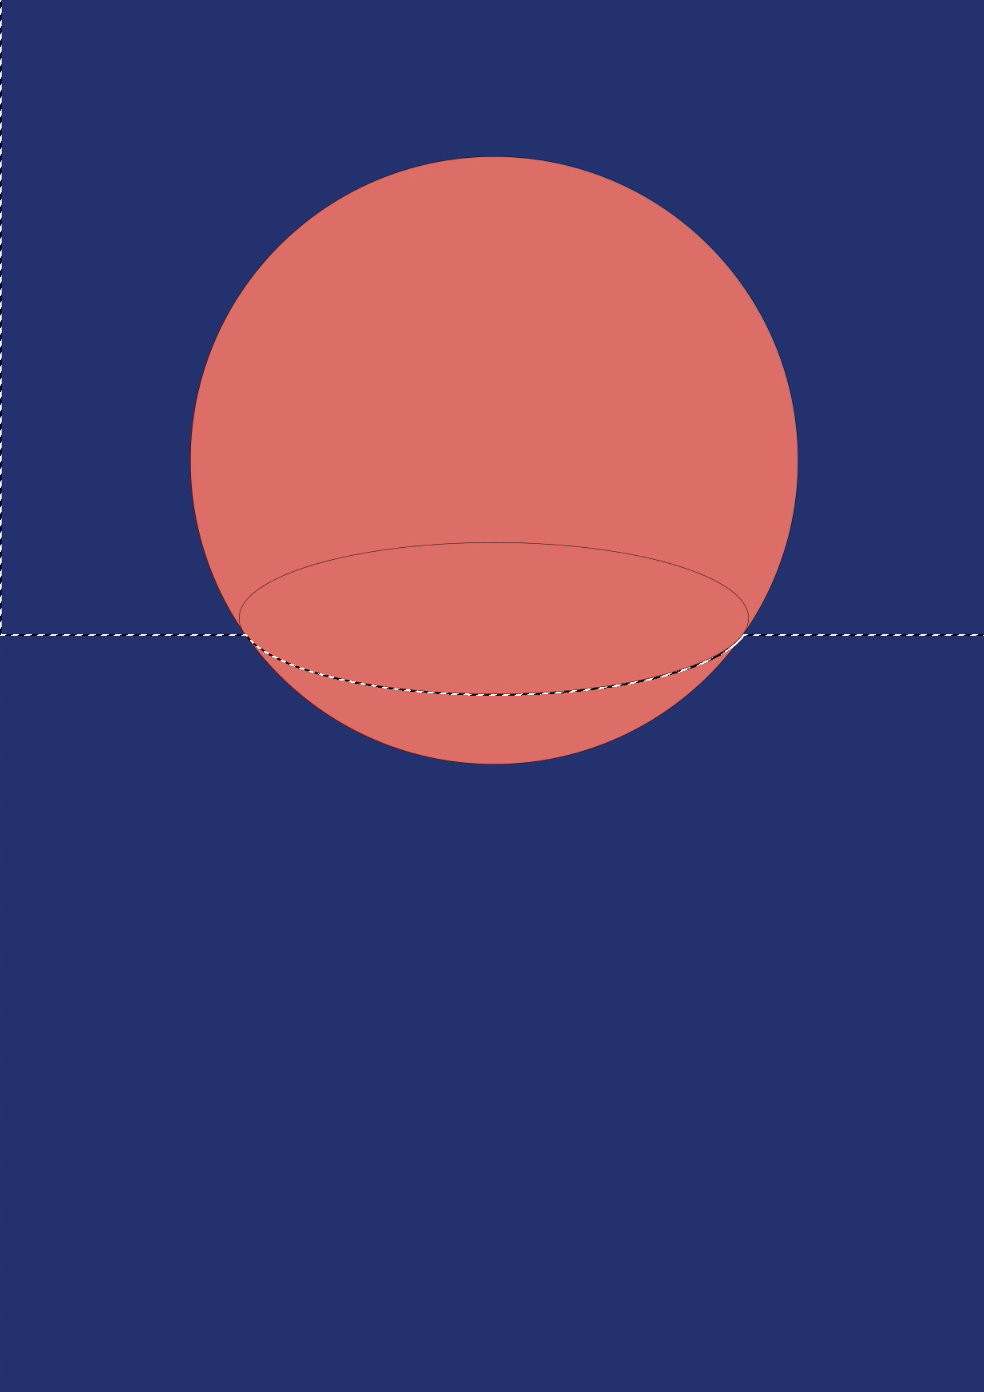
Create a selection from the first ellipse. Just click on the layer thumbnail pressing the Command Key on Mac. I assume Control Key on PC

Step 5
With the Rectangular Marquee Tool M select from the top until half of the ellipse holding the SHIFT tool. That means that you will add a selection.
Step 6
Now mask the big circle.
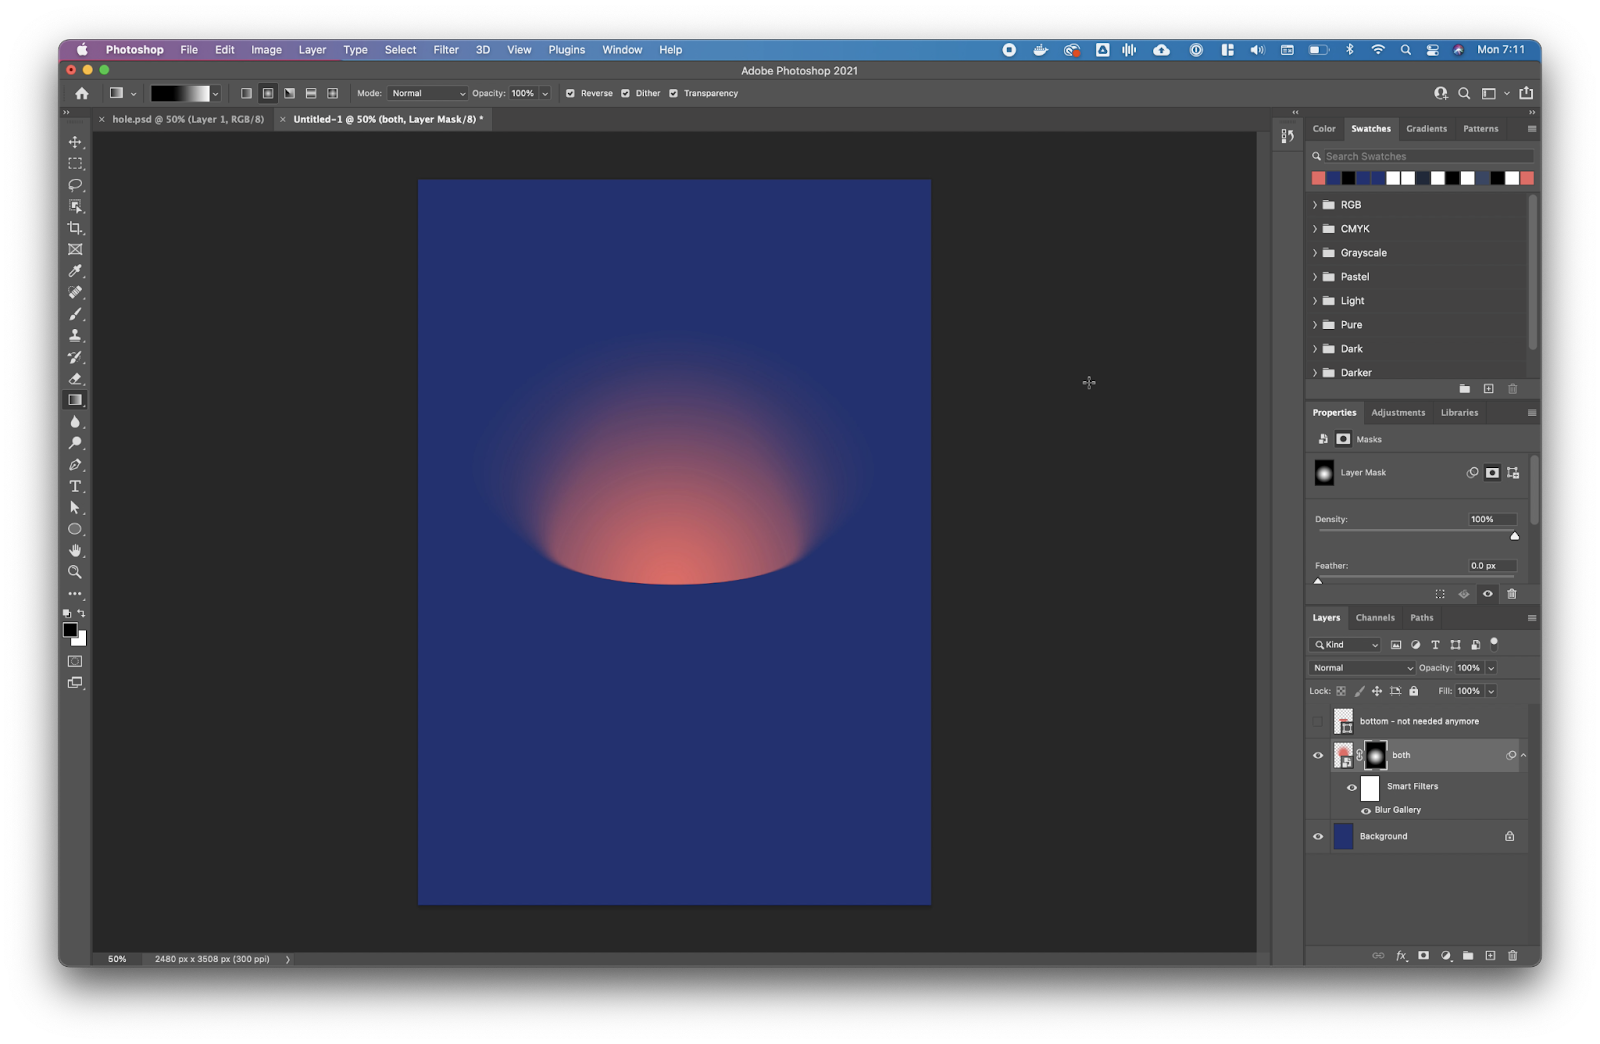
Step 7
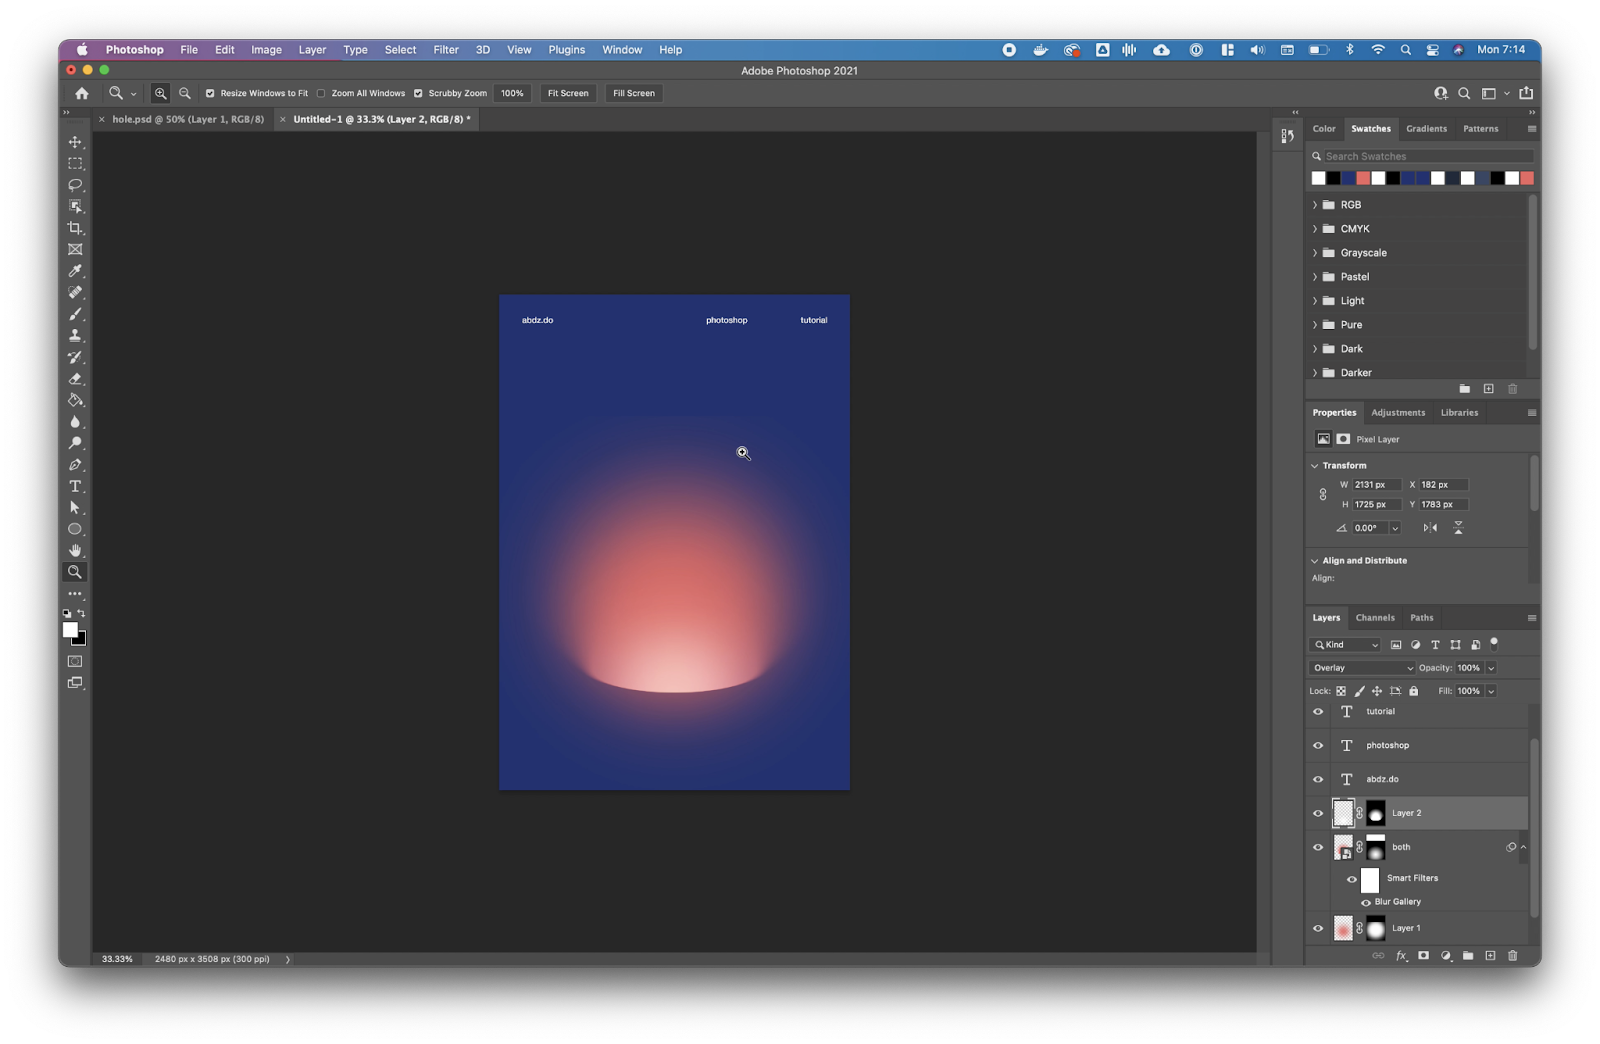
Now go to Filter>Blur Gallery>Tilt-Shift and then tweak the values depending on the size of your circle. Use the image below for reference related to the position of the anchor.

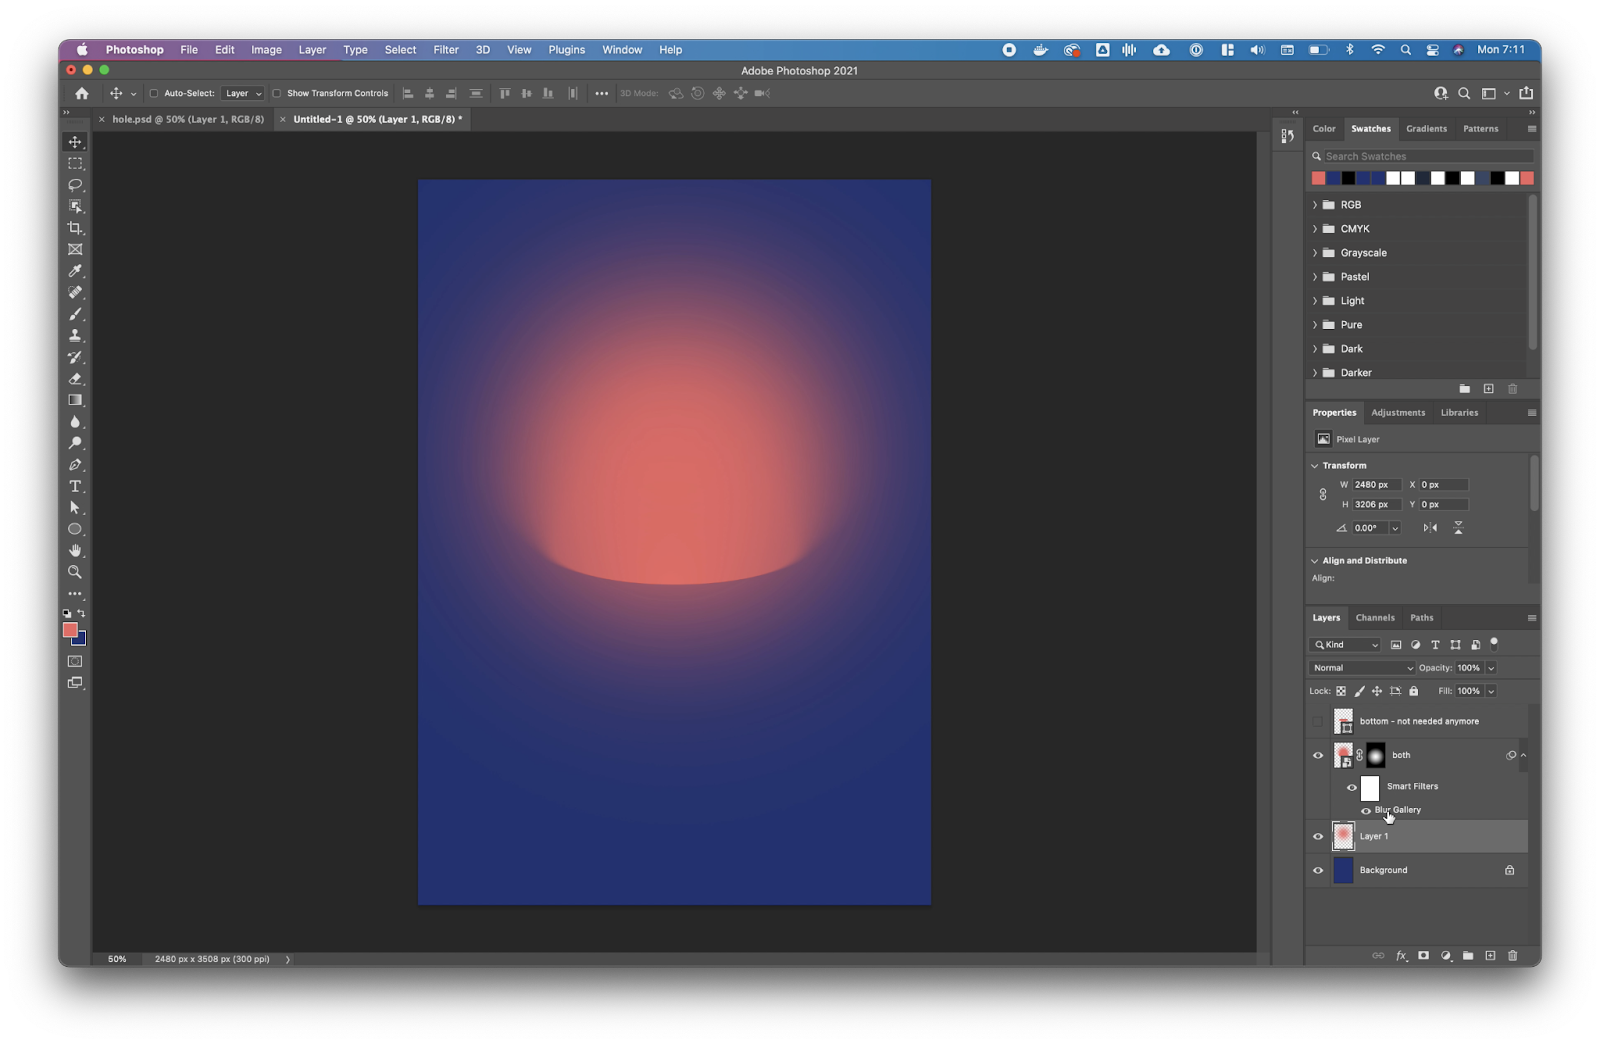
Step 8
Now add a mask to the blurred circle hiding everything, then with an ellipse gradient you paint over the mask to start showing the blurred circle. Because it’s a circular gradient it will make it a bit more uniform.
Step 9
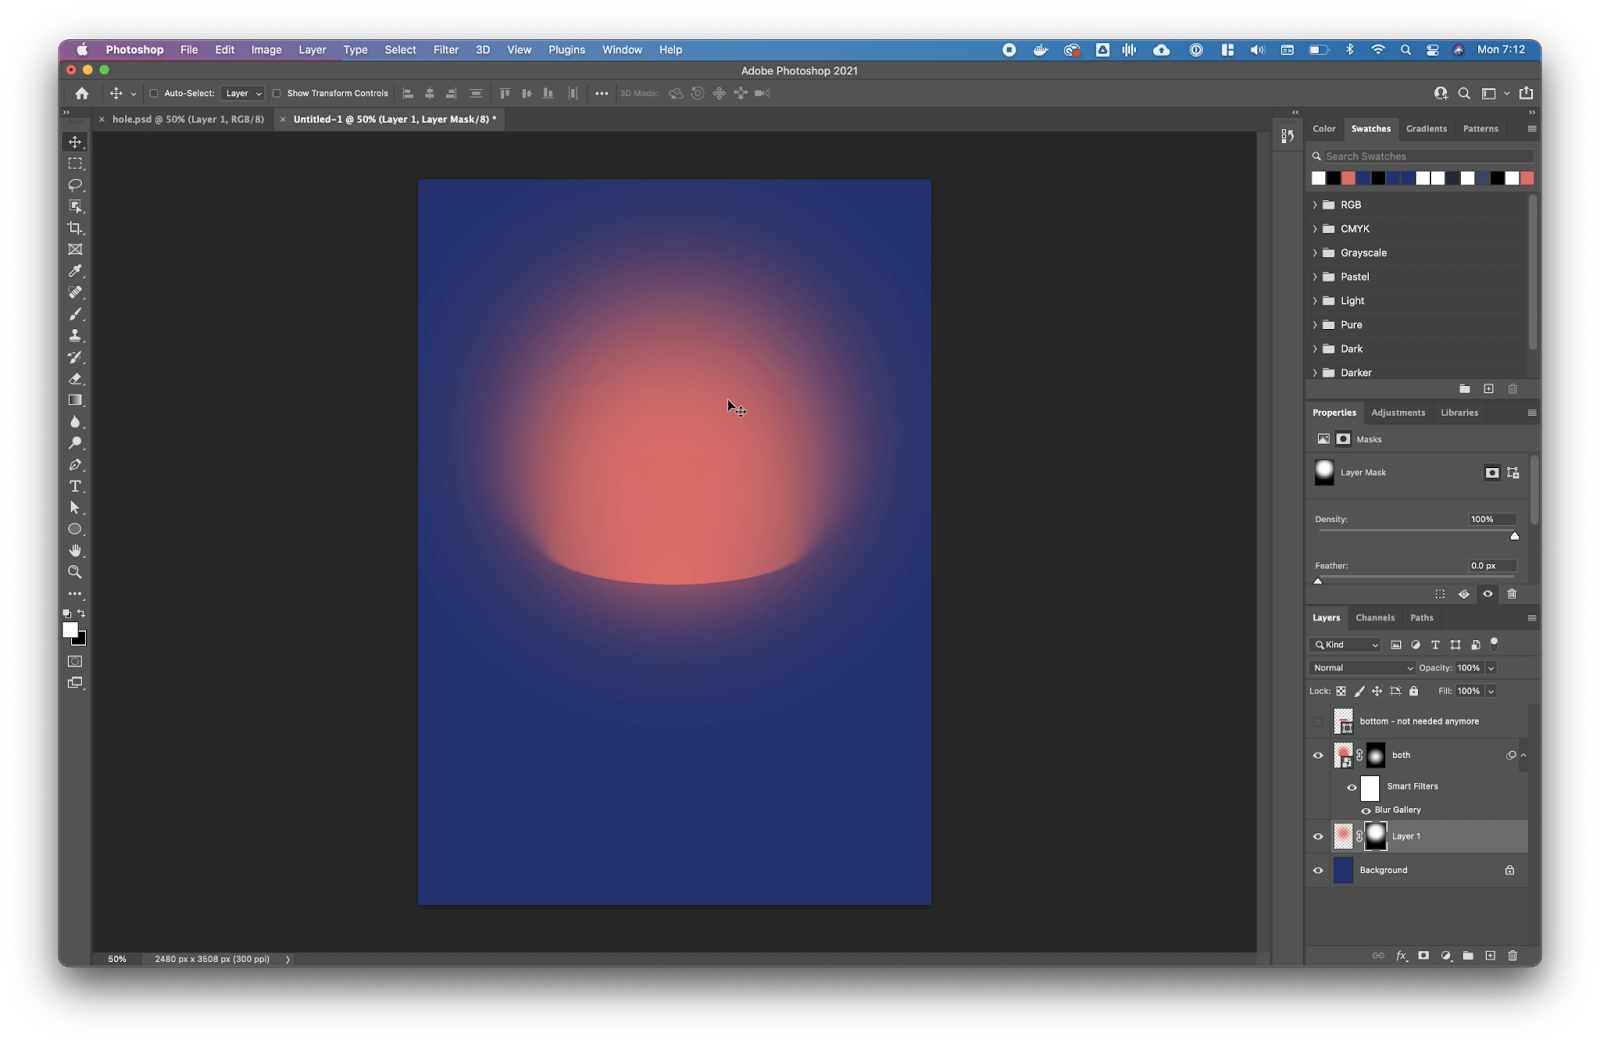
Add a new layer and then with the Brush Tool (B), then with a basic and soft brush start painting on the center of the hole.
Step 10
Add a mask on the layer with the brush and start adjusting the intensity if you want, still using the circle gradient. The goal here is to reduce the intensity of the light at the bottom of the hole area.
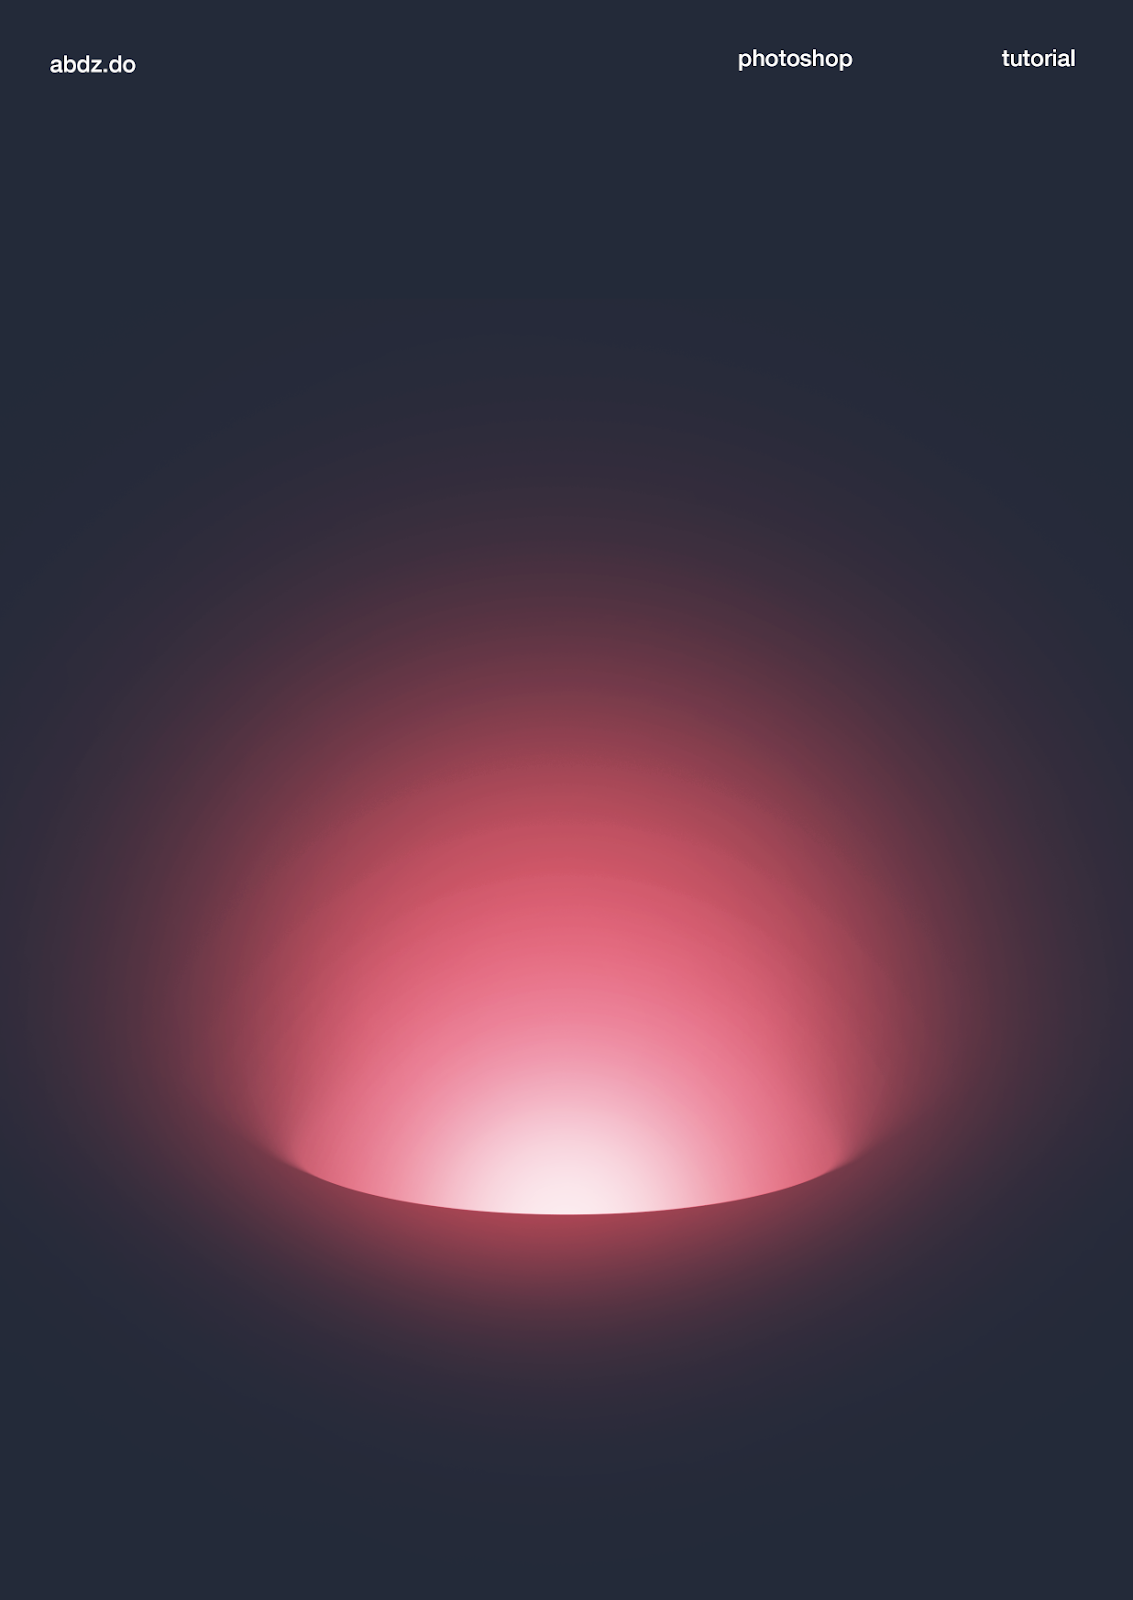
Conclusion
You can add more effect, for example you can add another layer and mask it with the blurred circle as reference then create a light coming out of the hole. You can add some text and make a nice poster.
Video tutorial


