by abduzeedo
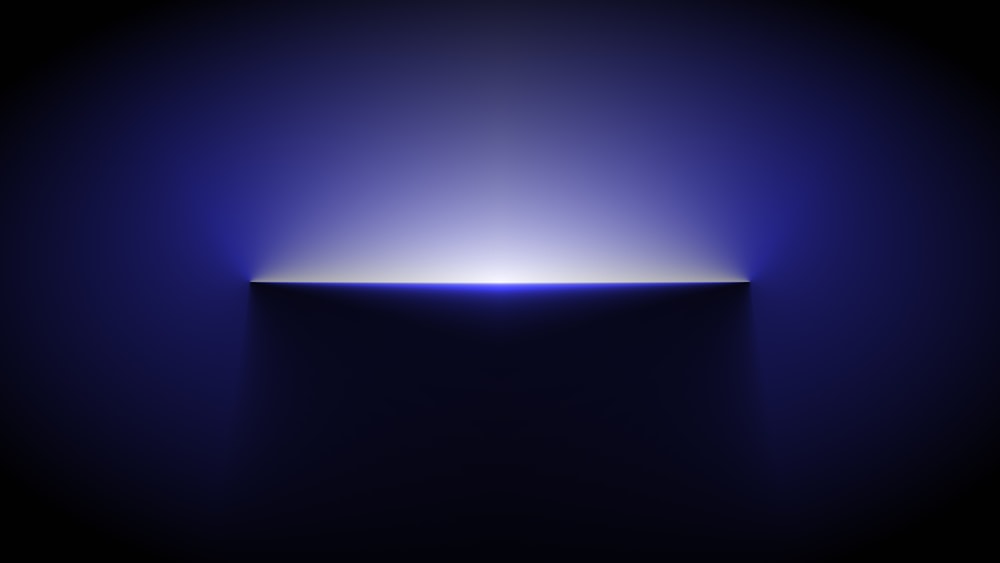
Are you looking to create a beautiful, eye-catching light effect in your Photoshop designs? Look no further than our tutorial on using Angular Gradient and Color Dodge blending to achieve a stunning, fluorescent-like effect. In this post, we'll walk you through the steps necessary to create a professional-grade light effect that's sure to impress.
First, open up a new Photoshop document and create a new layer. Select the Gradient tool and choose the Angular Gradient option. From there, select the colors you want to use in your gradient, ensuring that they complement each other well. In our example, we used a range of blues, purples, and pinks to create a dynamic, multicolored effect.
Once you've created your gradient, switch to the Color Dodge blending mode. This will allow your colors to really pop and create that fluorescent-like glow you're looking for. From there, adjust the opacity of your layer as necessary to achieve the desired effect. You may also want to experiment with different colors and blending modes to achieve the exact look you're after.
In conclusion, using Angular Gradient and Color Dodge blending in Photoshop is a powerful way to create a beautiful and dynamic light effect in your designs. Whether you're creating a new wallpaper for your phone or designing a poster for a client, these techniques are sure to come in handy. So why not give them a try and see what stunning results you can achieve?
Here's a video tutorial showing how to create this effect.
Photoshop video tutorial
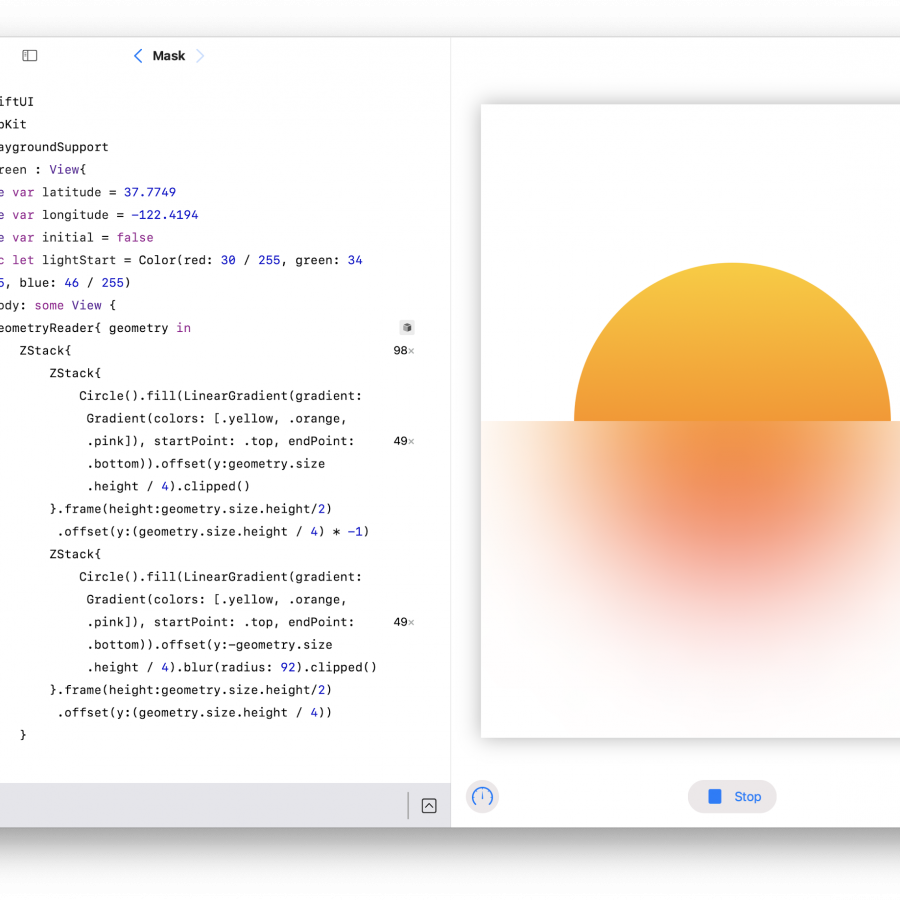
You can also do the same thing in Figma. You can check it out here.
Prototype
Download wallpaper
Check out the wallpaper in 8K.


