Featured Content
4062
Dark Knight in Pixelmator
tutorial
The year's most anticipated movie for me with no doubt is The Dark Knight Rises. I had high hopes for Prometheus, but in the end, it was underwhelming.
4063
Confira a Primeira Estampa da Coleção "Abduzeedo + Greentee"
4064
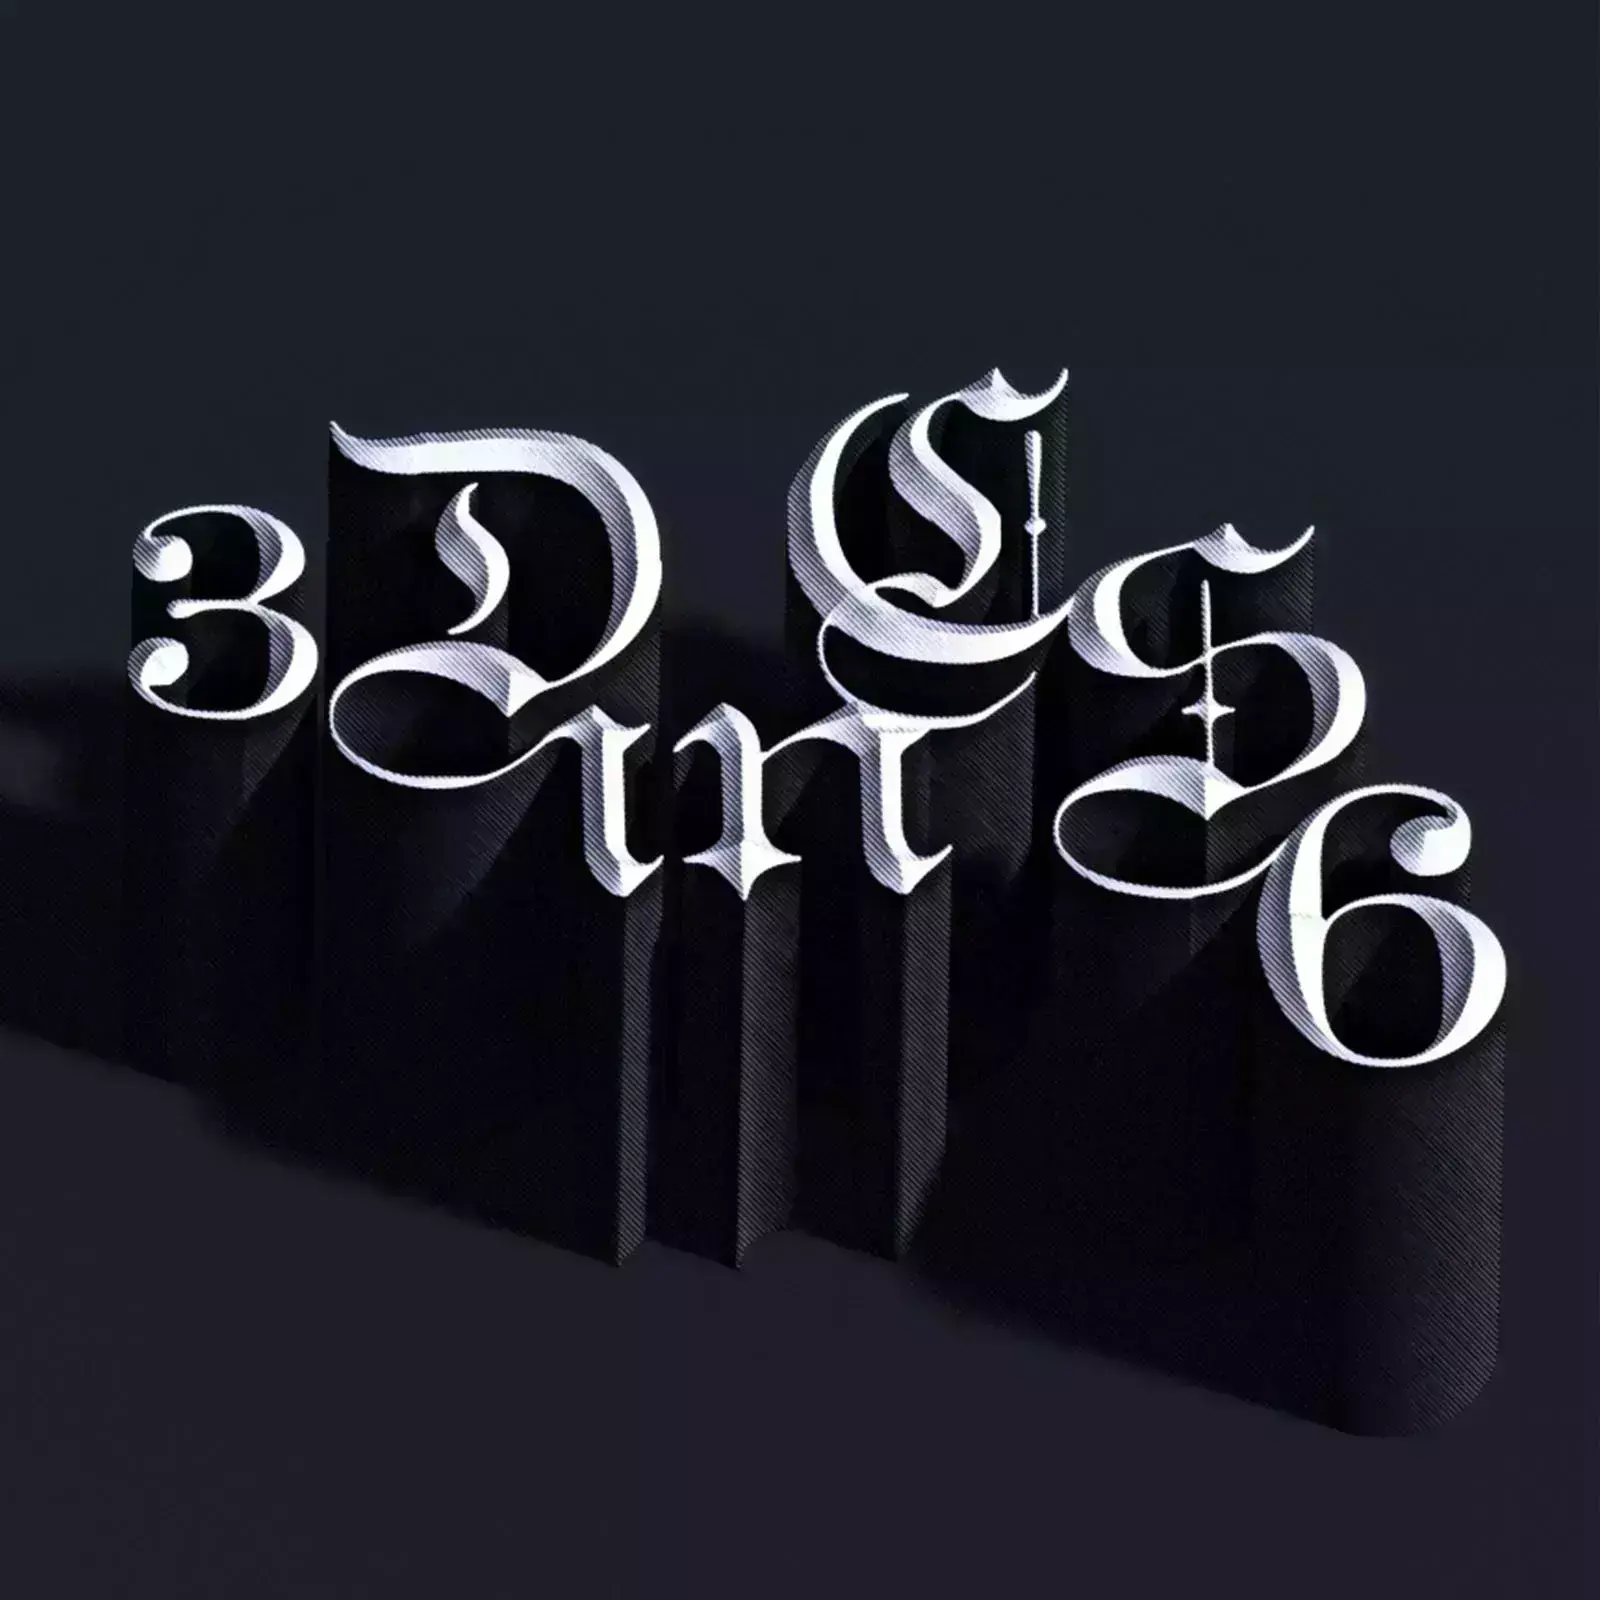
Playing with 3D in Photoshop CS6
tutorial
Photoshop CS6 has updated its 3D tool adding more features and making it easier to use and faster.
4065
Estudo de Caso: HTC You de Saad Moosajee
4066
Texto de Pêlo Super Fácil no Pixelmator
4067
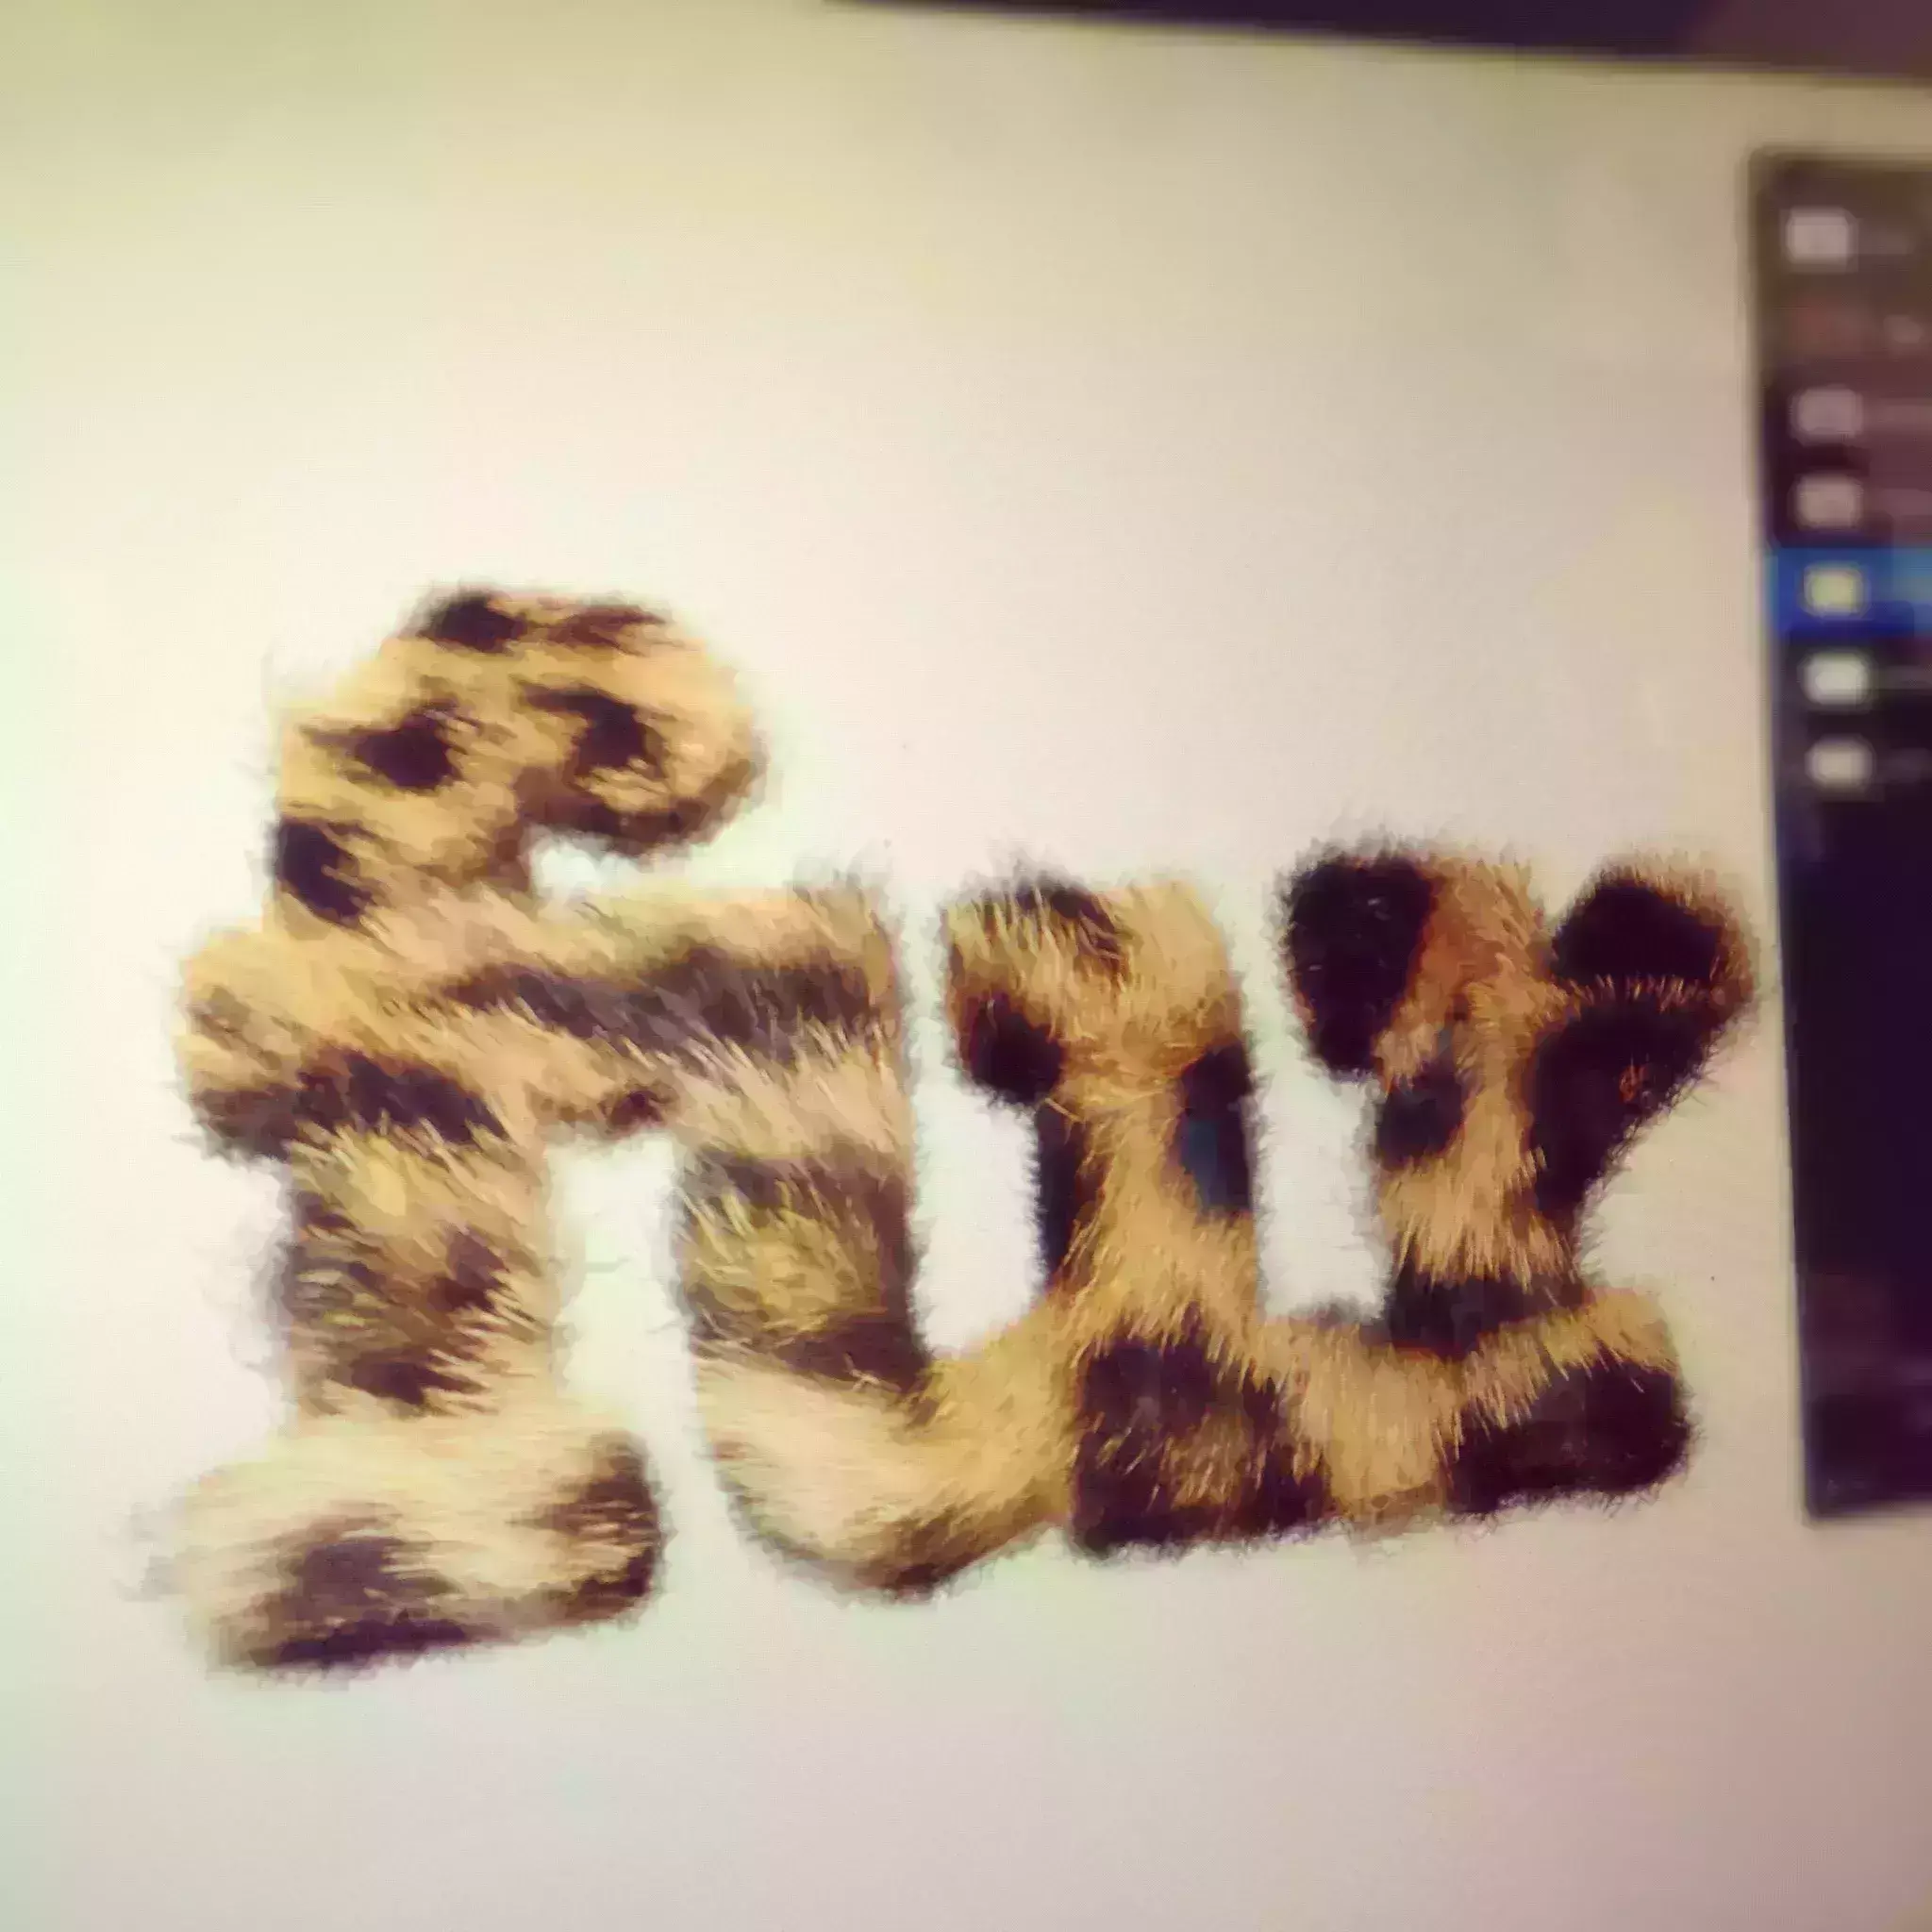
Super Easy Furry Text in Pixelmator
Typography
We love playing with typography, it's simple and always effective not only in terms of outcomes but the amount we can learn by experimenting with text effects.
4068
Playing with Timeline in Photoshop CS6
tutorial
Photoshop CS6 has some great features, one of them is the new timeline for basic animations and this time Photoshop gets a little bit of the After Effects taste.
4069
Concorra a 2 Exemplares Autografados do Abduzeedo: Guia de Inspiração para Designers!
4070
Ilustração Capa Big Up de Saad Moosajee
4071
Solo - A Ferramenta Perfeita para Freelancers - Ganhadores do Sorteio
4072
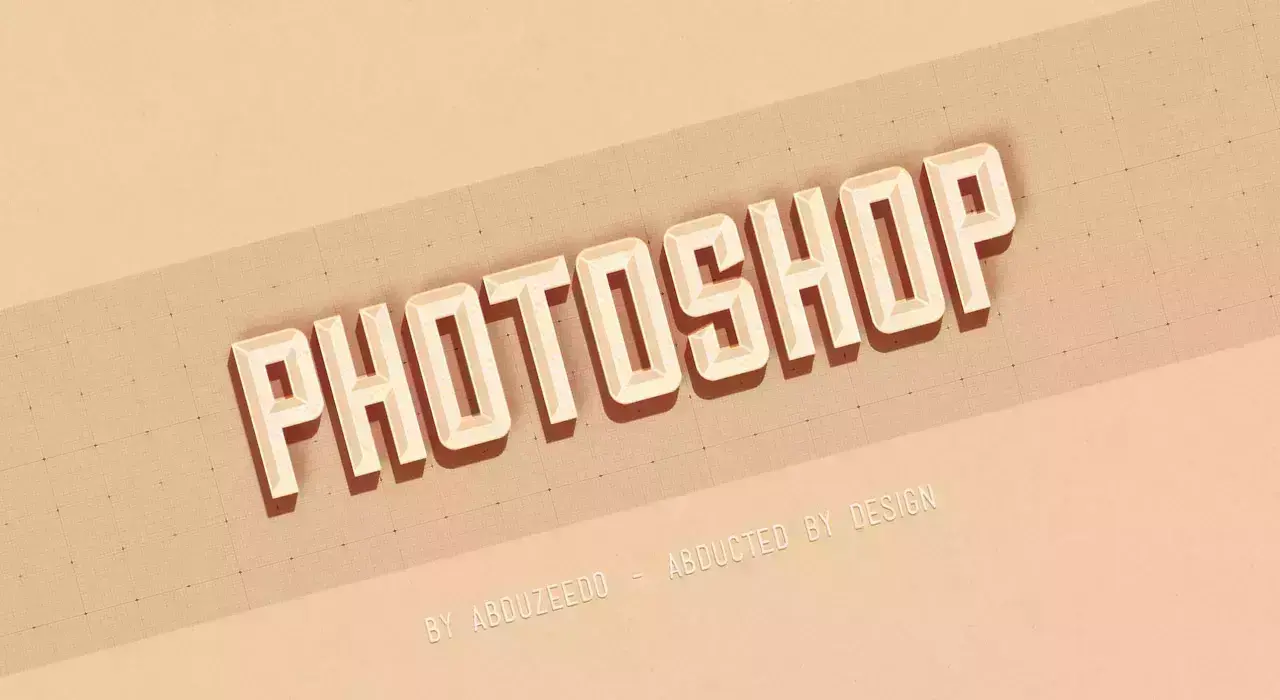
Hipster Text Effect in Photoshop CS6
vintage
A few weeks ago we posted a tutorial showing how to create a hipster text effect using Pixelmator. Now we decided to show you the same effect using Photoshop CS6.
4073
Solo - A Ferramenta Perfeita para Freelancers (sorteio)
4074
Design de Ícone em 5 Passos - Icon Set Grátis do Ramotion
4075
Surreal Illustrations by Jim Tsinganos
Jim Tsinganos is a Sydney based Illustrator with over 20 years experience. Working primarily with pastels and watercolor, he is interested in creating work with a strong conceptual basis, which in most cases turns out to be very surreal. Check it out!
4076
Hipster Text Effect in Pixelmator
Typography
Every time I checked Dribbble I see a bunch of posts with this sort of vintage typography style. It's a very interesting look and very trendy nowadays.
4077
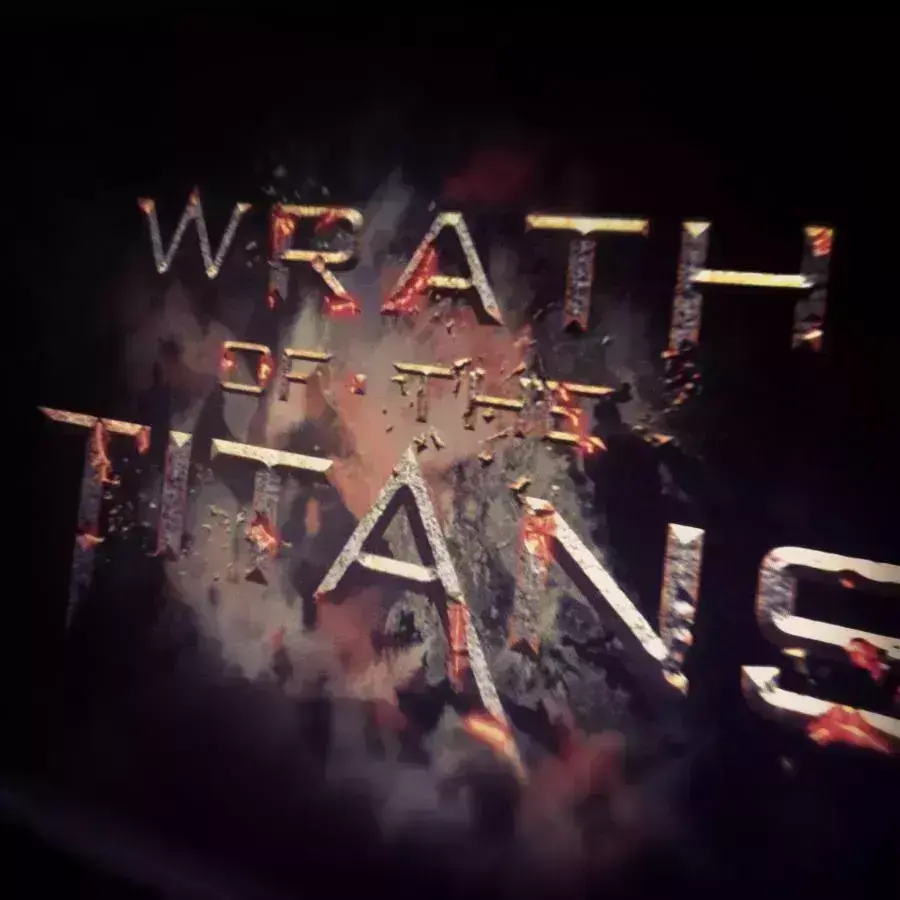
Wrath of the Titans in Photoshop CS6
tutorial
We always try to publish tutorials based on effects we like especially from movies, posters and other sources of inspiration.
4078
Inspiração Diária #1091
4079
Daily Inspiration #1091
This post is part of our daily series of posts showing the most inspiring images selected by some of the Abduzeedo's writers and users.
4080
Inspiração Diária #1090
Tutorials
Get Featured
Send your project to be featured on the blog. Follow the instruction on the template and good luck. Ah, make sure you add the images and credits that are due.
