by abduzeedo
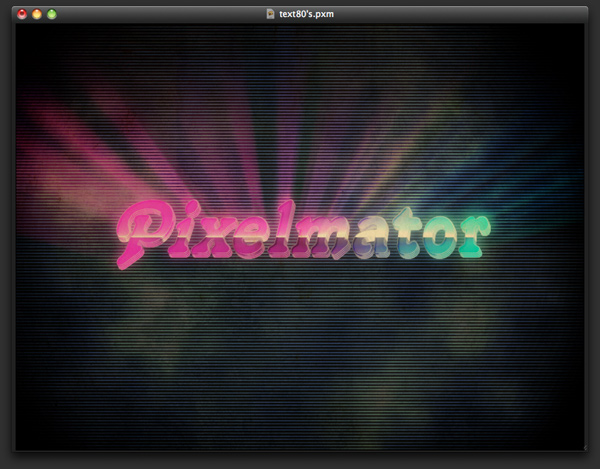
In this tutorial, I will show you how to create a very nice text effect inspired by the colors and some light effects used in the work of a great digital artist who uses the name Empire. His work can be seen at empireisok.com.
Step 1
Open Pixelmator and create a new document; I used 800×600 pixels. Then with the Gradient Tool (G), fill the background layer with a gradient using black and dark grey.
Step 2
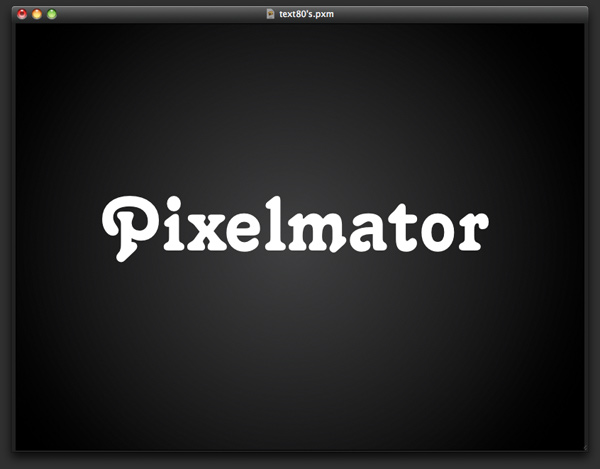
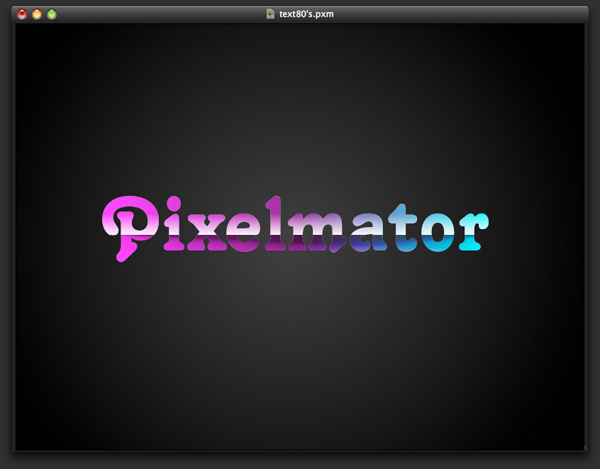
With the Type Tool (T), type the text you want. The font I’m using is Tango BT. ?
Step 3
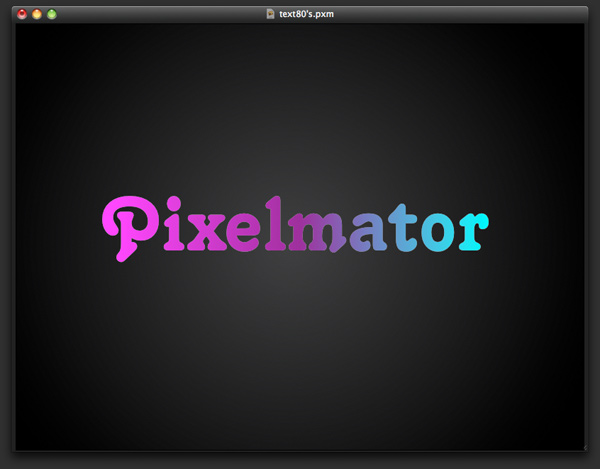
Add a new layer on top of the text layer, and then, using the Gradient Tool (G), fill the layer with a gradient from pink to cyan. After that, go to Layer>Create Clipping Mask, and you will see only the text with a gradient. ?
Step 4
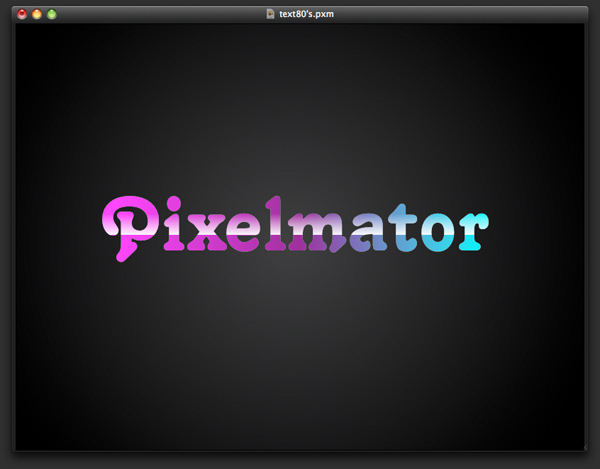
Create a new layer on top of the gradient layer and change the Blending to Screen. Again, go to Layer>Create Clipping Mask. Using the Gradient Tool (G), fill the layer with a gradient from white to black. The white will be in the center, and the black will be towards the top.
Step 5
Add another layer and go to Layer>Create Clipping Mask. Then change the Blending to Multiply. With the Gradient Tool (G), fill the layer with a gradient from black to white. The black will be in the center of the text and the white will be towards the bottom of the page.
Step 6
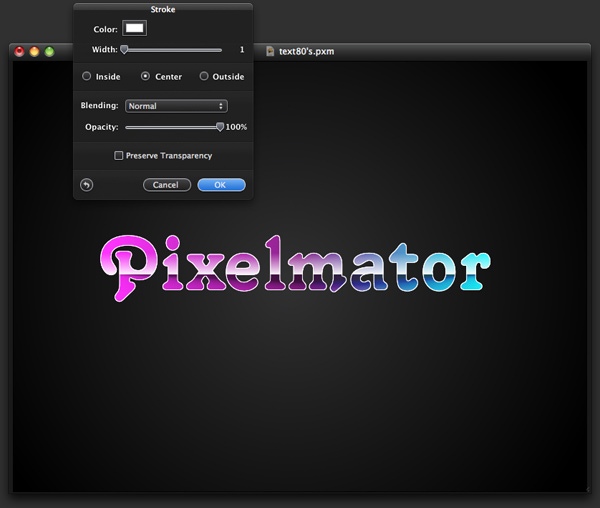
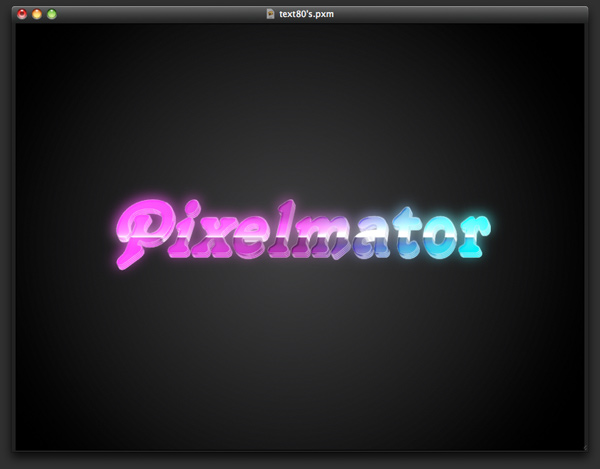
Duplicate the text layer and move it to the top in front of the other layers. Then go to Layer>Rasterize Type Layer. Next, go to Edit>Stroke. Use White for the color and 1 for the Width.
Step 7
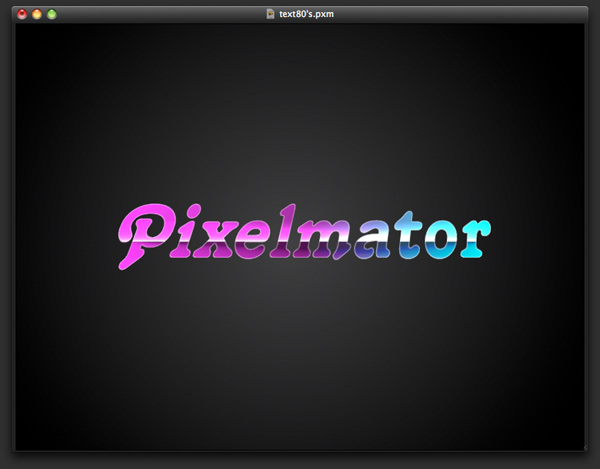
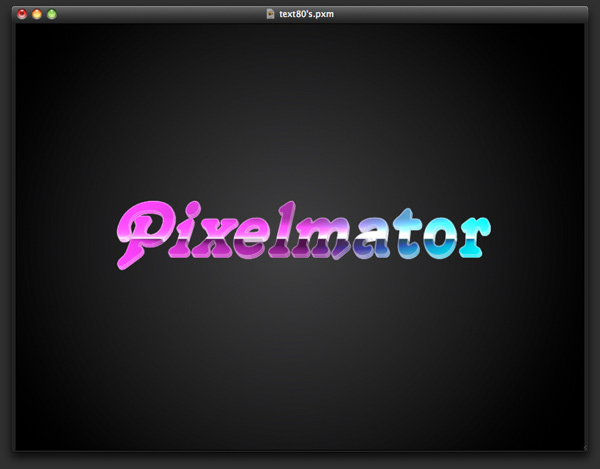
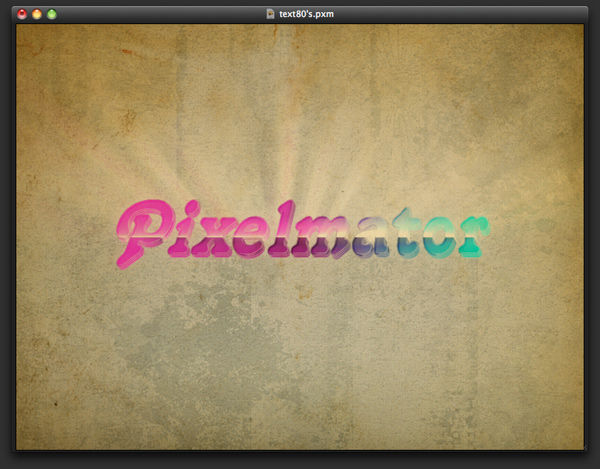
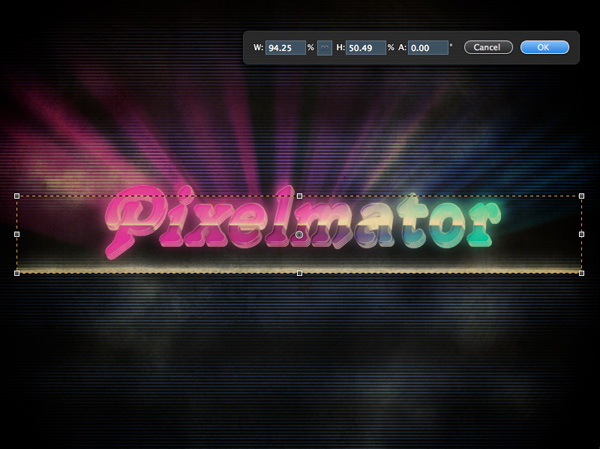
Select all layers used to create the text effect, and then go to Layer>Merge Layers. Next, go to Edit>Transform>Perspective. Then distort the text a little bit, using the image below as a reference.
Step 8
Duplicate the text effect group and move it 1 pixel up and to the left. Repeat this step 4 times.
Step 9
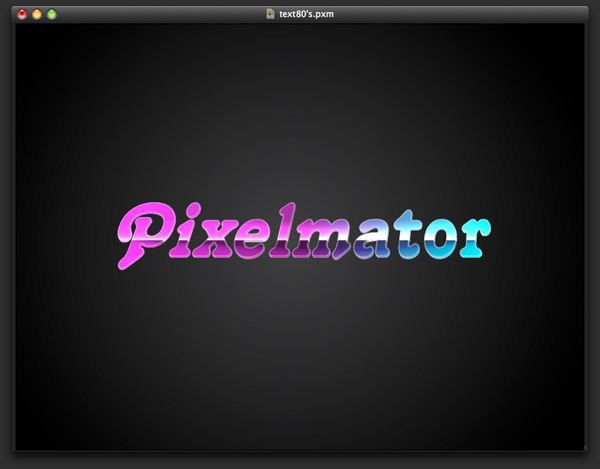
Duplicate the text layer that is on the top of the others and go to Edit>Stroke. Use 3 pixels and Center. Select black as the color. After that, go to Filter>Blur>Gaussian Blur. For the Radius, use 4px.
Step 10
With the Eraser Tool (E), start deleting the right side of each letter in order to add a 3D effect to the type.
Step 11
Duplicate the text layer that has all the effects and go to Filter>Blur>Gaussian Blur. Use 20 pixels for the Radius. Next, change the Blending to Screen.
Step 12
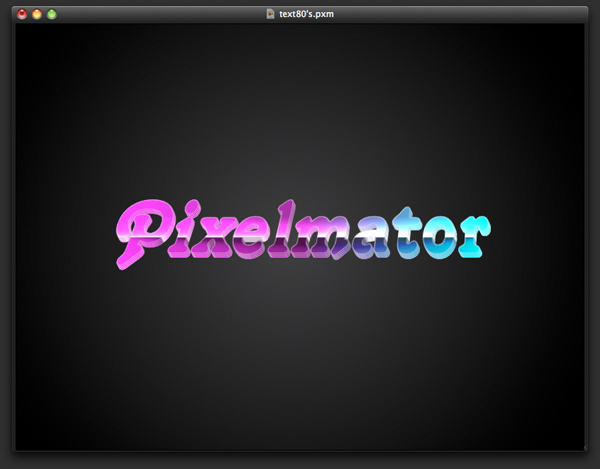
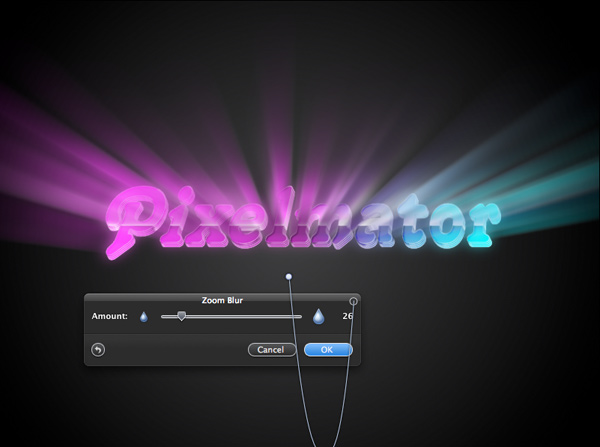
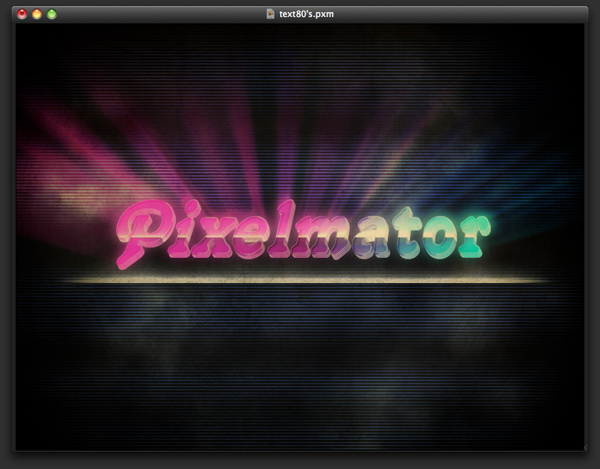
Duplicate the text layer again and go to Filter>Blur>Zoom Blur. Use 25 for the Amount. Check out the image below for a reference. ?
Step 13
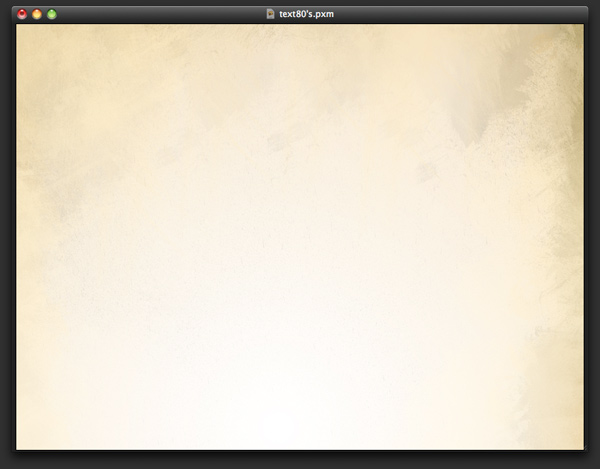
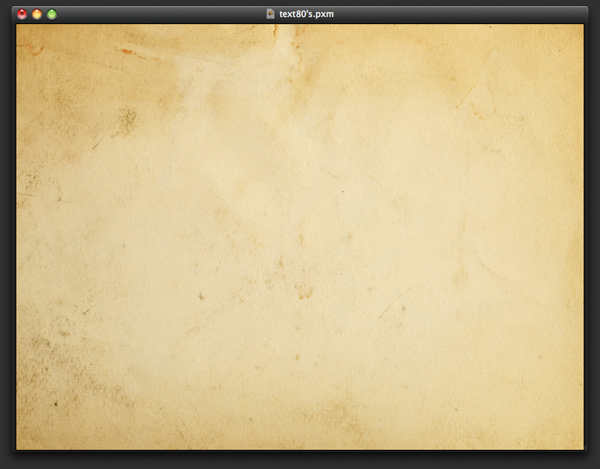
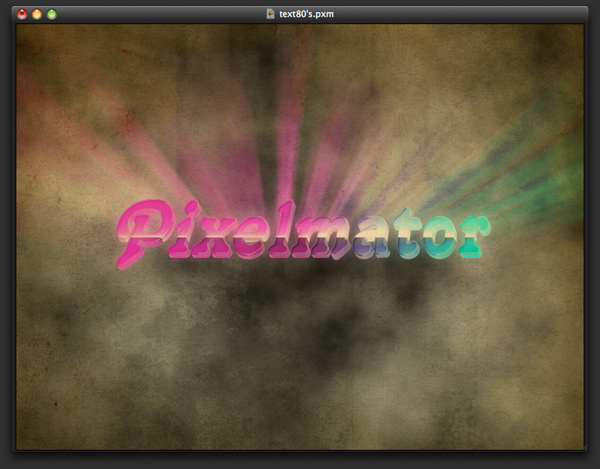
Now let’s add some textures. I used 2 old paper textures using Multiply for the Blending. One of them, the darkest one, will stay in front of the other layers while the other one will stay in front of the gradient layer only.
Step 14
Add a new layer on top of the paper layer and go to Filter>Generator>Clouds. Use black and white for the color. Then change the Blending to Color Dodge.
Step 15
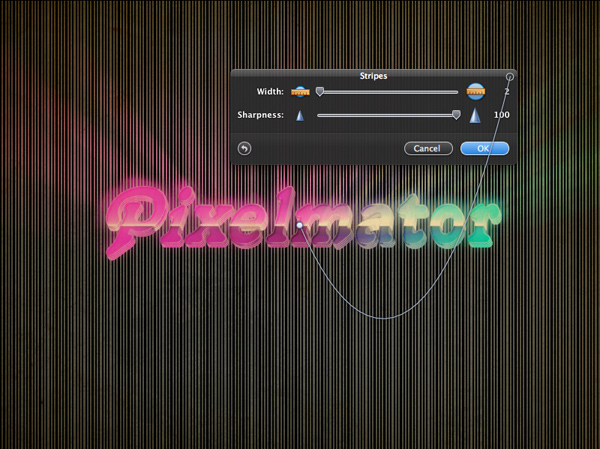
Add another layer and fill it with white. Make sure you have black and white for the background and foreground colors; then go to Filter>Genereator>Stripes. Use 2 for the Width and 100 for the Sharpness. After that, change the Blending to Color Dodge.
Step 16
Go to Edit>Transform>Rotate 90º CW.
Step 17
With the Rectangular Marquee Tool (M), create 4 rectangular selections like the image below. Then go to Edit>Inverse.
Step 18
Select the layer with the stripes and go to Layer>Add Layer Mask.
Step 19
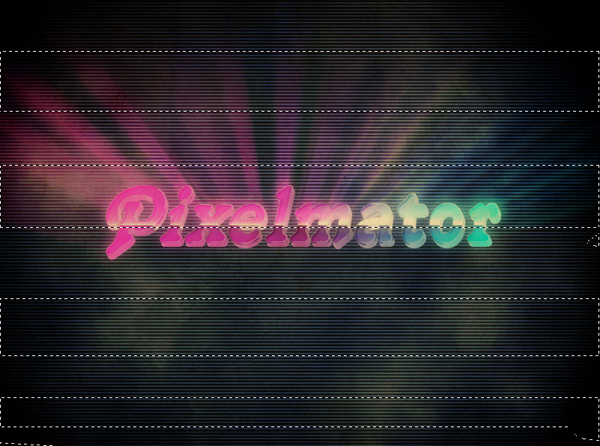
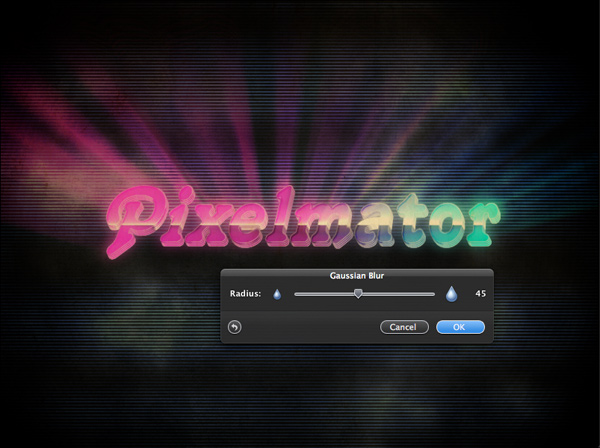
Select the mask of the layer and go to Filter>Blur>Gaussian Blur. Use 45 for the Radius. Check out the image below as a reference.
Step 20
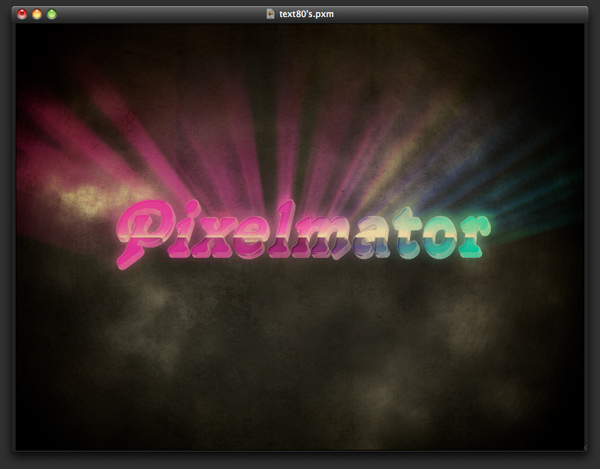
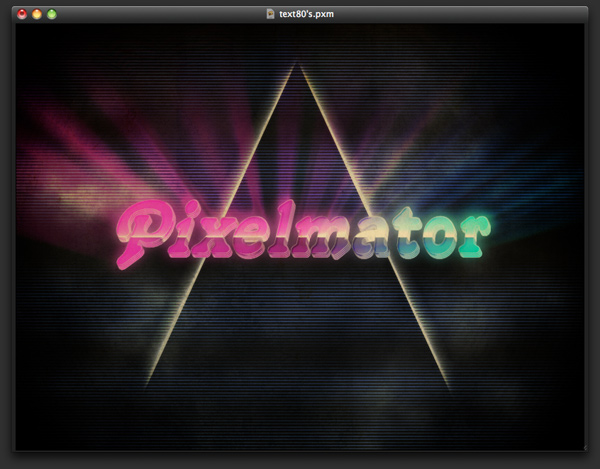
Let’s add more light effects. Create a new layer, and with the Rectangular Marquee Tool (M), create a selection. Then with the Gradient Tool (G), using black and white for the color, fill the layer with a gradient so it looks like the image below. After that, go to Edit>Transform>Scale. Reduce the height only.
Step 21
With the Eraser Tool (E), delete the edges of the light to make it fade away. Then just duplicate and rotate them to create a triangle.
Step 22
Now add another layer on top of the others but beneath the dark paper texture. The paper texture will be in front of all layers. Then use some grunge brushes and paint the edges to give an old-fashioned feel to the image. The brushes I used were from Misprintedtype (www.misprintedtype.com/v4).
Step 23
Select all layers and duplicate them. Then select only the duplicated layers and go to Layer>Merge Layers. Next, go to Filter>Blur>Gaussian Blur. Use 20 pixels for the Radius and press OK. Then change the Blending to Screen. Using the Eraser Tool (E), delete some areas to make the glow effect less strong.
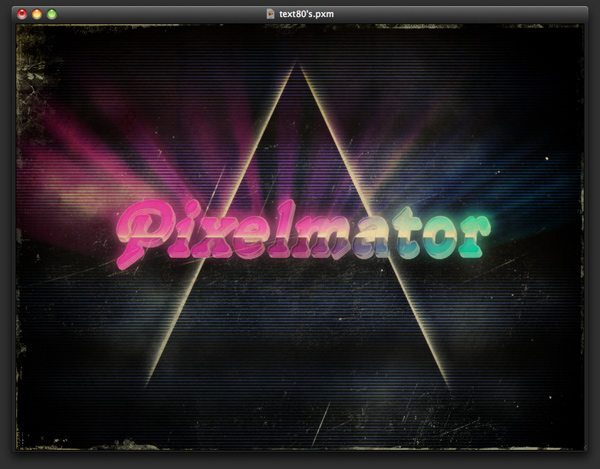
Conclusion
The steps might seem a bit complex, but the effect is quite simple to achieve. It’s pretty much gradients with some blurs. The important thing is to pay attention to the details and try different solutions to overcome the lack of Layer Styles to create the bevel effect like we did using strokes and gaussian blur.

Download the Pixelmator file
Click here to download the Pixelmator file used for this tutorial


")


