by abduzeedo
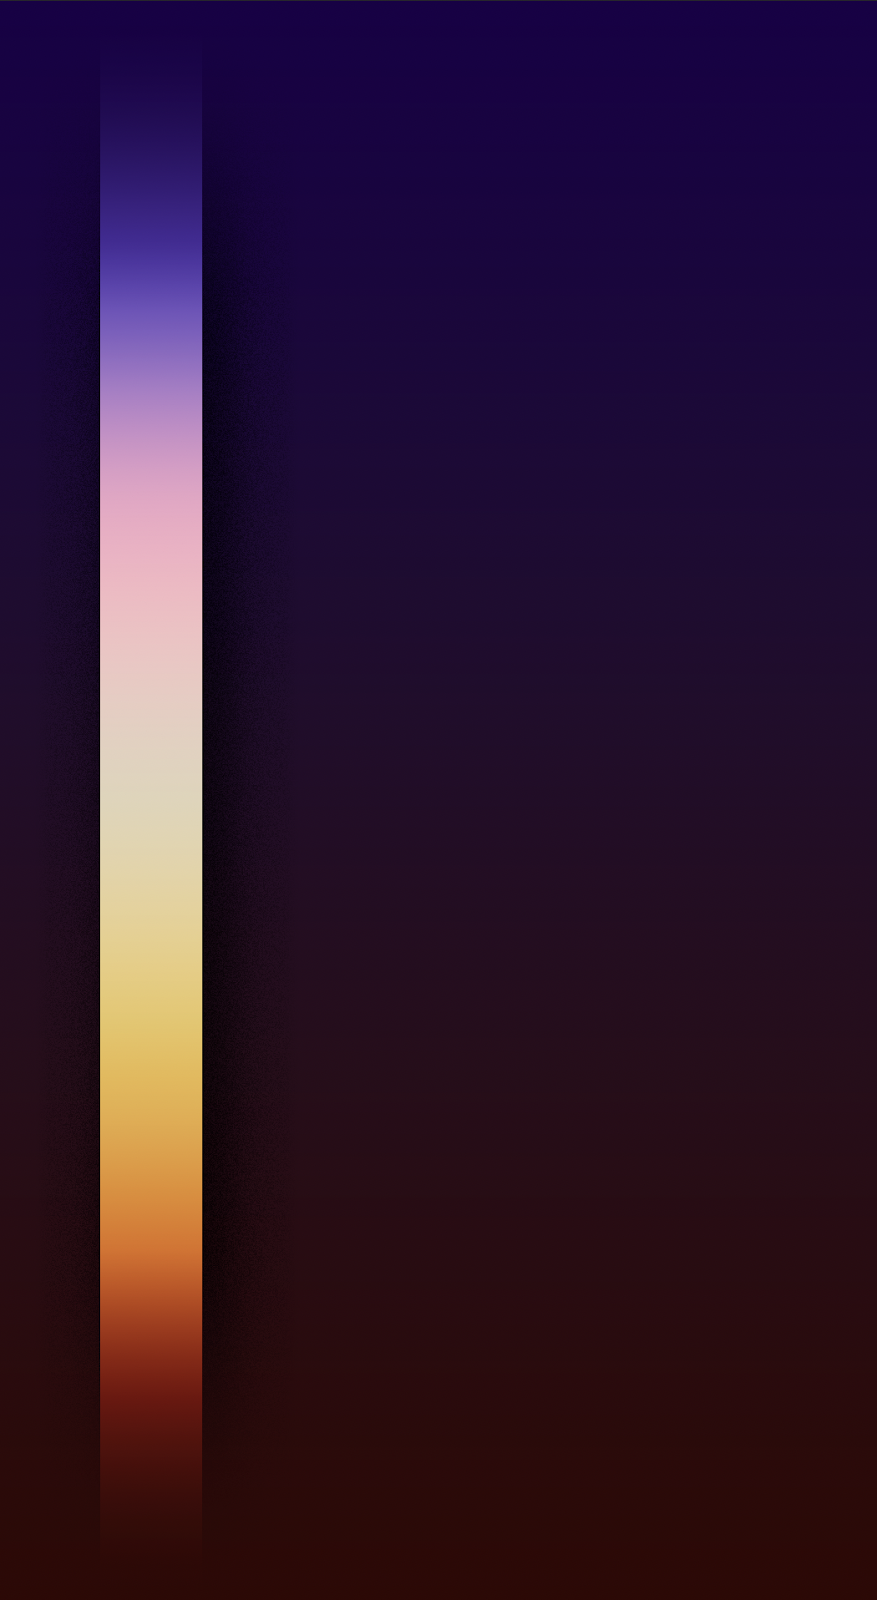
I watched a bit of the Apple keynote today and I don’t know if it’s me getting old but it feels that the excitement is no longer there. I know there were new devices but still it feels more like the same. More speed, more this more that… one thing that caught my attention though was the iPhone SE wallpaper. The reason? It reminds me of some of the Photoshop images I used to create for tutorials. That of course sparked my interest to recreate that image in Photoshop. So here I am, another Photoshop tutorial and boy did I have fun doing it! And, I hope you enjoy it as well.
Step 1
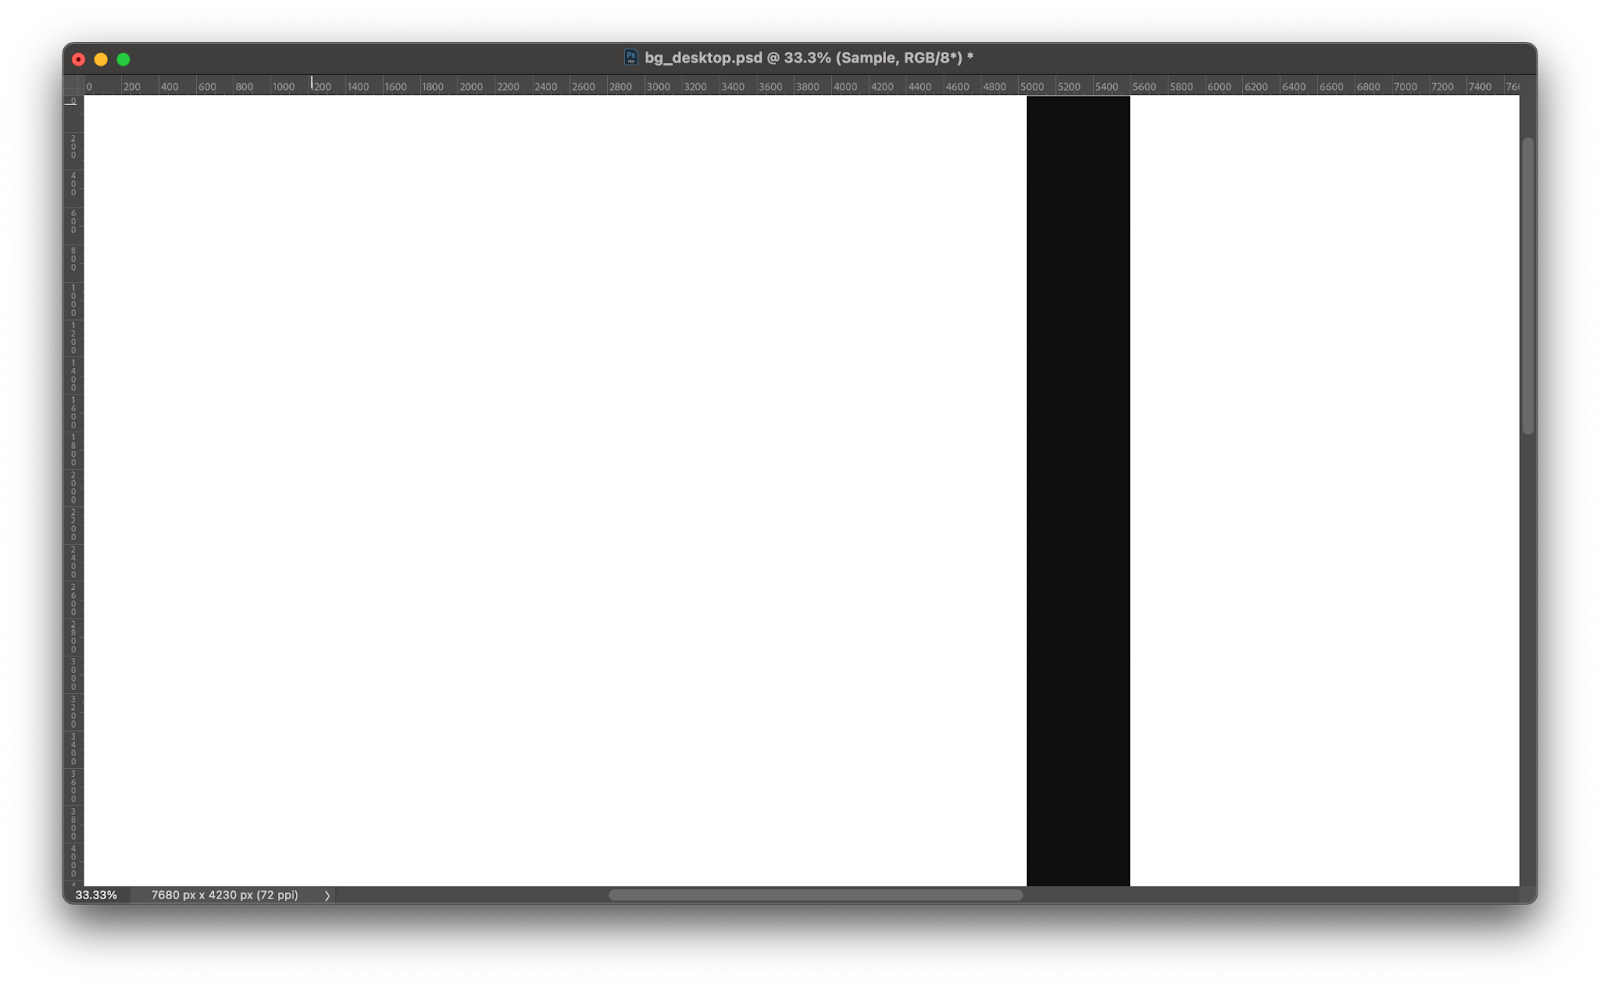
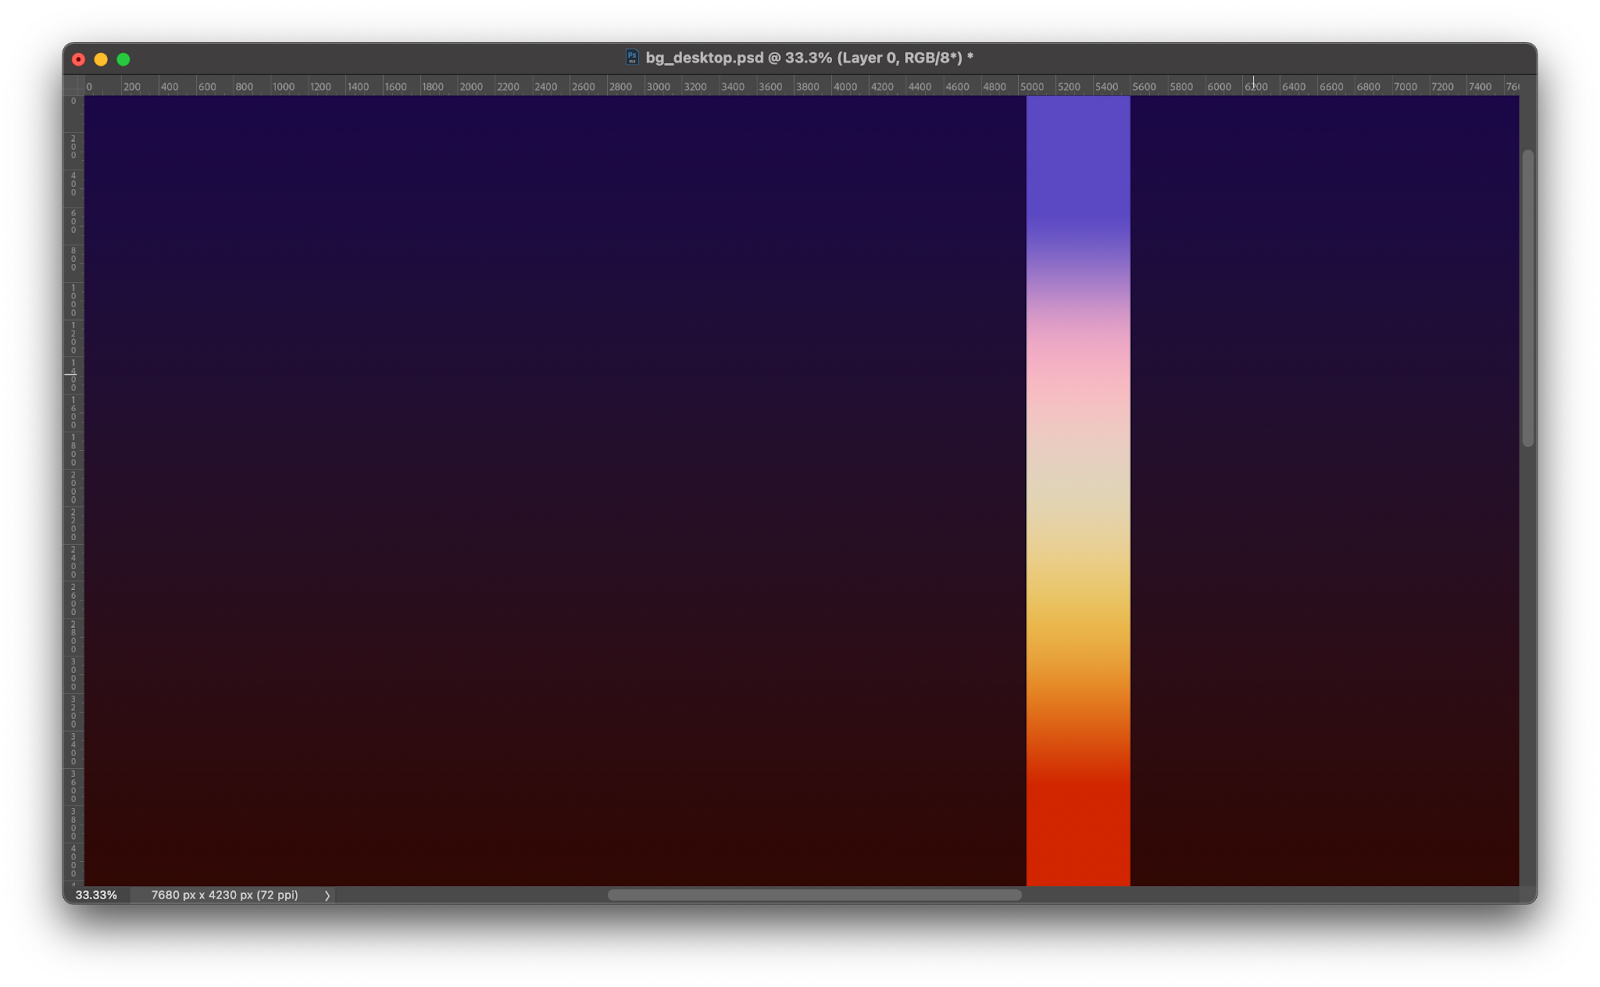
Create a new file in Photoshop. I used the 8k resolution just because I wanted to suffer, hah! Jokes aside, I just want to create a big image so folks could use it as wallpapers. After that create one rectangle using the Rectangle Tool U
Step 2
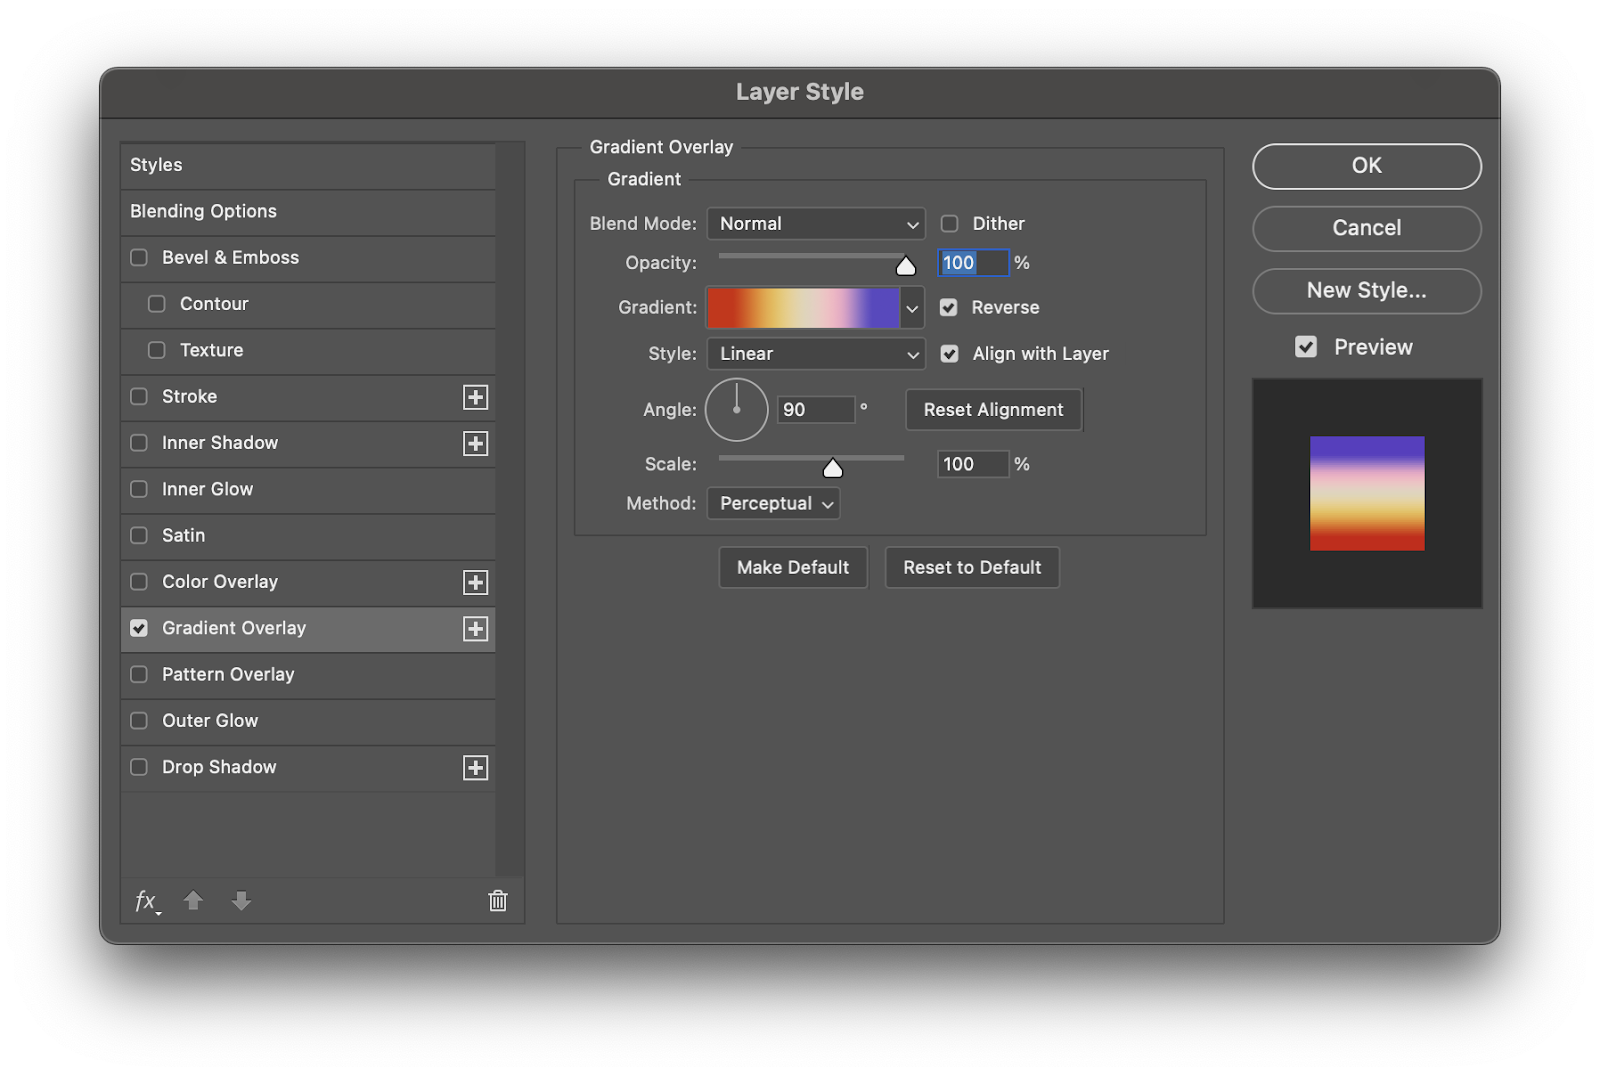
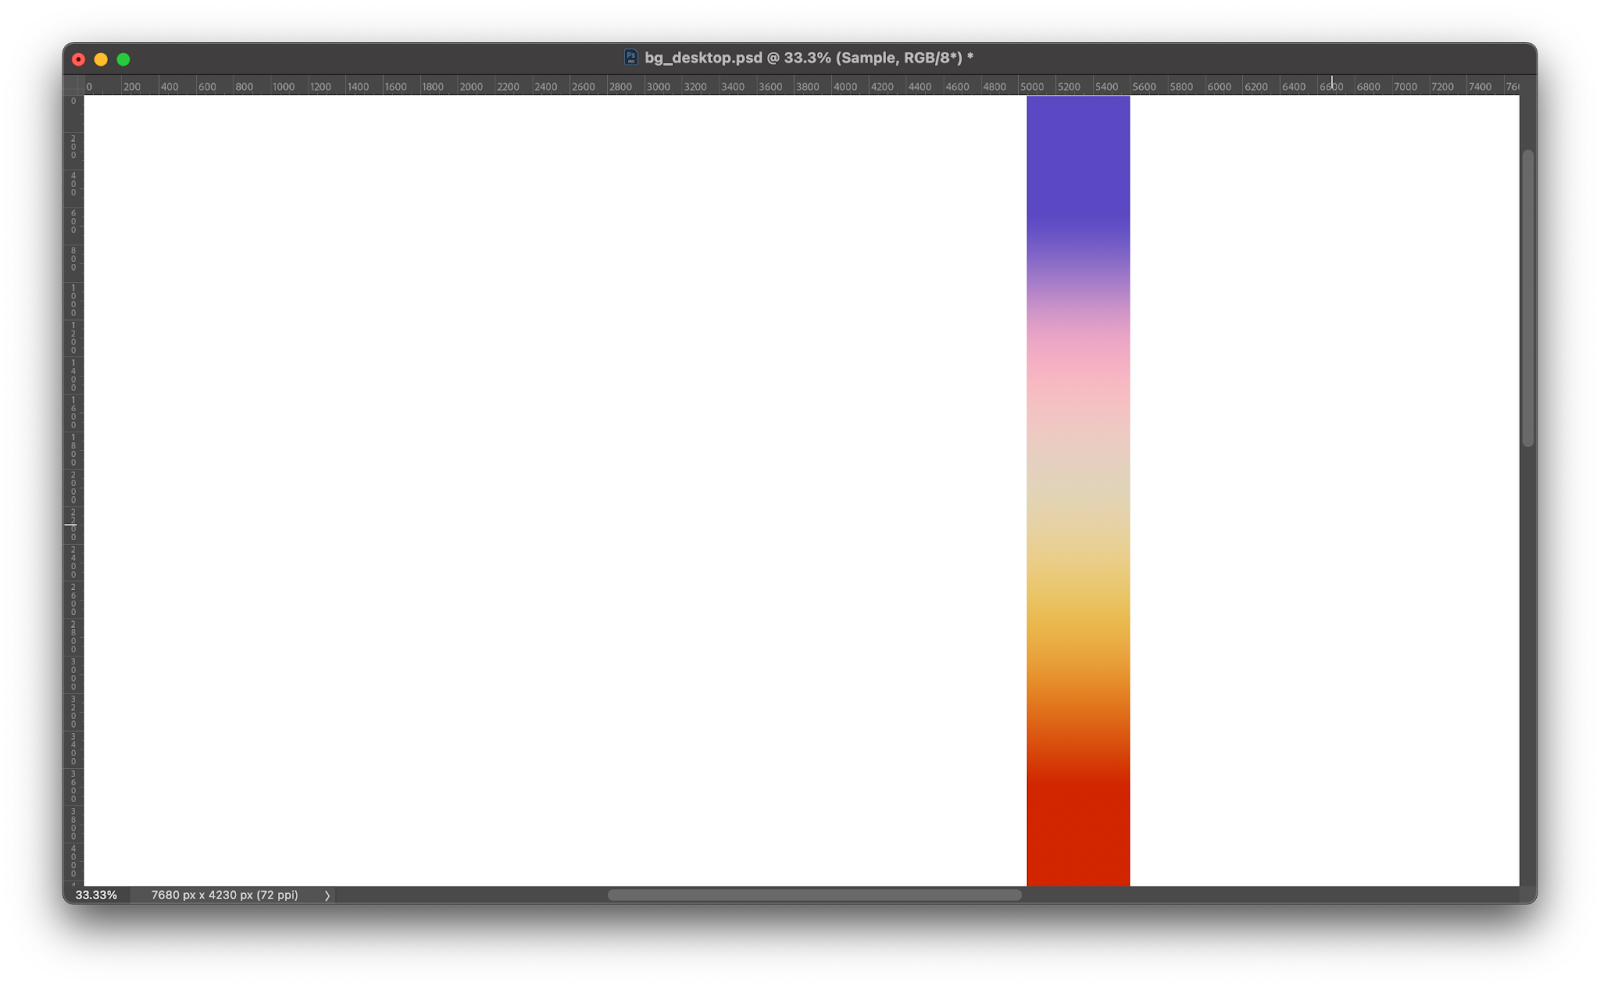
Now via layer styles create the gradient with the colors you want. I literally use the iPhone image as reference to capture the colors from it.
Step 3
Change the background color to a gradient with the dark colors from the top and bottom. I used Layers Styles with a Linear Gradient. Those colors will be the ones that all the rectangles will fade to.
Step 4
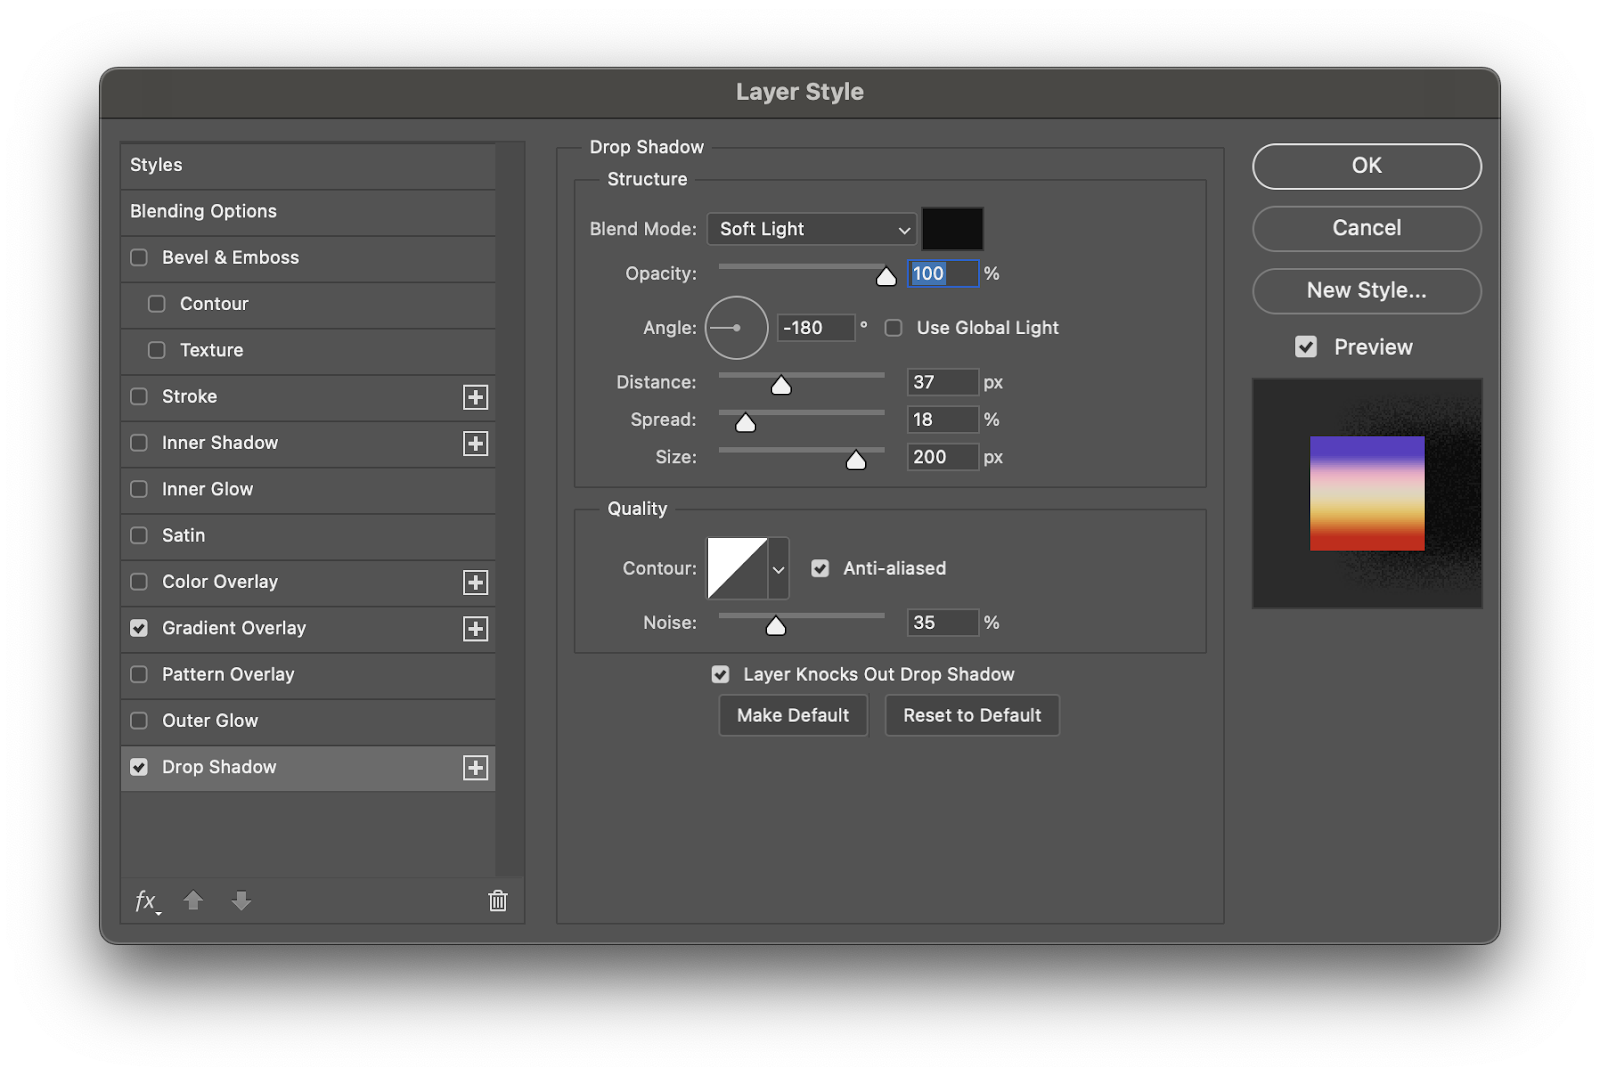
Move the rectangle to the right and add a drop shadow via Layer Styles
Step 5
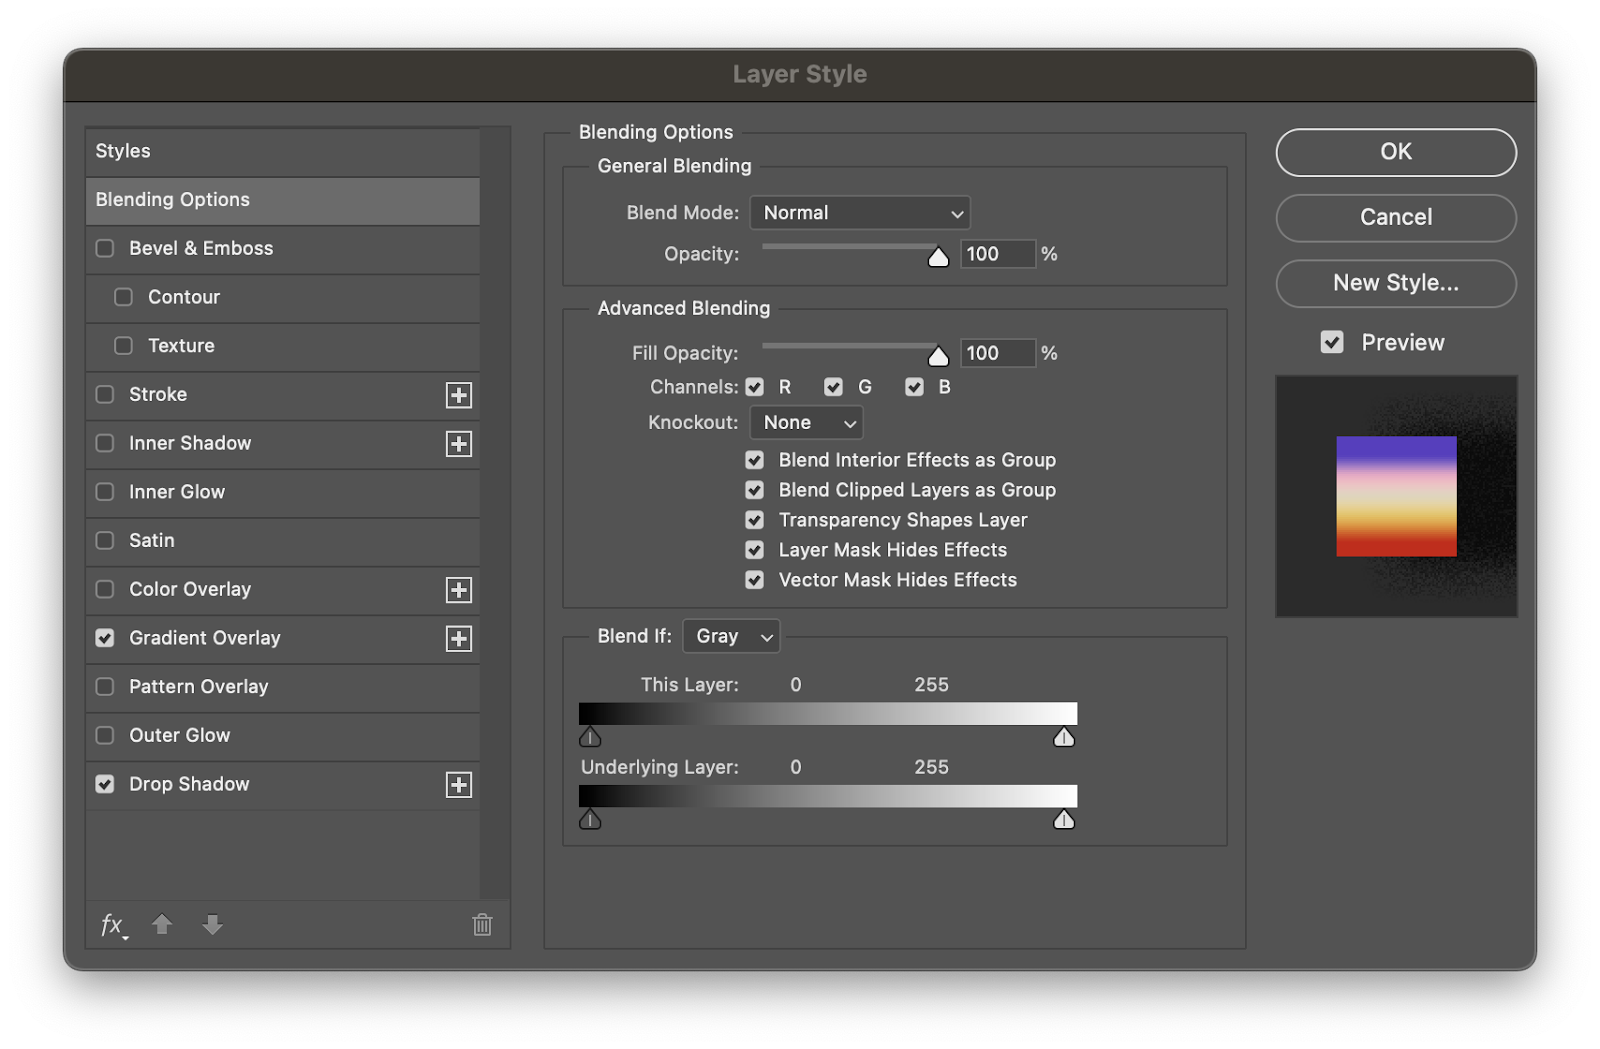
Now a very important detail. On Blending Options for the Layer Style make sure to check the option that says “Layer Mask Hides Effects”. That will be crucial for the masking part of the process.
Step 6
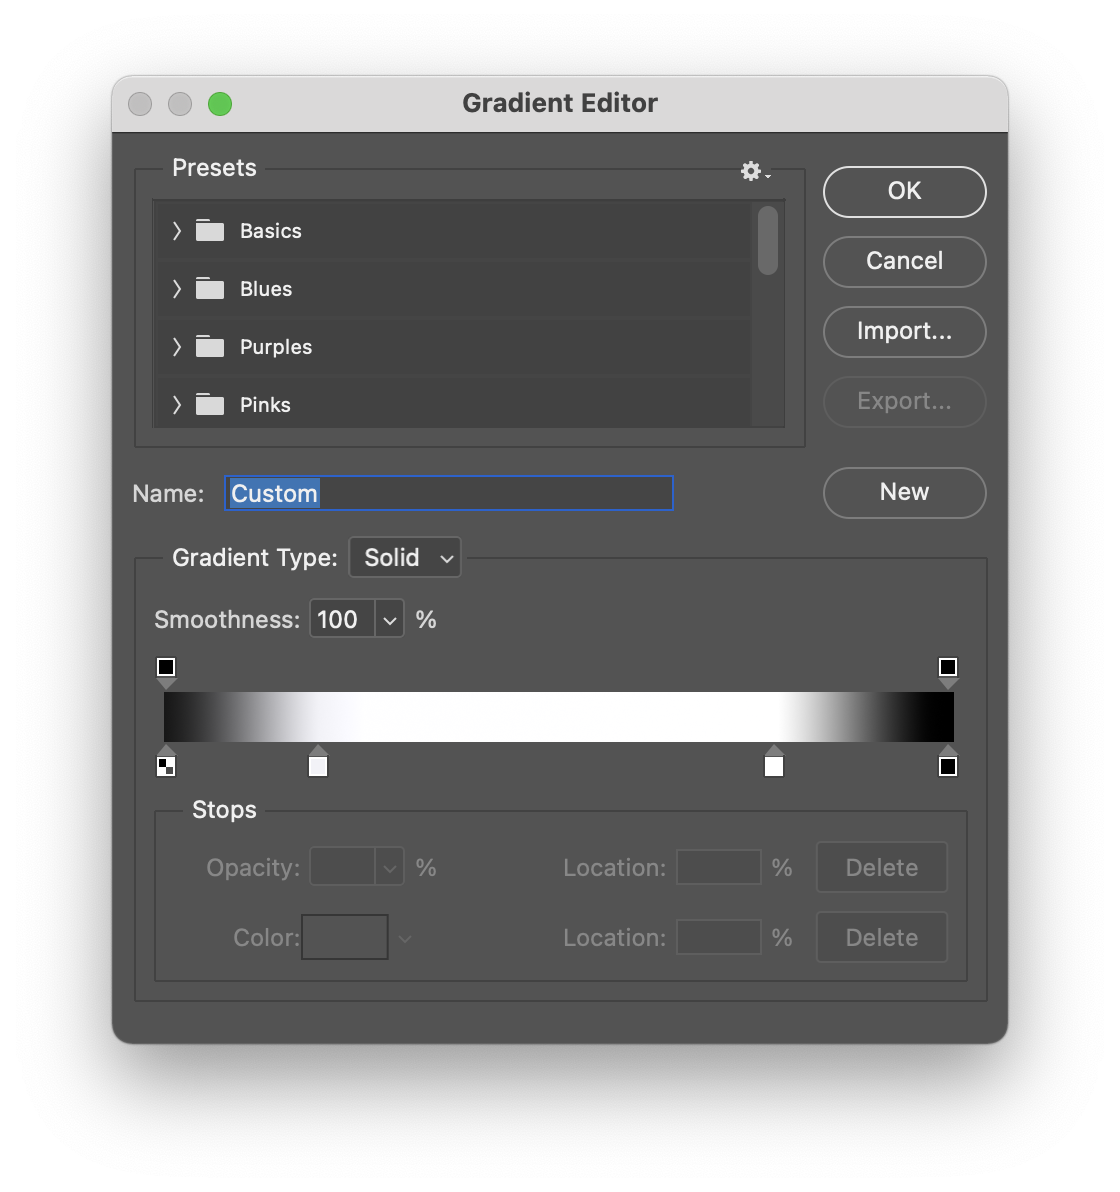
Time to mask the rectangle to make it fade to the background on the top and bottom parts. To do that just create a gradient like the image below, then select the rectangle and apply a mask. Fill the mask with the gradient starting at the top and going all the way to the bottom of the rectangle. That’s it.
Step 7
Duplicate rectangles and scale them to create the form you want. I basically started from the right to the center, then I just duplicated and flipped them to create the other side.
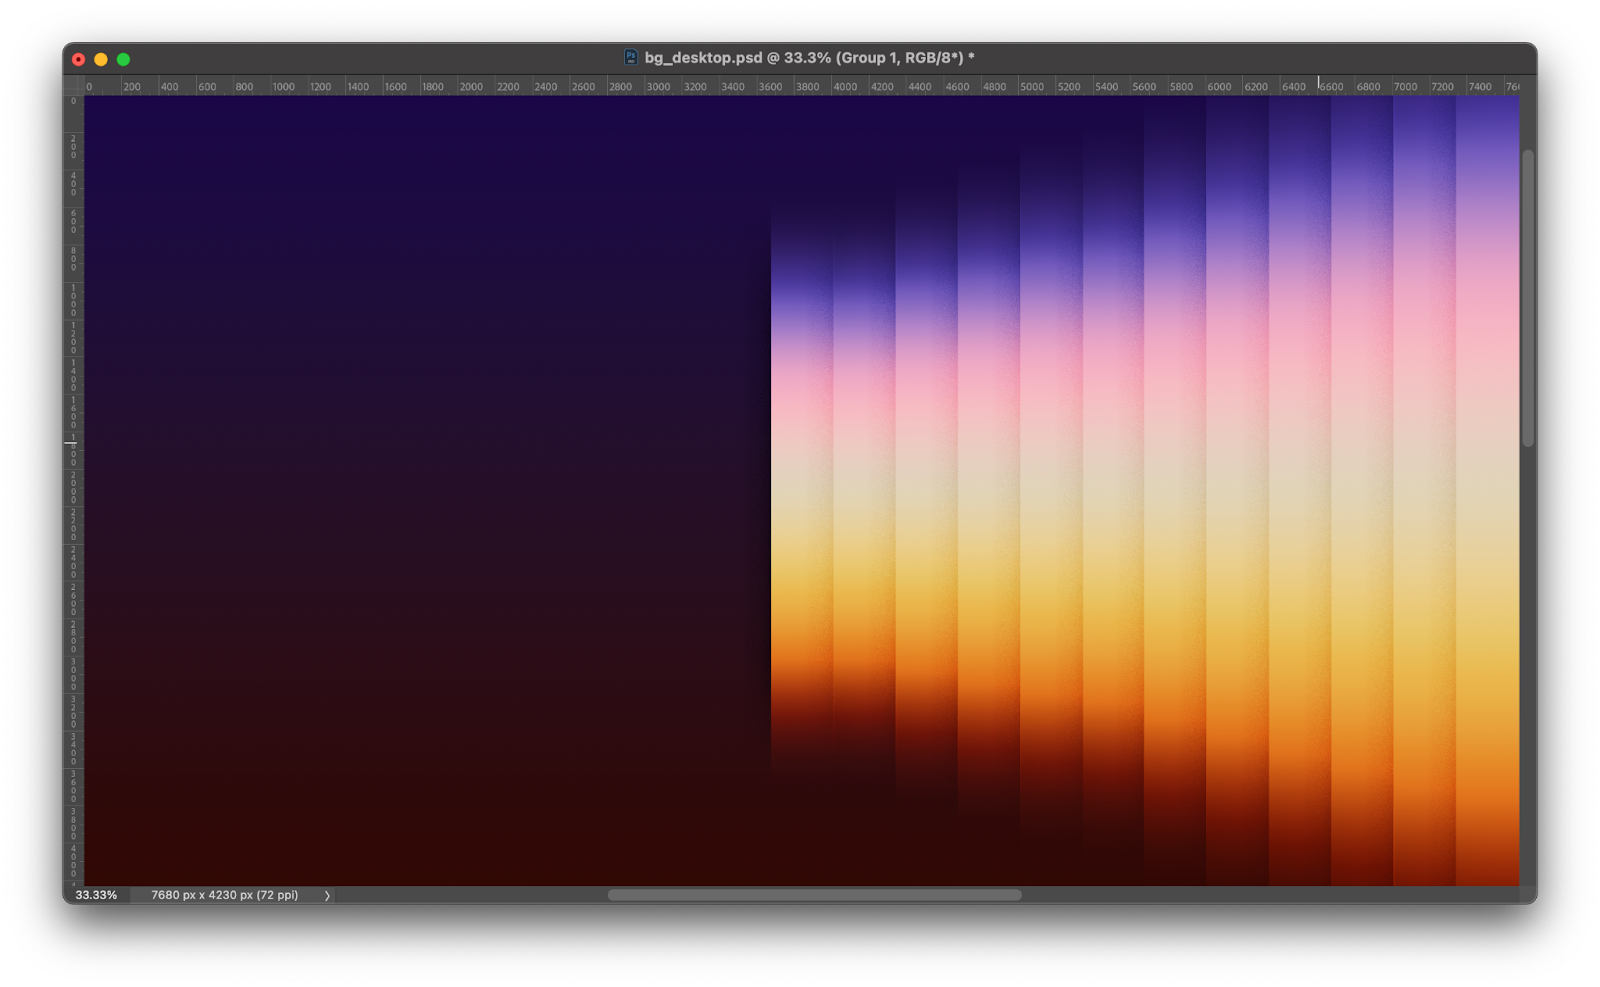

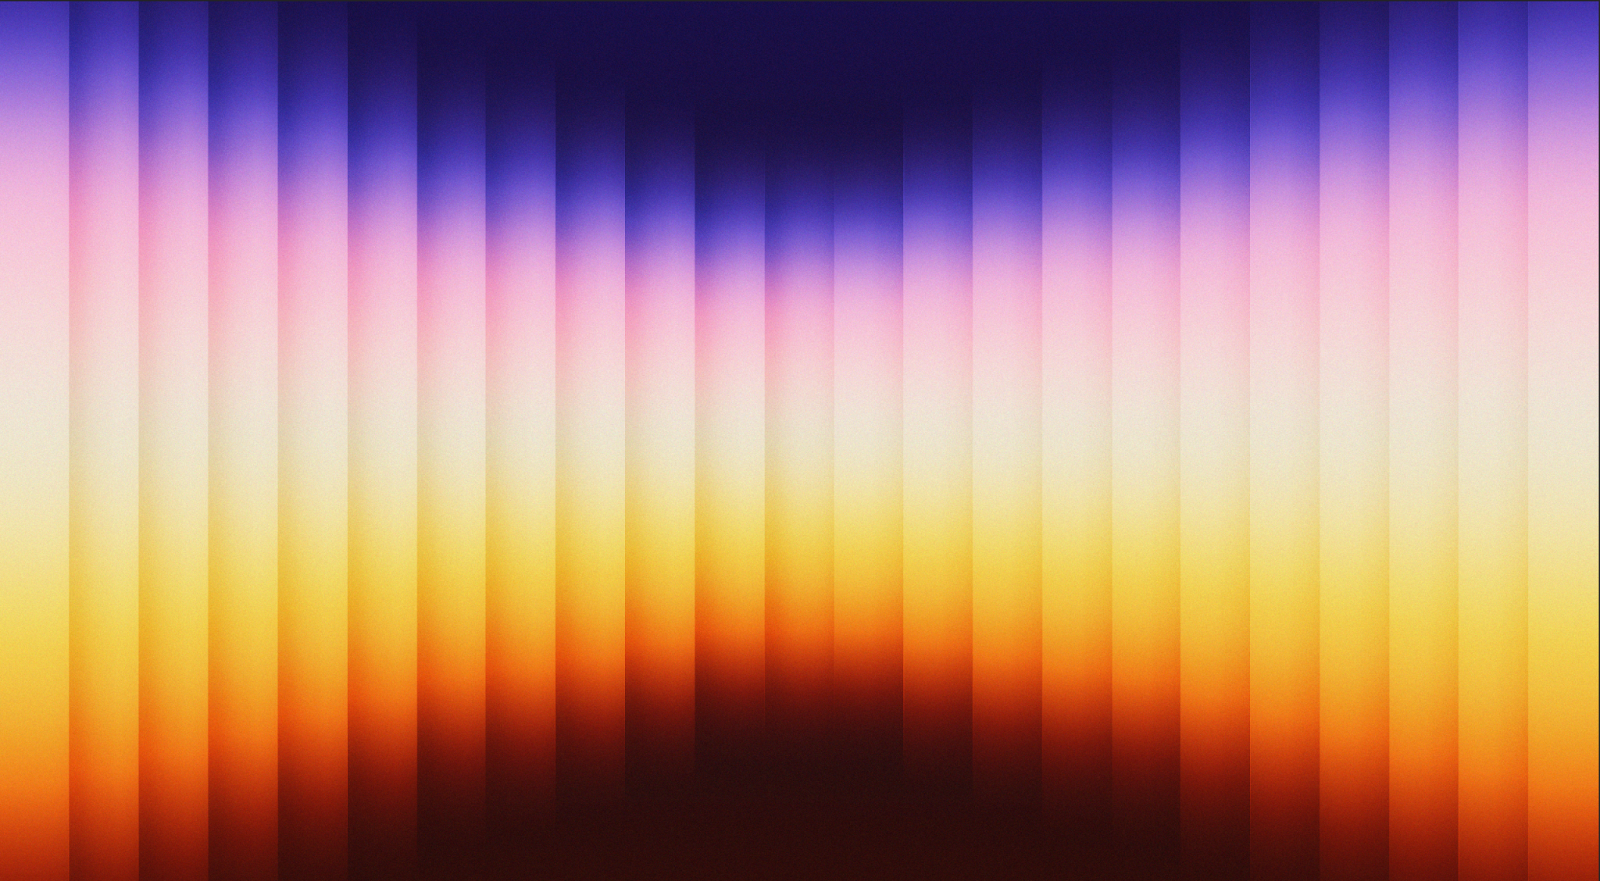
Final result
That’s it. You can add some extra effects by creating new layers with all the layers merged then apply some blur plus Overlay as blending mode, but that is just details. Now it’s up to you to definitely refine it. I am already using my new wallpaper.