by abduzeedo
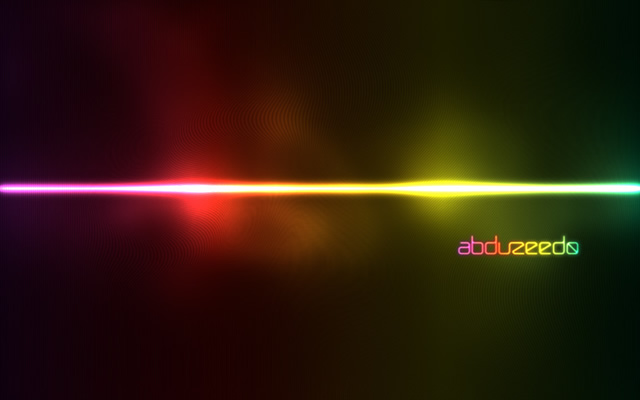
We have already published tutorials on how to create a really cool light effect in Photoshop and GIMP, now In this tutorial, I will show you how to create this super, simple light effect inspired by a design that I saw recently in a Sony advert.
Step 1
Open Pixelmator and create a new document. Select 1440×900 pixels and then fill the layer with #121212.
Step 2
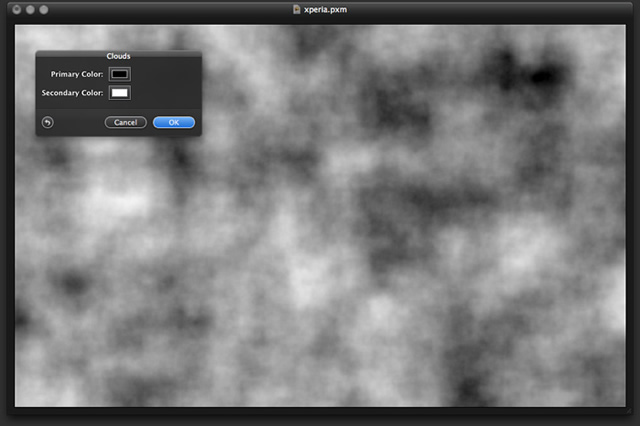
Next, add another layer and select Filter>Generator>Clouds. Set the colors to black and white.
Step 3
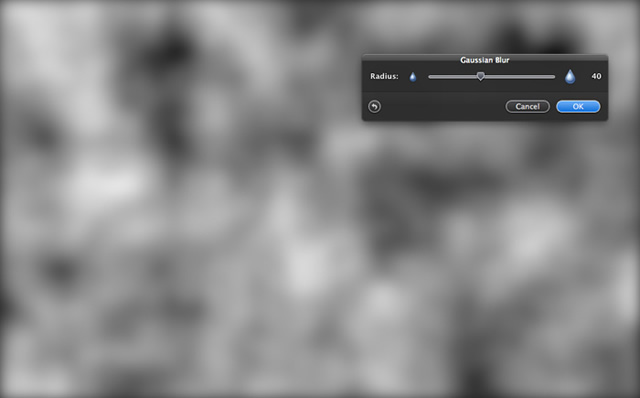
Choose options Filter>Blur>Gaussian Blur. Set the Radius to 40.
Step 4
Use the Eraser Tool (E) to delete most of the layer, leaving just a little of the middle. In Blending, select Color Dodge and set the Opacity to 60%.
Step 5
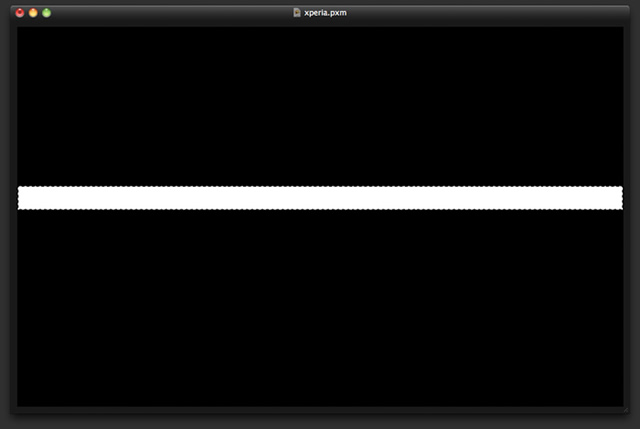
Create a third layer and fill it with black. Then, use the Rectangle Marquee Tool (M), to create a rectangular selection. Fill this with white.
Step 6
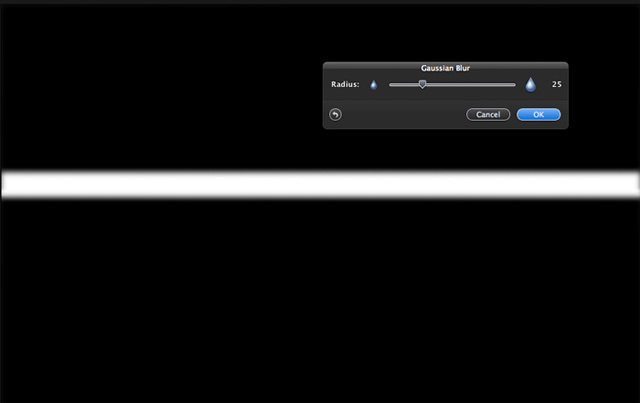
Go to Filter>Blur>Gaussian Blur and change the Radius to 25 . Then resize the rectangle by reducing its height in Edit>Free Transform. This should make it thinner along its vertical access (as shown). Change the Blending choice to Color Dodge.
Step 7
Add a new layer and fill it with black. Change the Blending to Color Dodge. Now select a very soft brush with 30-50% Opacity from the Brush Tool (B) options and paint some areas around the length of the rectangle as shown in the image below.

Step 8
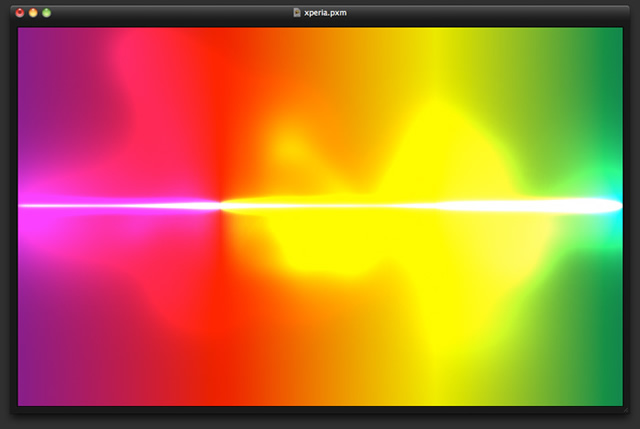
Create a new layer on the top of the others and use the Gradient Tool (G) to create a gradient in purple, red, yellow, and green. Fill the layer with this gradient. Change Blending to Multiply, and then set Opacity to 90%.
Step 9
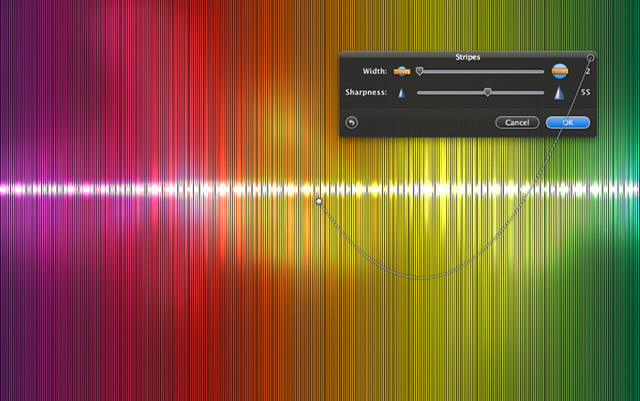
Add a further layer and select Filter>Generator>Stripes. Set the Width to 3 and the Sharpness to 55 . Then change the Opacity to 3% and the Blending to Screen.
Step 10
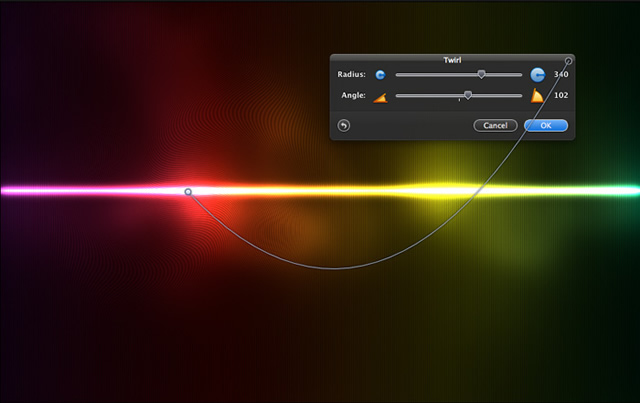
Select the stripped layer and choose Filter> Distortion> Twirl. Set the Radius at 340 and the Angle at 100 . Then, position the controller over the line as shown in the image below.
Step 11
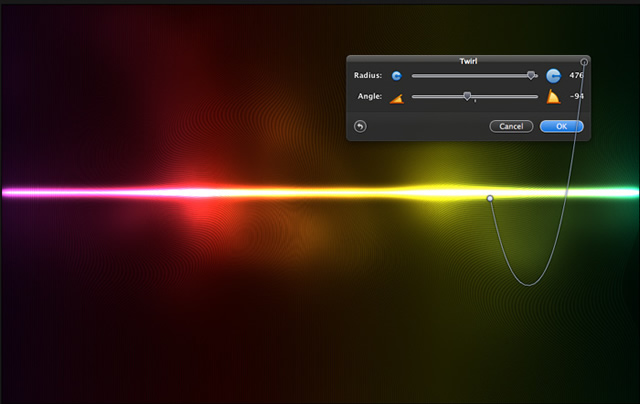
Repeat the same filter but change both the position of the controller and the Angle to -100.
Conclusion
This is a wonderfully simple technique that creates a beautiful light effect with a very unique texture. It can be achieved in less than 20 minutes with a professional looking outcome. You may wish to experiment with different colors or more than one streak.