by abduzeedo
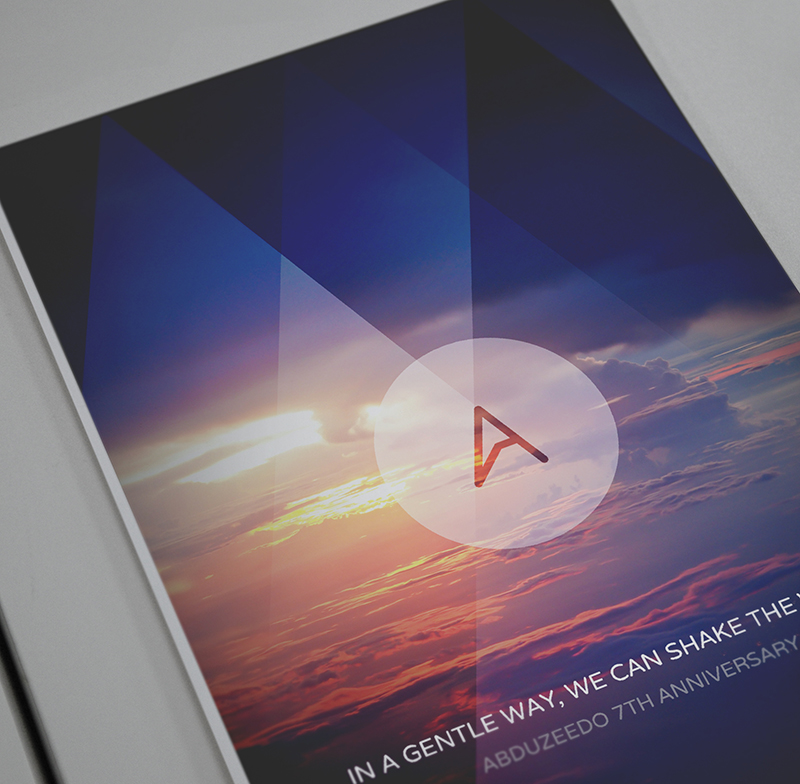
This December Abduzeedo celebrates its 7th anniversary. In the end of 2006, after the robbery of our design studio, I decided to start a simple blog to share inspiration, experiments and to try to be more active in the community. Today, after 7 years, we have met so many amazing people but most importantly, we have learned so much together with everyone that visits the site. To celebrate the anniversary I created an image to illustrate our journey, a simple idea acknowledging how time flies. We must take action right now because the little we do can, in a gentle way, shake the world.
So in this tutorial I will show you the creative process behind the poster. It's a simply walkthrough using Photoshop.
Step 1
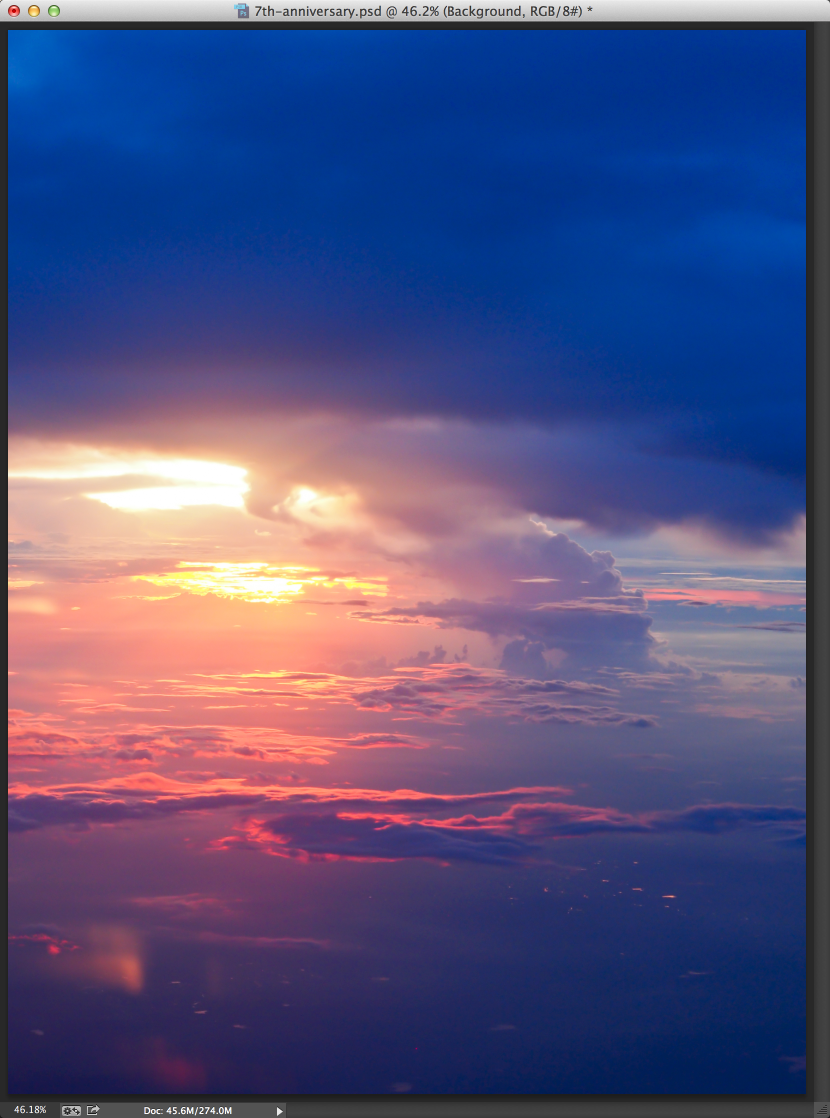
Create a new document and import a photo of clouds or something almost abstract. The photo I am using is courtesy of Shutterstock and it's titled "a photo of sunset above clouds from airplane window" by menz11stock.
Step 2
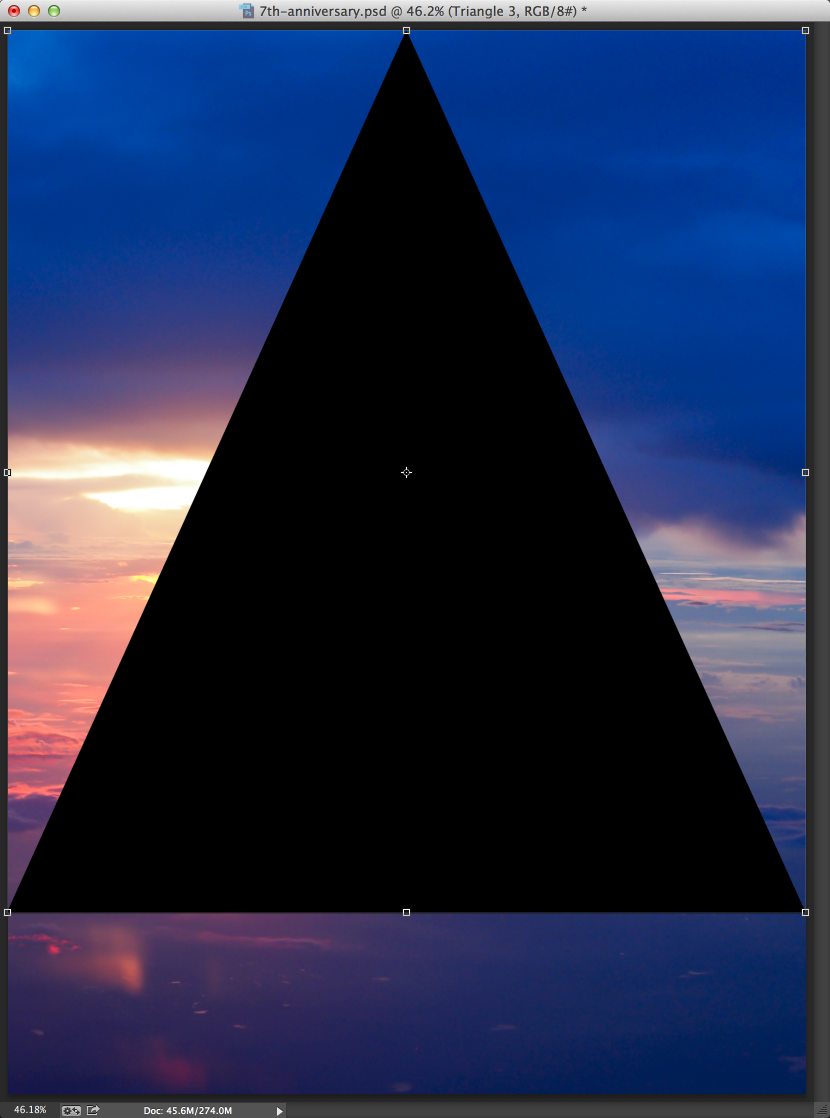
With the Rectangle Tool U create a square and then with the Direct Select Tool A, select the shape. With the Pen Tool P, delete one of the points to create a triangle. Use the image below for reference.
Step 3
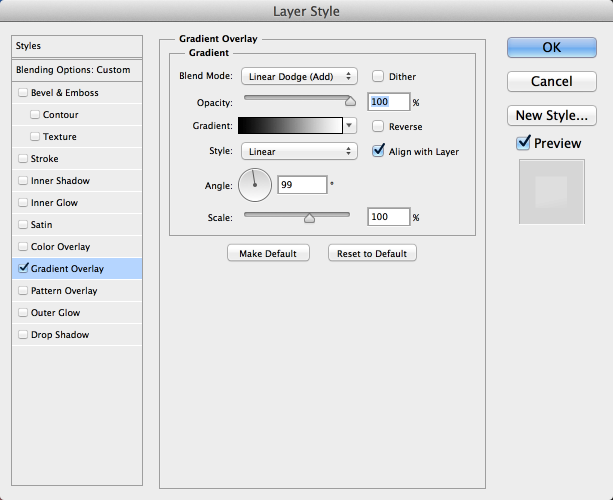
Go to Layer>Layer Style>Gradient Overlay. Use Black and White for the color, Linear Dodge for the Blend Mode and 99º for the Angle.
Step 4
Change the Opacity to 20%.
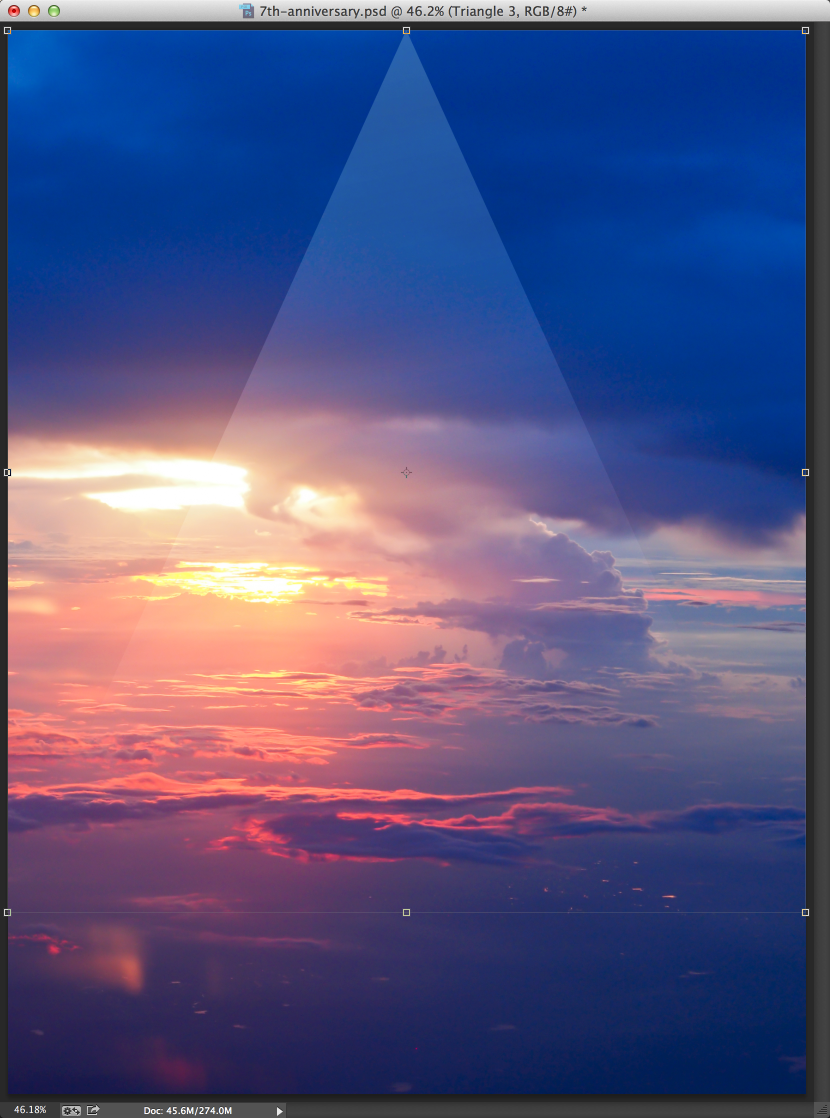
Step 5
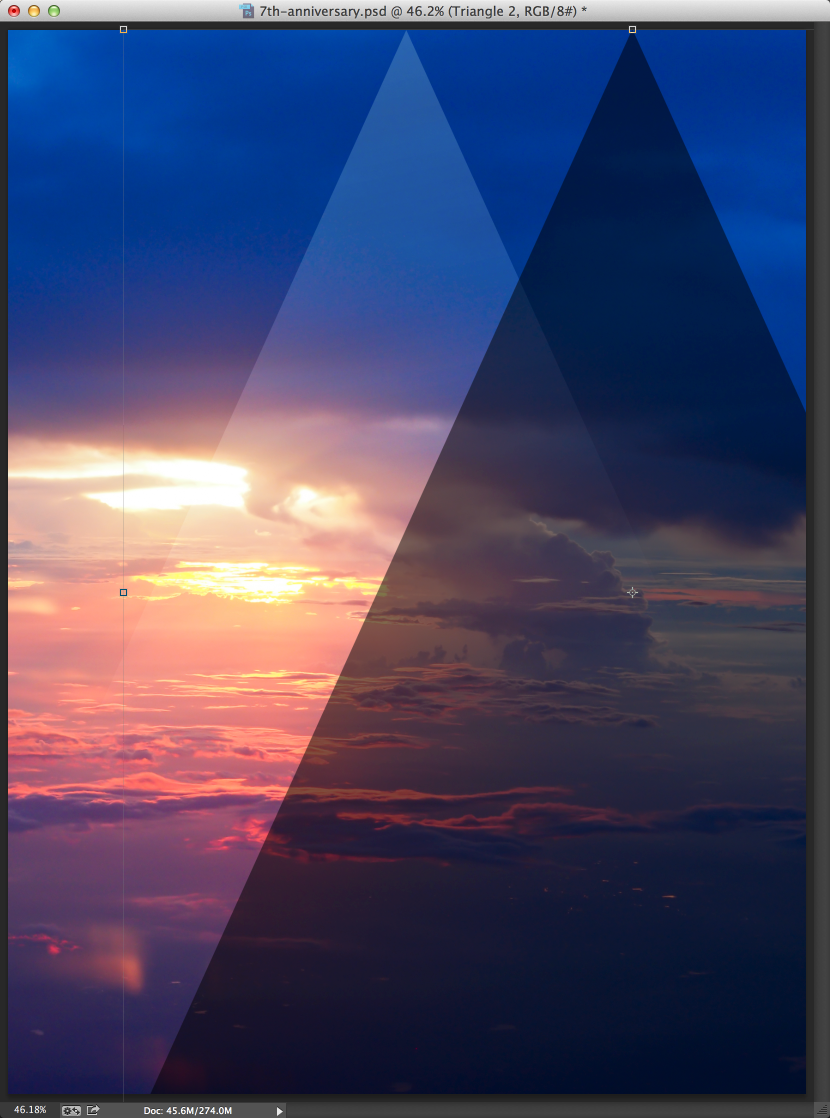
Create another triangle like the previous steps using pretty much the same Layer Styles.
Step 6
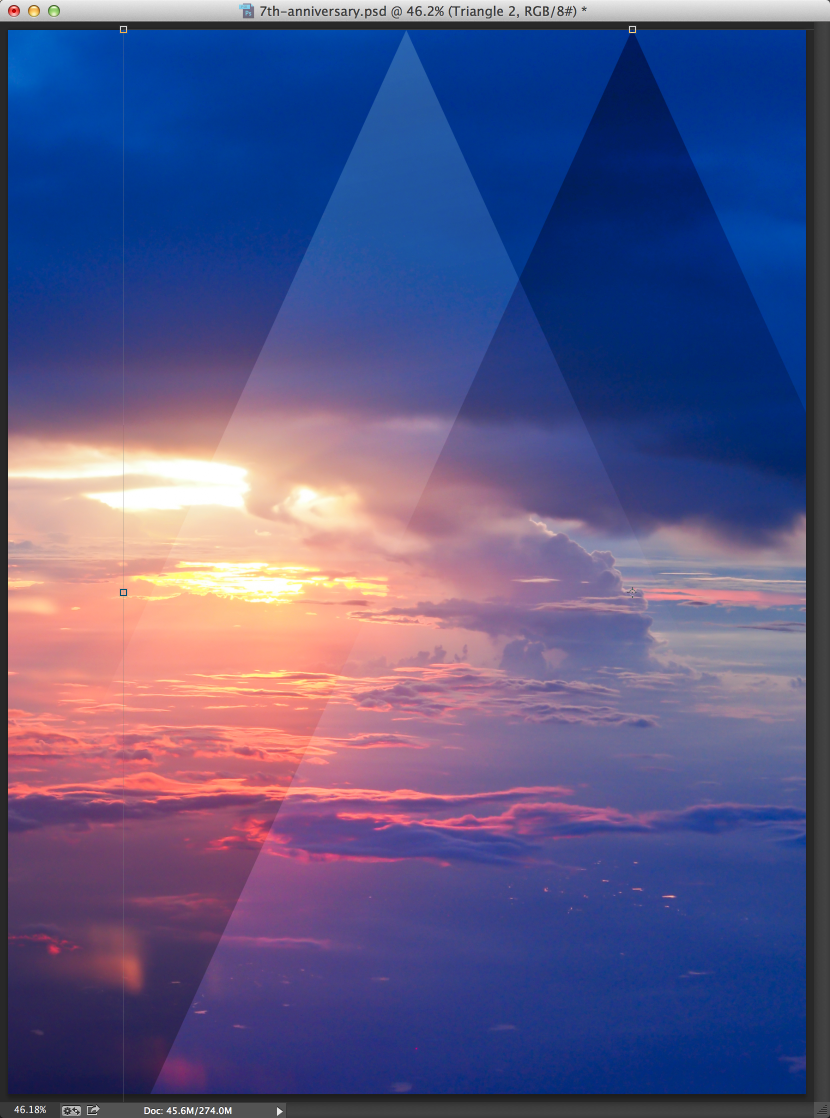
Invert the gradient of the layer style and use Overlay for the Blend Mode. Also use 50% for the Opacity of this layer.
Step 7
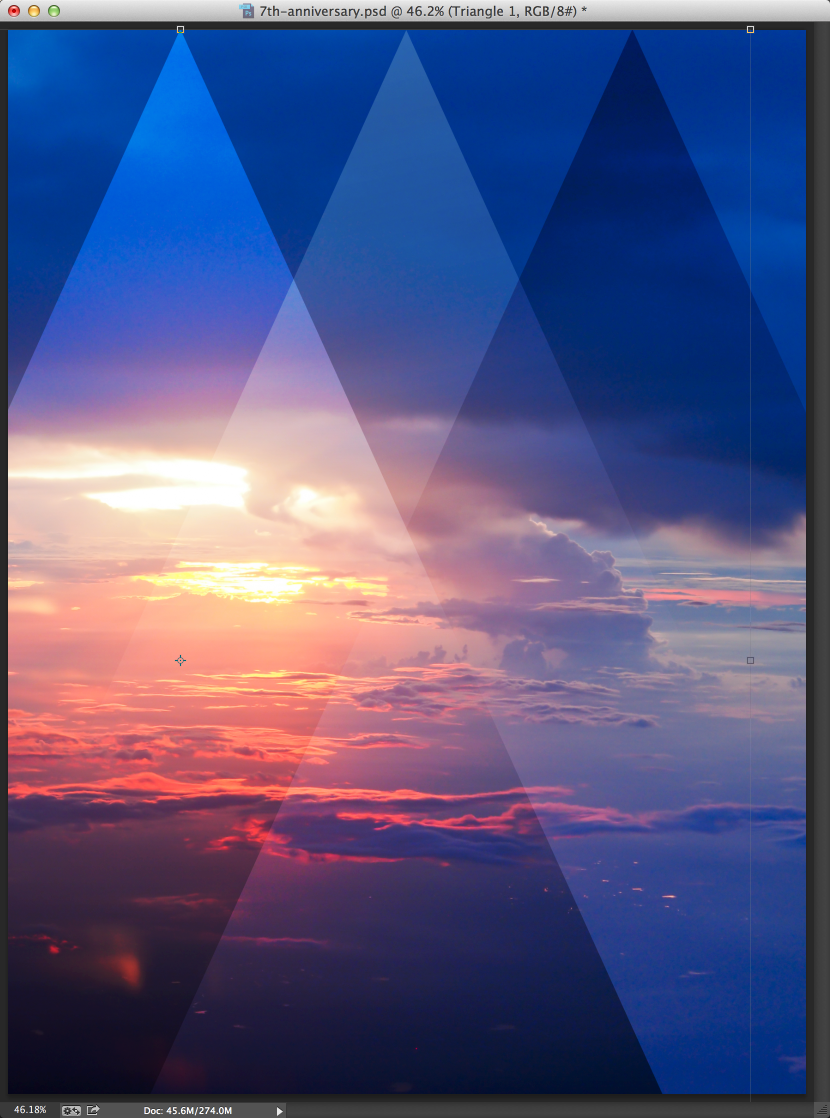
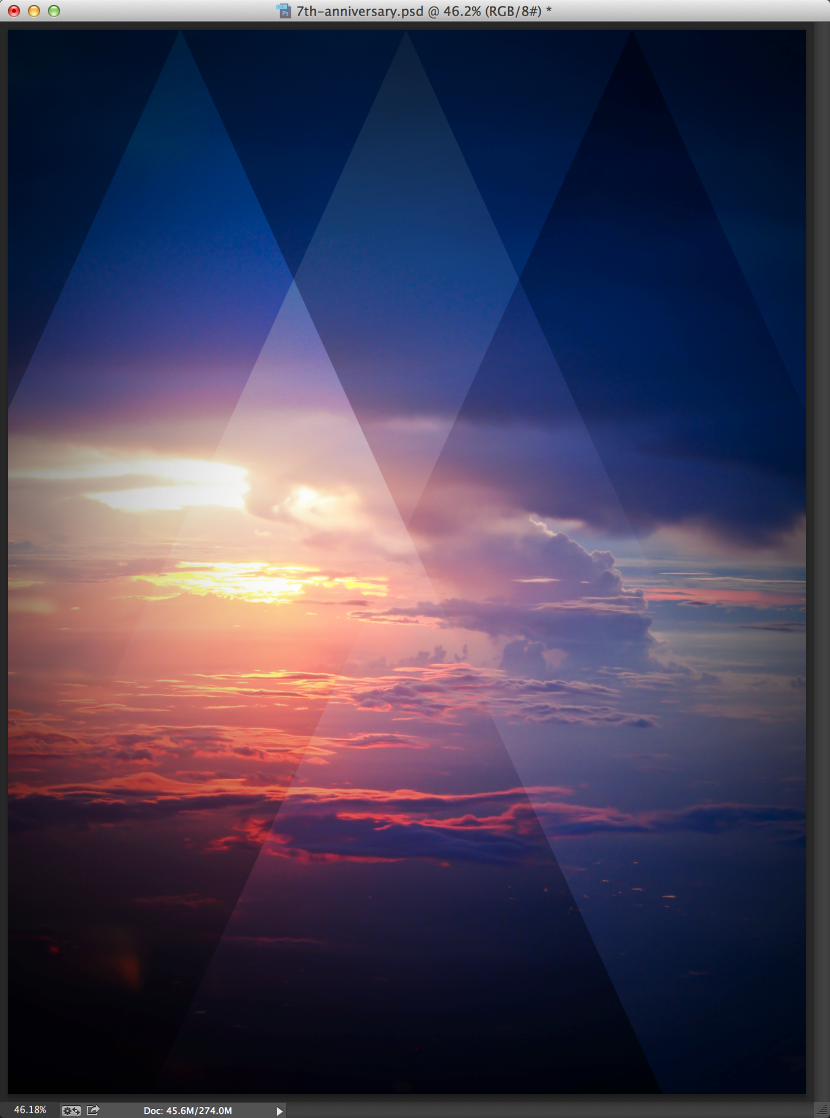
Add the third triangle and make sure they are equally spaced. The first triangle in the left will be light, the center will be light and the one in the right will be dark.
Step 8
Create a vignette effect using a layer with a simple layer filled with black and a cirlce brush paint in white using the Brush Tool B. Change the Blend Mode to Multiply.
Step 9
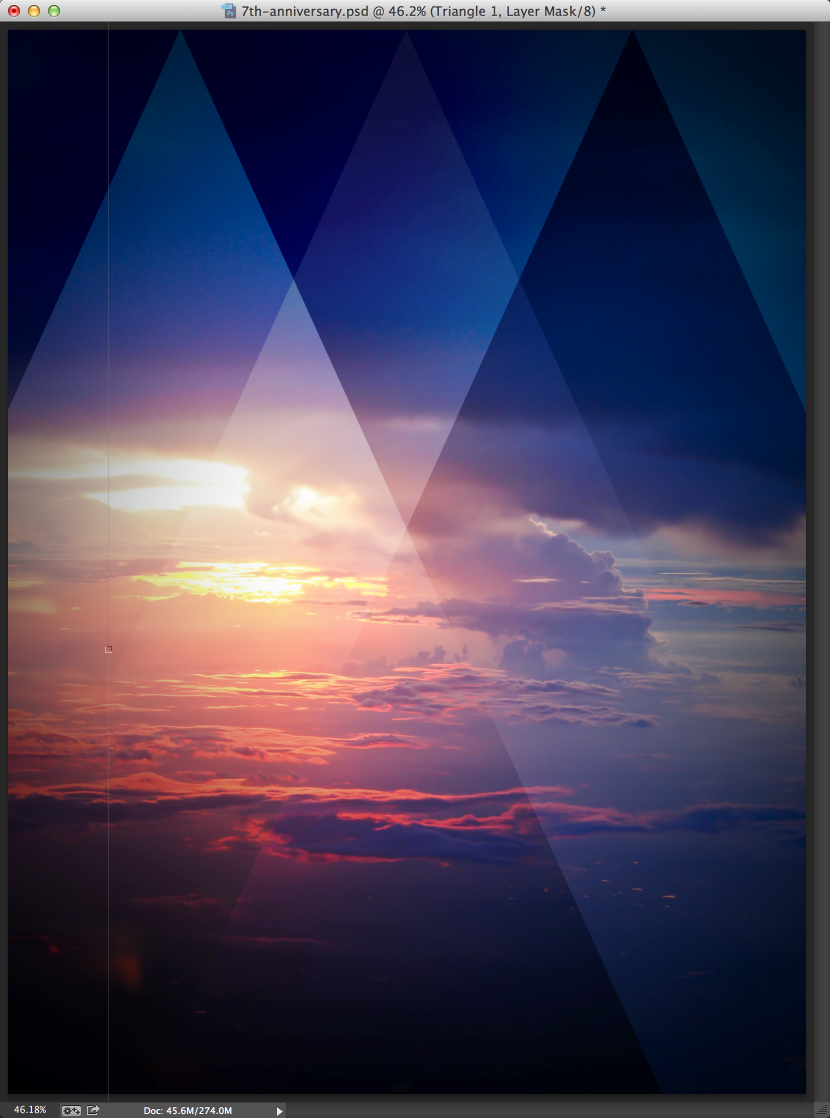
Create a simple highlight behind the triangle on the right. To do that you just need to create a new layer and use the triangle to create a mask. Then just paint with the Brush Tool B and white color. Repeat the same thing to create a darker area behind the first triangle (the one on the left).
Step 10
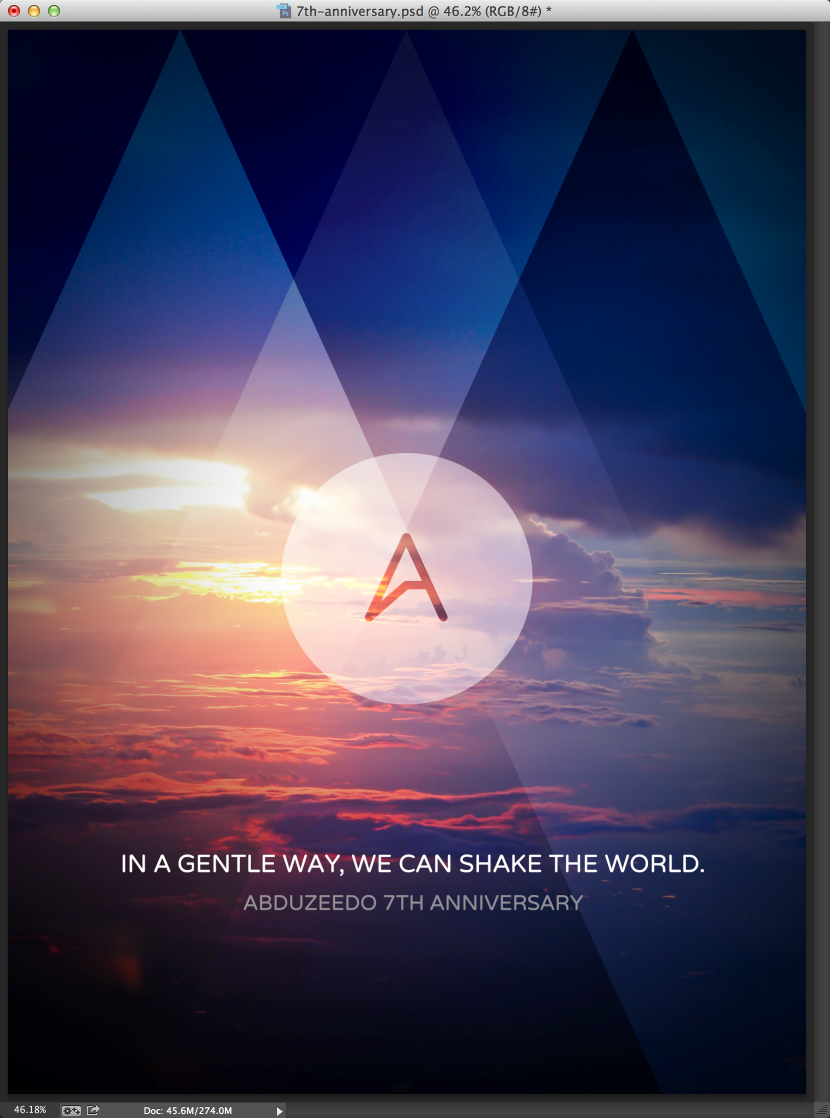
Add the text you want. In my case I used a quote by Mahatma Gandhi. I also align the Abduzeedo symbol with the the junction of intersection of the triangles.
Conclusion
The end result is simple an quite beautiful especially with such a straightforward process that it required. The idea behind this image was to illustrate the sense of how time flies, it seems that it was yesterday that we started Abduzeedo and this month we celebrate 7 years sharing inspiration. I hope you enjoy this little tutorial and thanks for visiting the blog.
