by abduzeedo
Street art and graffitti will always be part of the counter culture and an important way for artist to express their ideas in the big canvas that is the streets. WIth that in mind we will show you how to create a simple spray effect using Pixelmator.
For this tutorial we will show you how to create a nice stencil spray effect of the Squarespace logo using brushes and simple filters. It's a very useful technique and despite the fact that it looks quite easy, the details are very important and might take you some time practicing until you master your design with this effect.
Step 1
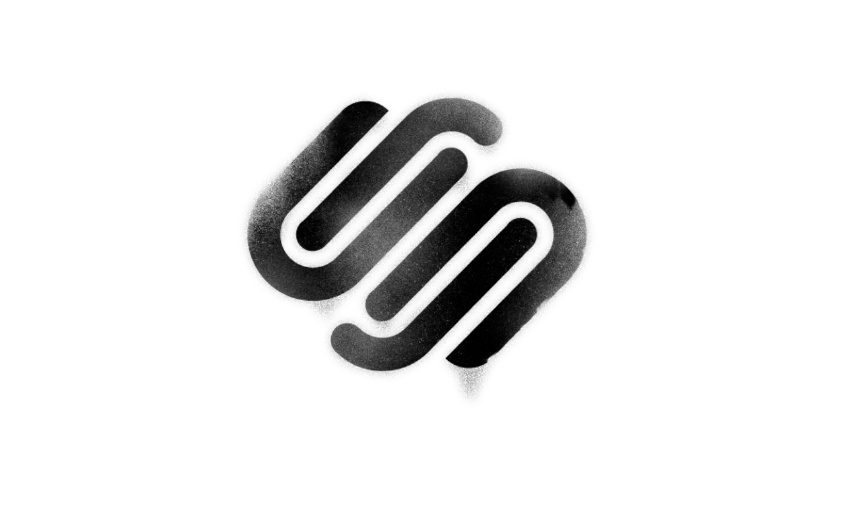
Open Pixelmator and create a new document. I am using 2560x1440 pixels for the size. After that place your logo or symbol in the center. I am using the Squarespace logo for the Dribbble context. http://dribbble.com/shots/653082-Official-Squarespace-6-Rebound-Playoff.
Next thing to do here is import some brushes. I am using the T9 Dirty Brushes and you can download them here http://psd.tutsplus.com/freebies/brushes/t9-dirty-brushes/. Once you download them just open the .abr file in Pixelmator. The brushes will be automatically imported to the brushes panel. To see them, click on the gear icon and select the preset.
Step 2
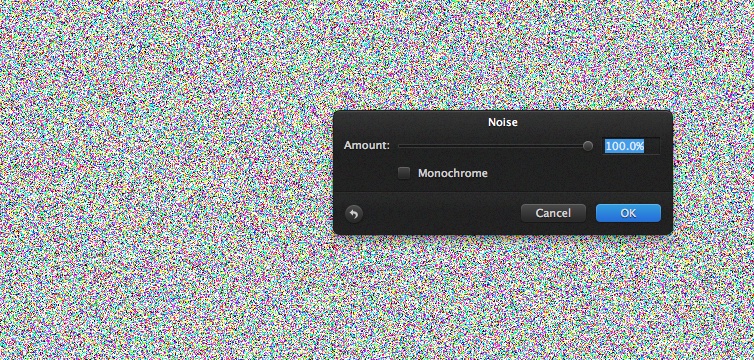
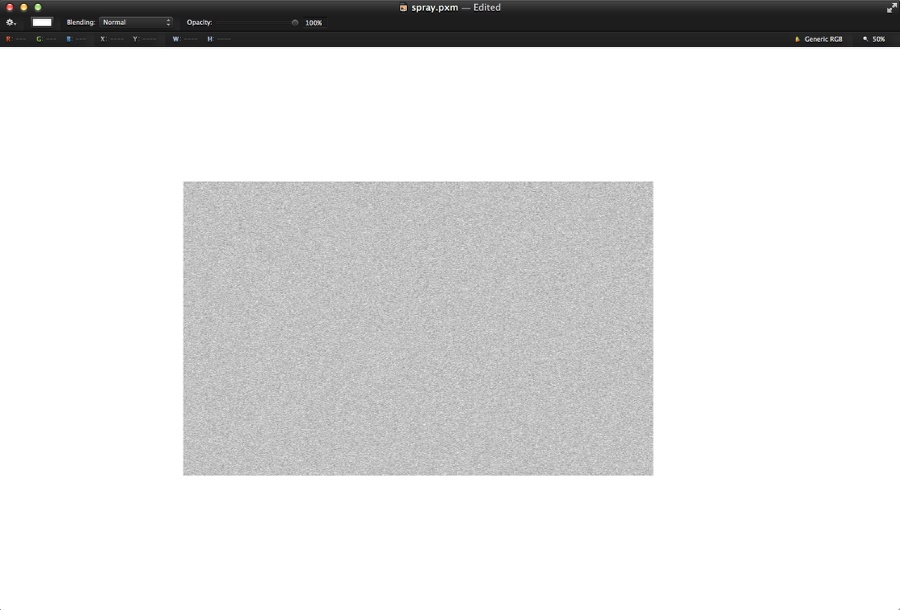
Add a new document on top of the other layers and with the Paint Bucket Tool (N) fill the layer with white. After that go to Filter>Stylize>Noise. Use 100% for the Amount.
Step 3
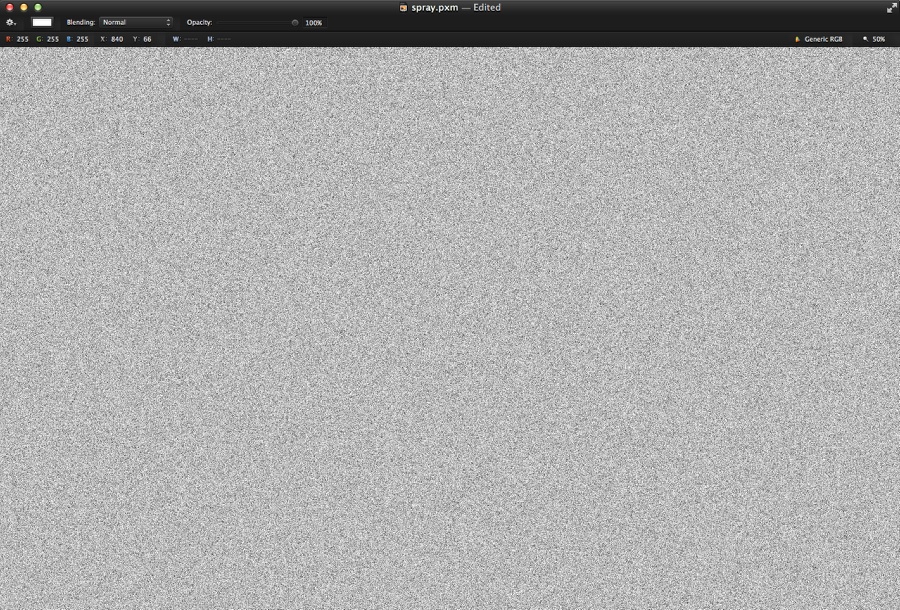
Go to Image>Desaturate.
Step 4
Go to Edit>Free Transform. Resize the layer like the image below.
Step 6
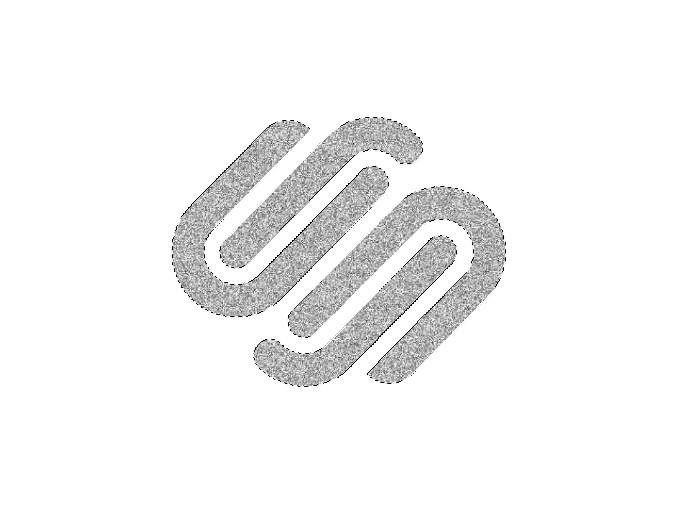
Create a marquee selection of the logo we added in the Step 1 one by simply clicking on the thumbnail of the layer holding the Command key. After that create a mask on the layer with the Noise filter by selecting the layer and going to Layer>Add Layer Mask.
Step 7
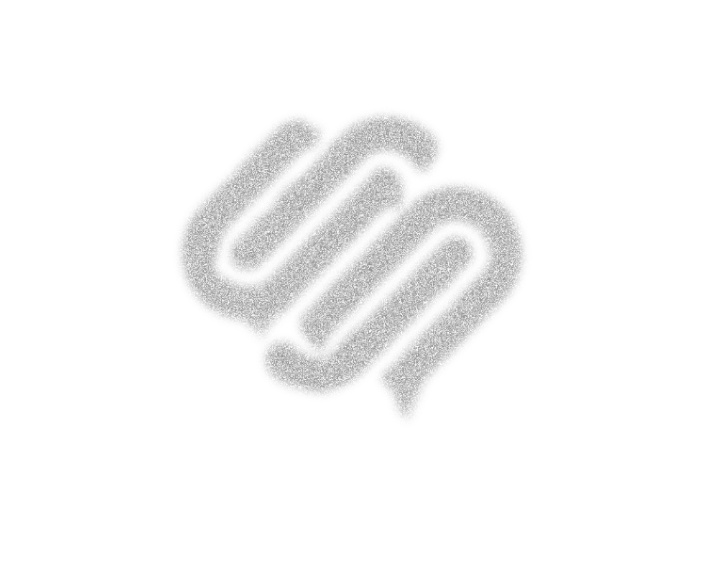
With the Smudge Tool start deforming the mask of the layer to create some dripping ink. Also go to Layer>Blur>Gaussain Blur. Use a 4 pixels for the Radius.
Step 8
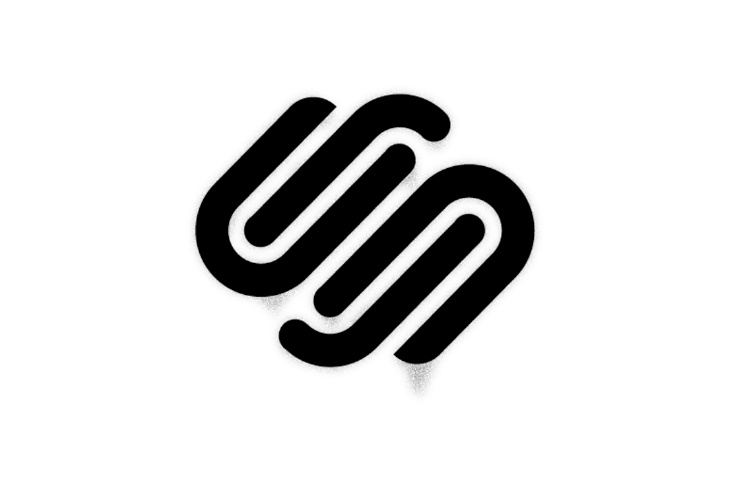
Now make the logo layer visible on top of the noise layer.
Step 9
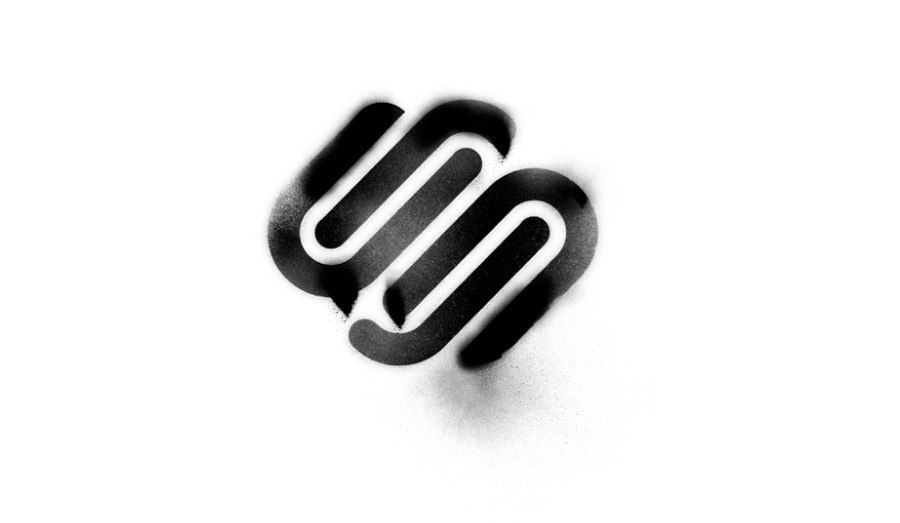
WIth the logo layer selected go to Layer>Add Layer Mask. Again using the spray brushes start painting on the mask to hide some parts of the layer. The idea here is to make the black less uniform as possible.
Step 10
Add a layer on top of the logo and again paint some spray splatters using the brushes we imported in the first step.
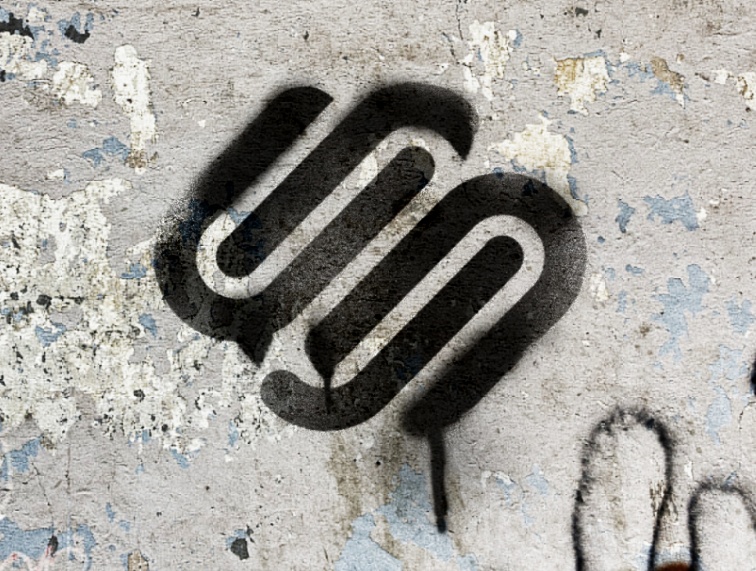
Step 11
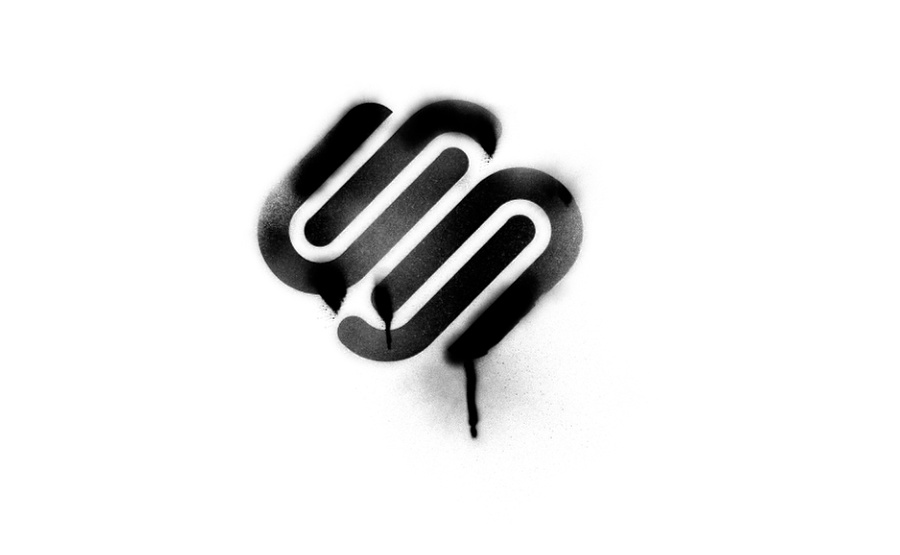
Add another layer on top and now create some dripping ink with the spray brush set we imported. You will probably have to rotate the layer so for each dripping use a separated layer. Group all layers used to create the logo. Duplicate it and hide one copy. After that merge one of the groups and change the Blending to Hard Light at 95% Opacity.
Step 12
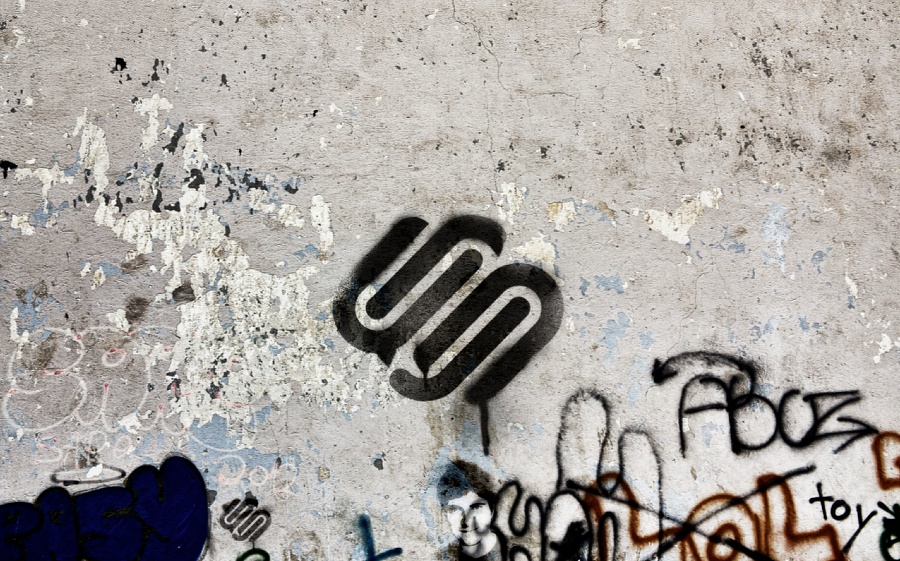
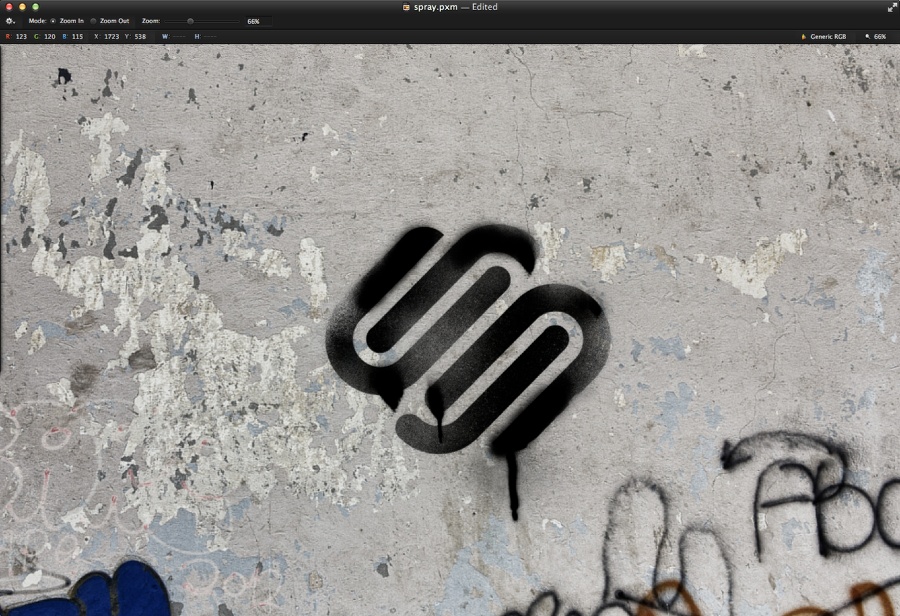
Go to Google Images and search for wall images with graffiti. Import one that has a nice area for you to place your logo, like the one I am using below.
Step 13
Duplicate the texture layer and move to the top of all the other layers. After that change the Blending of this wall layer to Hard Light at 100% Opacity.
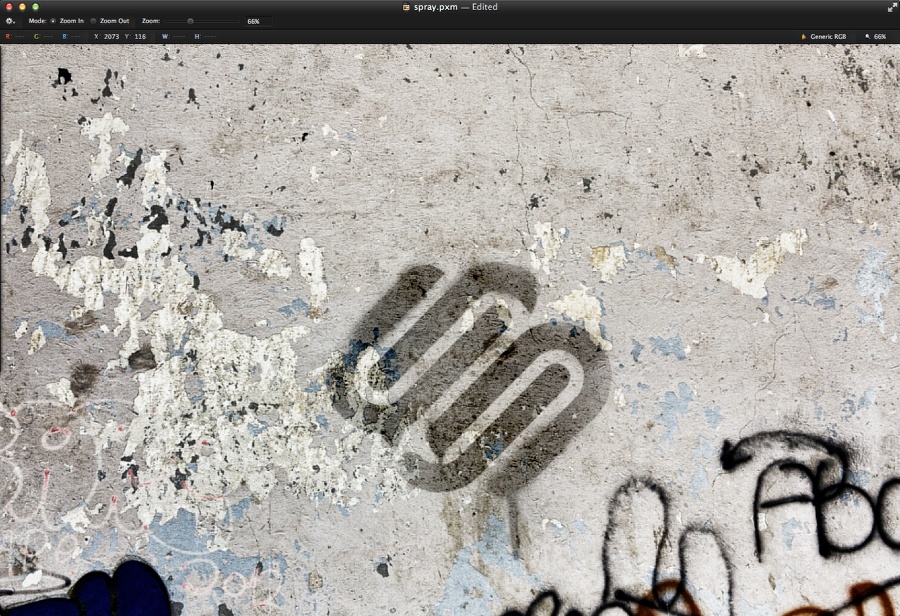
Step 14
Duplicate the layer with the spray effect with the logo and change the order of the layers. Make sure the copy is on top of all other layers. Also change the Opacity to 80%
Conclusion
Here is the spray effect. Very easy and I am sure it is a technique that will be very useful for future projects. In our opinion here at Abduzeedo, a designer should be able to understand and create all sorts of effects, that will make it versatile and able to work with different audiences. Of course effects is not the most important part of the design process but it helps to visualize the ideas much quickly. Now it is up to you .