by abduzeedo
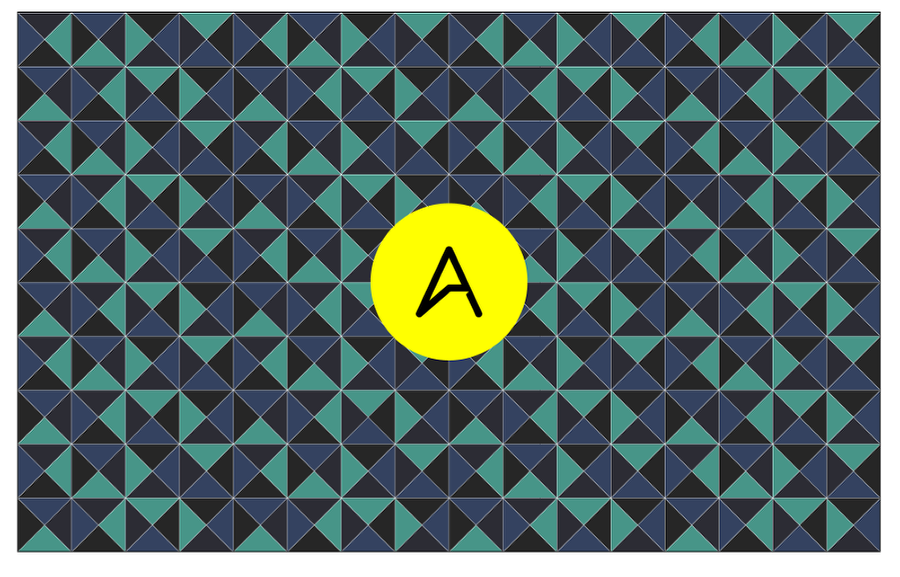
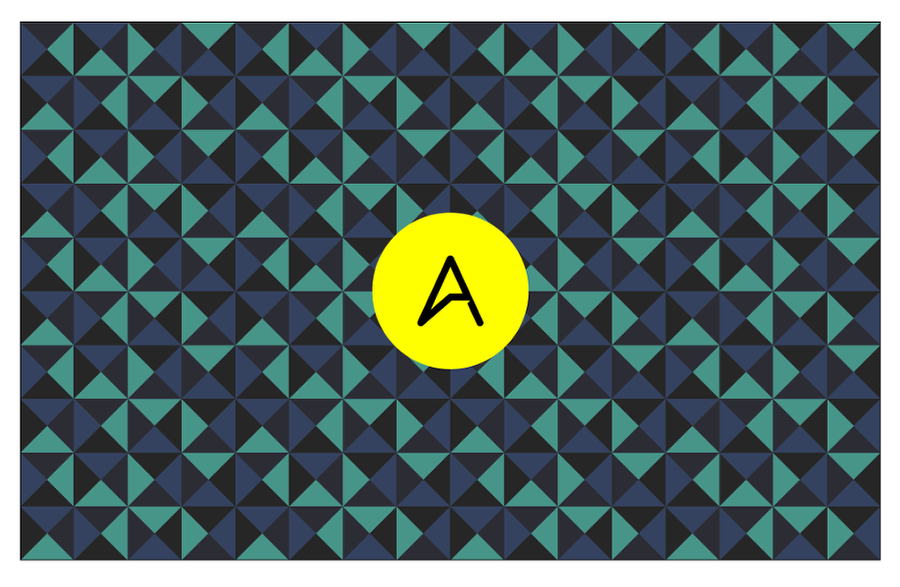
Last weekend I was playing in Illustrator trying to create a simple wallpaper to use on my phone and tablet. I love geometric patterns, but I hadn't done anything like that in a while. So, I started playing with some ideas inspired by Andy Gilmore. It's really nice to see how the Pattern Tool in Illustrator facilitates the process of creating patterns these days.
So in this tutorial, I will show how to create a simple pattern in Illustrator. The process is pretty straightforward, but I believe it will be really useful when you need to create vector patterns for your projects.
Step 1
Create a new document in Illustrator and then with the Rectangle Tool (M) create a square.

Step 2
Rotate the square 45 degrees.

Step 3
Delete the bottom part in order to create a triangle.

Step 4
Duplicate the triangle and flip it vertically, align them so they are on top of each other. After that select the 2 triangles, copy and paste them in place. Rotate the copies so you create a square again with different colors for each triangle.

Step 5
Create a set of squares rotating them so the colors of the triangles are in different places. You can make 2 or 3 rows.

Step 6
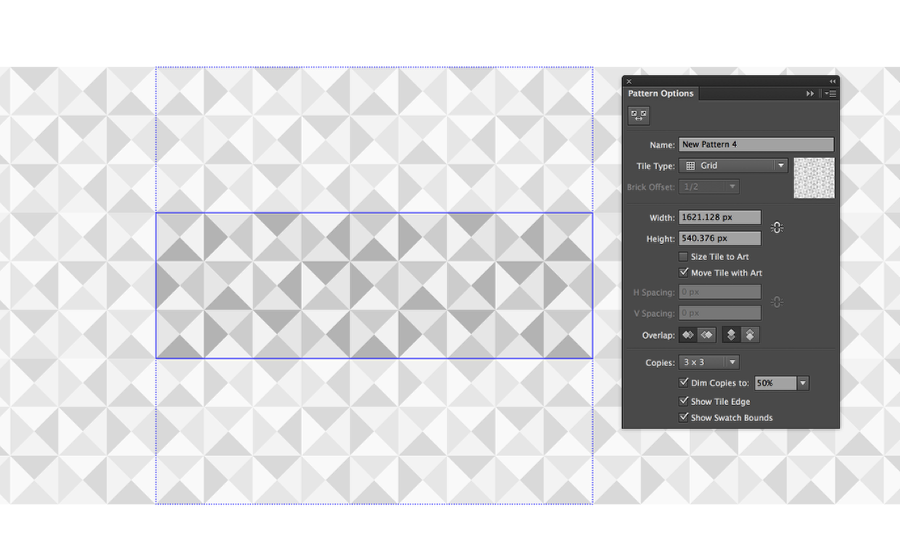
Select the set you created on the previous step and go to Object>Pattern>Make. Add a name for your pattern and play with the options. After that, you will have a new pattern in your Swatches pallet.
Step 7
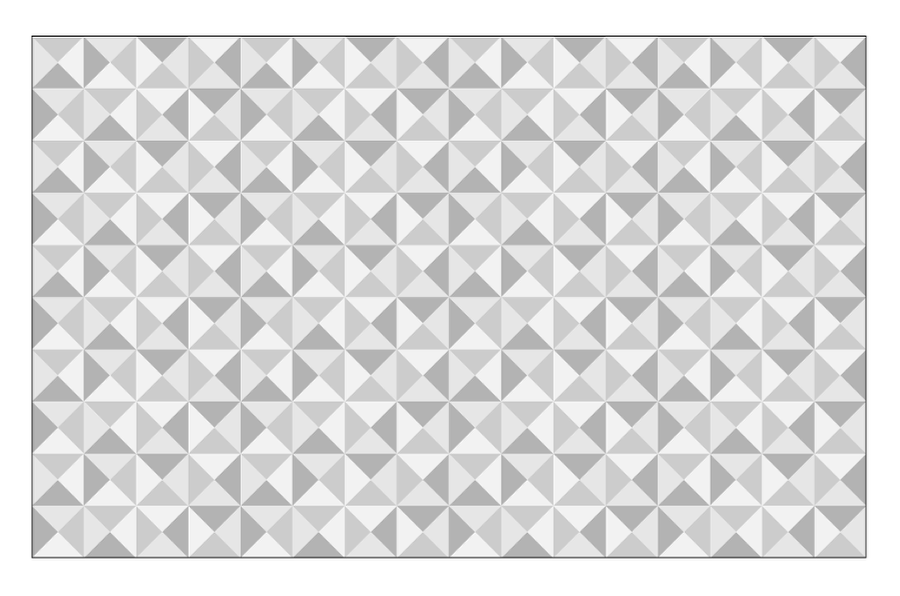
Create a new artboard. I am using 2880x1800 pixels for a desktop wallpaper. After that select the pattern you created in the previous step.
Step 8
Add a new rectangle using a dark blue (#294156) for the color.

Step 9
Change the Transparency mode to Color Burn at 40%.
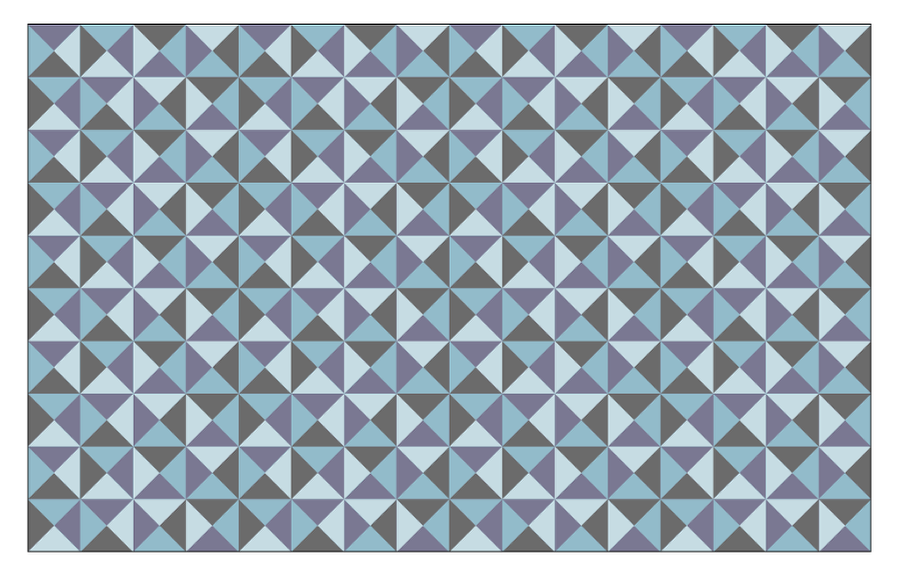
Step 10
Duplicate the rectangle to make the color a bit more intense.
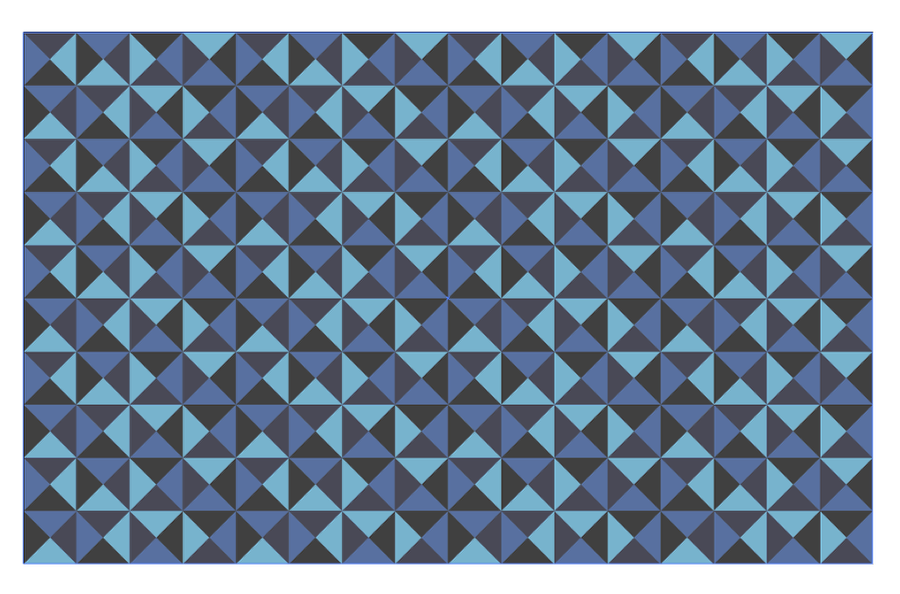
Step 11
Duplicate the rectangle again and this time use a green (#3D7F39) for the color.
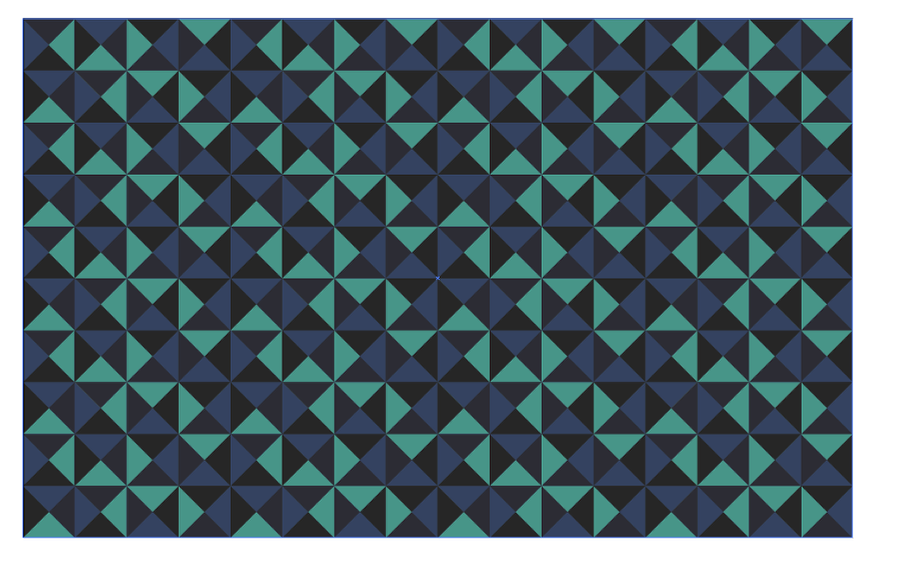
Step 12
Create a line crossing the artboard. Use white for the stroke color.
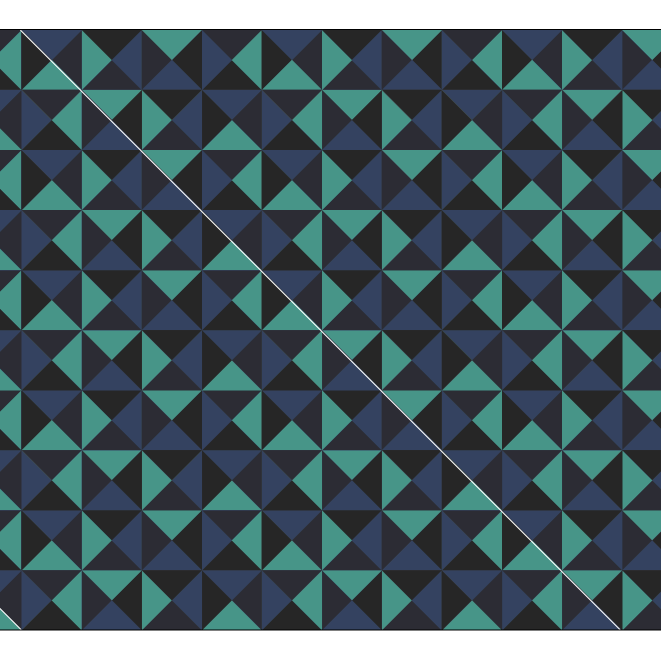
Step 13
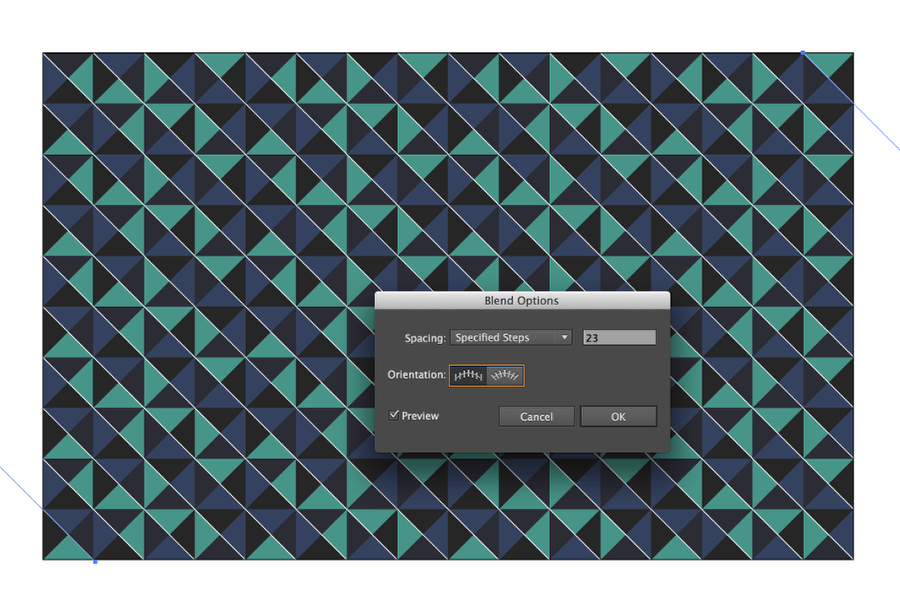
Move the line to the left, make sure it align with the bottom square, then duplicate the line and align it with the top right square. After that with the Blend Tool, select both lines and try to find the exact number of steps to match your pattern.
Step 14
Repeat the same steps to create more lines matching the pattern.
Conclusion
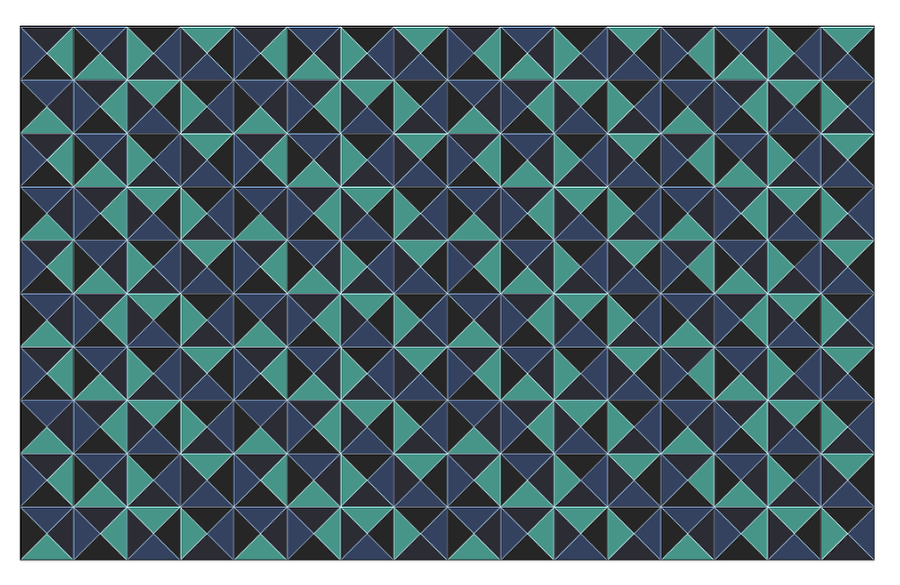
Add the logo in the center of your artboard using a circle to break the pattern flow a little bit. After that, your wallpaper will be done. I did that last weekend and I have been using this wallpaper on my computers and tablets since then. I really like the color and the flow, however, you can try a version without the white lines if you want it something more subtle.
