by abduzeedo
Following our series of Pixelmator tutorials, this week we will show you how to create an abstract wallpaper using the Quartz Composer filters. Even though the effect seems a bit complex, you will be surprise how easy is to create it in Pixelmator. It won't take you more than 10 minutes to reproduce this tutorial. And to make you really keen on doing that we will give away 2 copies of Pixelmator.
To win one of the two free copies of Pixelmator, just drop a comment saying why you want to win it.
Step 1
Create a new document in Pixelmator, I used 1920x1200 pixels.
![]()
Step 2
Select the Gradient Tool (G) and fill the background layer with a gradient from blue (#336699) to black.
![]()
Step 3
Create a new layer and go to Filter>Quartz Composer>Generator>Moving Shapes. Change the Primary Color to ##554C87 and use the default options. After that change the Blendings to Multiply.
![]()
Step 4
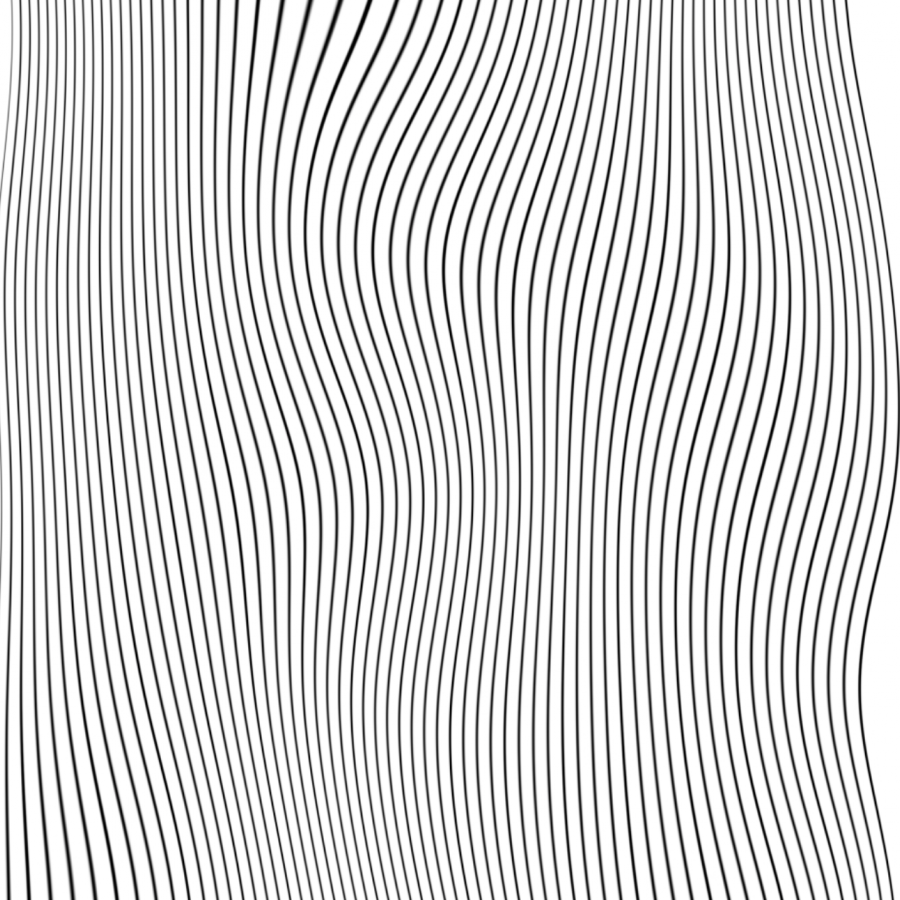
Create another layer again and go to Filter>Quartz Composer>Generator>Grid. Change the Primary Color to a very light grey or even white and the Secondary Color to Black. Also, increse the Density to .3 or more. You can even move that little dot attached to a string. That is the position of the effect.
![]()
Step 5
Here just go to Filter>Blur>Gaussian Blur. Use 4 for the Radius.
![]()
Step 6
Now change the Blendings of the layer to Color Dodge.
![]()
Step 7
If your effect wasnt bright enough you can go to Image>Levels and increase the white. To do that just move the white slider to the right. I use 145 for White.
![]()
Step 8
Create a new layer, change the Blendings to Color Dodge, and lets repeat the same steps we did to create the first element. First go to Filter>Quartz Composer>Generator>Grid. Change the Primary Color to a light grey and the Secondary Color to Black. Also increase the Density to .5.
![]()
Step 9
Go to Filter>Blur>Gaussian Blur, use 2 for the Radius, or if you want it smoother you can use a bigger value.
![]()
Step 10
Let's rotate the layer. Go to Edit>Transform>Rotate.
![]()
Step 11
Now let's create another layer and apply the grid filter one more time. This time however move the direction, like the image below.
![]()
Step 12
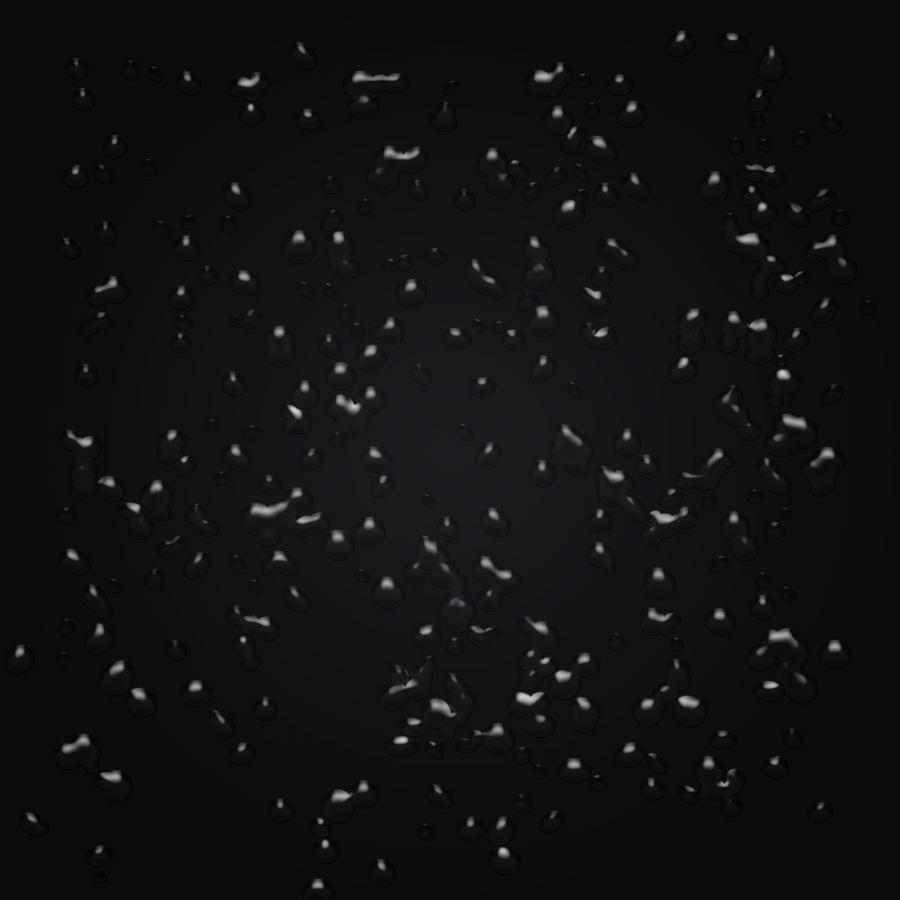
Create another layer and change its Blendings to Color Dodge, again. Go to Filter>Quartz Composer>Generator>Image Hose. Use the image below for reference. But just make sure to reduce the Opacity to 50-60%.
![]()
Step 13
Now you can add some colors if you want. To do that, just create a new layer right on top of the background layer and fill it with a gradient color. I used a default gradient that comes with Pixelmator. Select the Gradient Tool (G) and drag a diagonal line like the image below. Don't forget to change the Opacity to 40%.
![]()
Conclusion
In this tutorials we used some of the cool Quartz Composer filters that come with Pixelmator. The best thing in this filters and in Pixelmator is how fast it manages the previews and the quality. I've been telling this since the very first Pixelmator tutorial I wrote, and I really wish that Photoshop was fast and beautiful as this amazing app.
![]()
Check the full preview of the Blue Version and the Color Version
Video Tutorial
This is just a quick video showing how to create this effect in Pixelmator. The values used are not the same, it's just a visual guide if you have any problems following the written tutorial.
Abstract Wallpaper in Pixelmator from fabio sasso on Vimeo.
Download the Pixelmator File
Click here to download the Pixelmator file used for this tutorial.
Editor: David Parrott


