Back in 2007 I was in a design event with Fabiano Meneghetti, my business partner at Zee, and Thiago Bizarro, an old friend of mine, and we started talking about organizing a design event. During this conversation we came up with this crazy idea of creating a battle of designers in which they would compete against one another in a sort of fight style.
A few weeks ago I received an email from a reader asking me if I could write a tutorial showing an underwater scene. I have written some tutorials on this subject like the 3D type made out of water or the underwater scene for Digital Arts in 2008. However I was watching TV this weekend when I started to watch I, Robot.
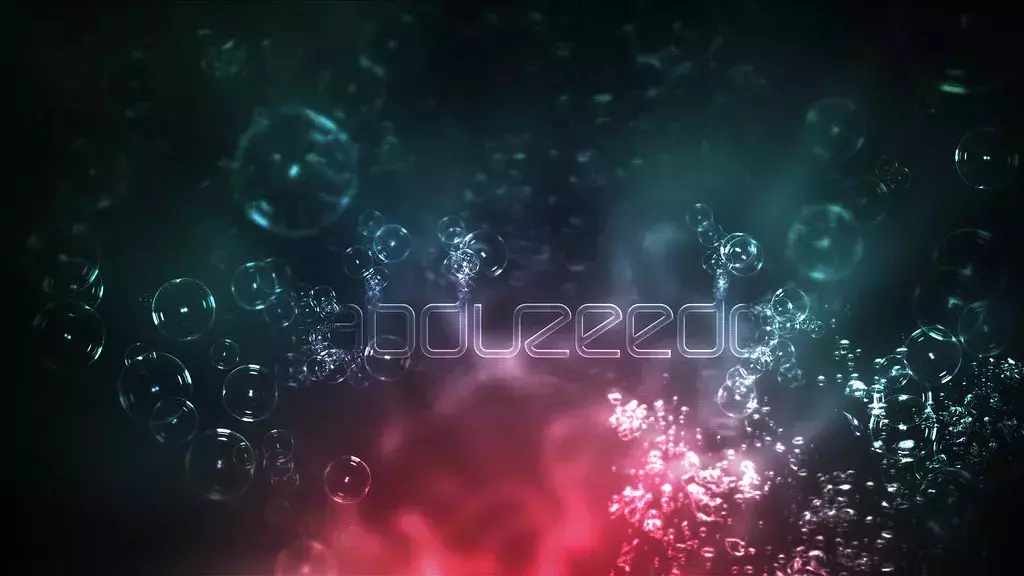
In this tutorial, I will show you how to create a text made up of clouds in ten very simple steps, solely using brushes, blending, and basic filters. The technique is extremely simple and can be used to create all sorts of text effects as well.
Step 1
Open Pixelmator and create a new document. As usual, my document is wallpaper size, 1920×1200 pixels.
I have written some Illustrator tutorials in which I've used the Blend Tool to create swirls and other shapes, but I have never used it to create a text effect. Then we received this email suggestion from one of our readers quite a few months ago asking us how to create that effect. I really like the text effect and decided to give it a try.
More than two years ago, I created an image of a digital bokeh using Pixelmator that became incredibly popular on the Internet. I easily created the image using Pixelmator’s filter, which was new at the time, called Defocus. I simply applied the filter and added a gradient overlay layer to create the effect.
In 2008 I came up with a technique using the Brush Tool in Photoshop to create a digital bokeh effect. Then I mixed it with some gradient colors blended all together. The effect has become quite popular so I decided to upgrade a little bit the effect.
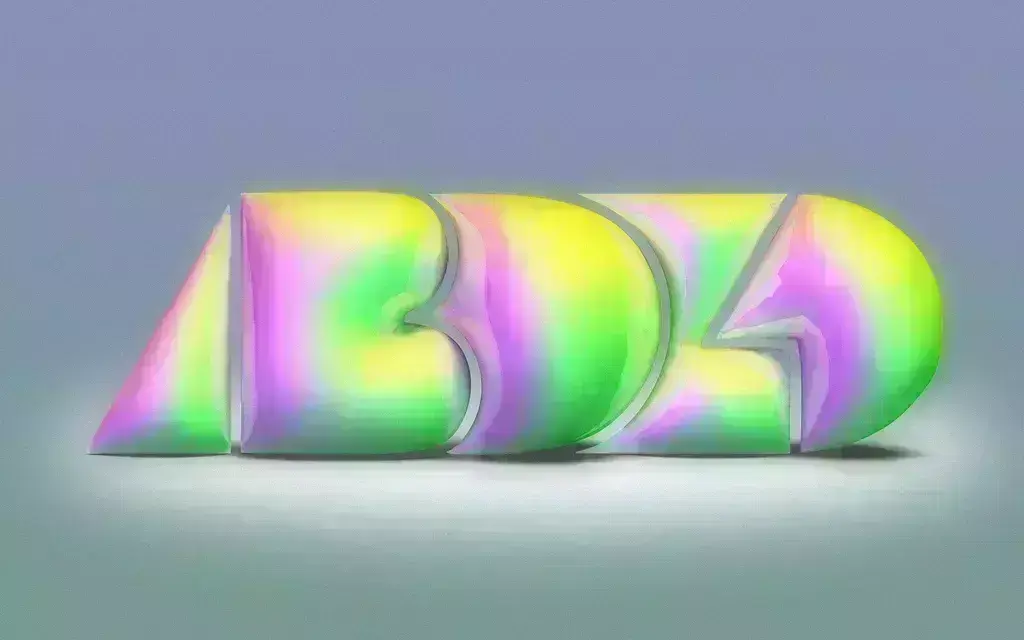
In this tutorial, I will demonstrate how to create a very nice abstract effect, using the super cool Travelator filter. I will make use of some of the Quartz Composer filters in order to show the many different exciting effects that can be achieved with them.
Step 1
Open Pixelmator and create a new document. Let’s go ahead and use a size of 1920×1200 pixels.
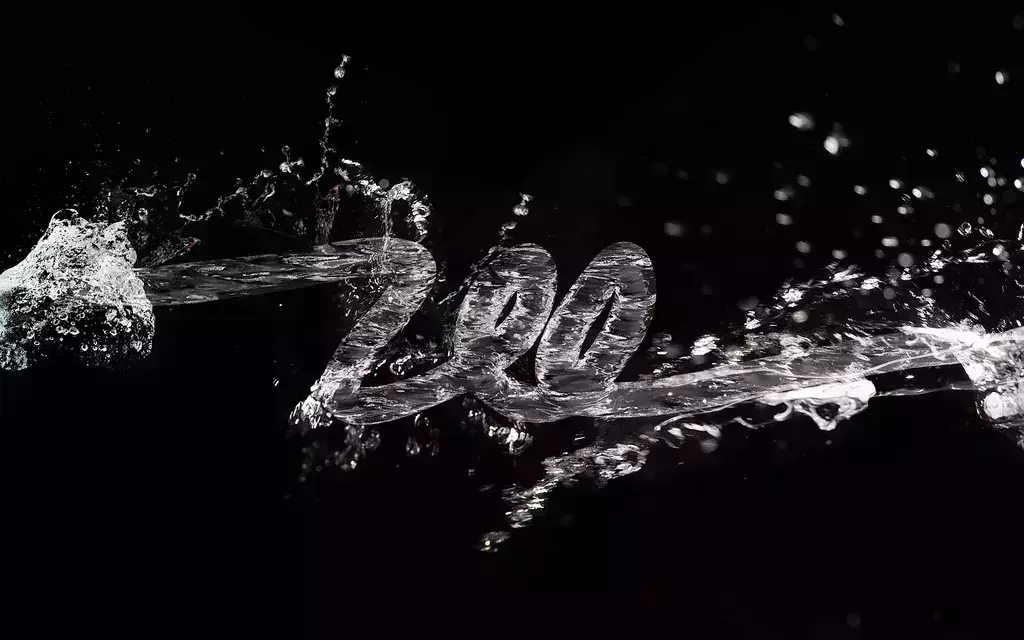
Last year I wrote a tutorial called Incredibly Realistic Water Text in Cinema 4D and Photoshop where I created a text made out of water. I had to use Cinema 4D to create a 3D object then I imported this 3D file in Photoshop where I mixed with some stock photos.
Adobe has just released the CS5 family and you can download the trials including the new Photoshop CS5 Extended. With this new version we have the Repoussé feature which allows us to create 3D objects in Photoshop.
Sometimes we seek an exactly type of inspiration like web inspiration for example but there are times where the unexpected can do some good for your brain. This collection is full of great images that are quite unexpected and pretty awesome at the same time, so what you waiting for? Check them out!