In this tutorial I will show you how to create a really cool effect. First, we will use basic filters to create a 3D text effect; then, we will blend some stock photos and textures to produce one hell of a wallpaper.
Step 1
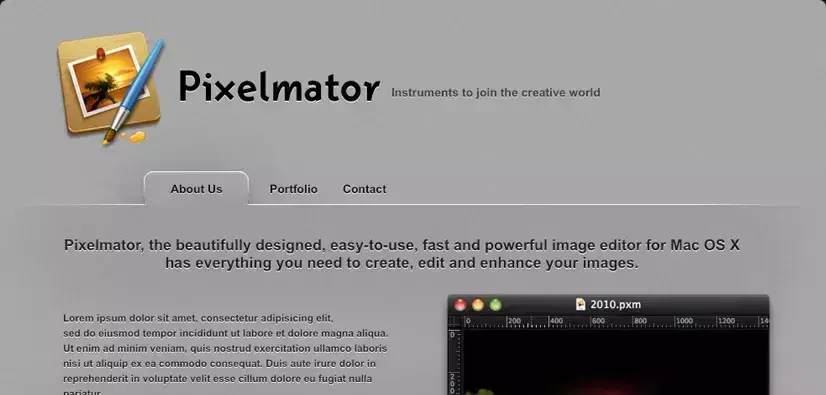
Open Pixelmator and create a new document. I’m using, as usual, 1440×900 pixels.
Many people have been asking me how to create a nice, Apple-style UI in Pixelmator with bevels and letterpress effects. I have also received some inquiries about creating rounded corners. So, I created this tutorial to explain some efficient, helpful tips.
Step 1
Open Pixelmator and create a new document. I used 1000×1000 pixels.
A few weeks ago I posted a tutorial showing how I created the new Abduzeedo's 2010 symbol, which will be used for icons, posters, t-shirts and other gears.
In this tutorial, I will show you how to create a design inspired by the Dreamworks logo, with fluffy clouds and some light effects. We will use the clouds brush that comes with Pixelmator and some stock photos.
Every new year I like to try new things with the Abduzeedo logo. In 2009 I changed the typography a little bit, but now that it's 2010 I decided that the blog needed a symbol. That necessity came up when we are finishing the Abduzeedo iPhone app and we needed to have an icon.
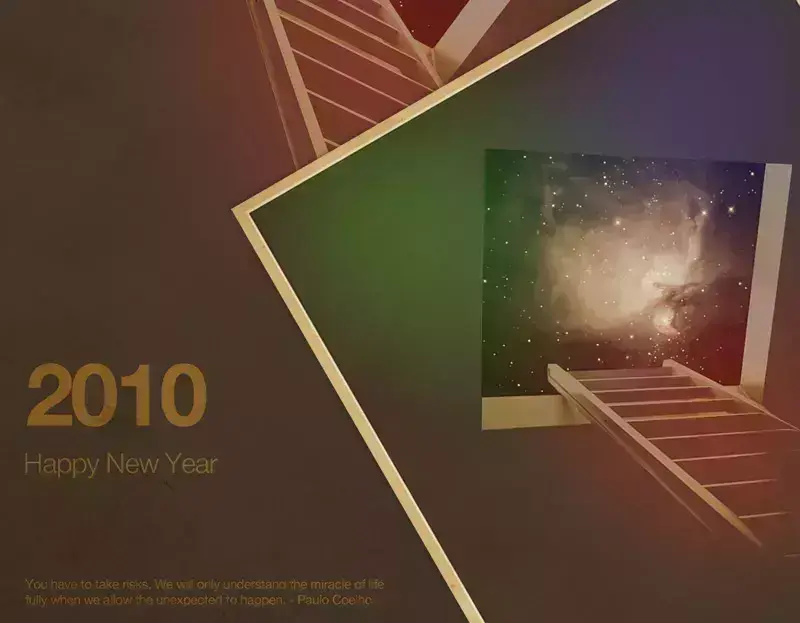
It's the end of the year and for the last tutorial of 2009 I will show you how to create a poster inspired by the amazing work of Simon Page, especially those beautiful posters for the International Year of Astronomy.
Last night I was watching TV and decided to create an image for a Christmas tutorial. I was willing to work a little bit more with Cinema 4D, and as I have seen some Christmas designs with candy canes, I decided to try and design my own candy cane typeface.
In this tutorial I will show you how to create a beautiful golden text in Pixelmator. It might be useful for your next Christmas design. We will use basic tools and gradients to mimic gold with this super easy technique.